Hi everyone, Steph Ackerman here today to show you how to decorate a Christmas greeting card using the Bowdabra. It’s never too early to start making your Christmas cards.
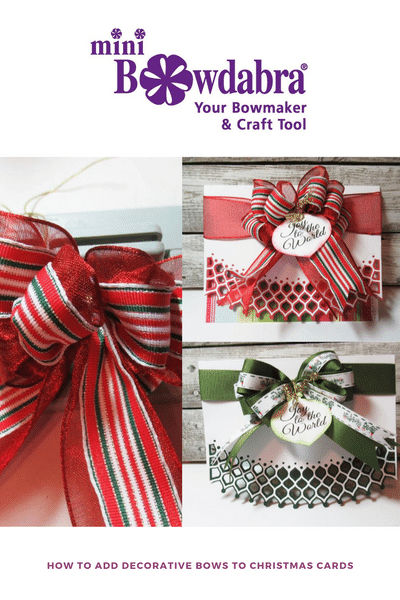
Supplies:
Mini Bowdabra Bow Making and Design Tool
Bow wire
Ribbon
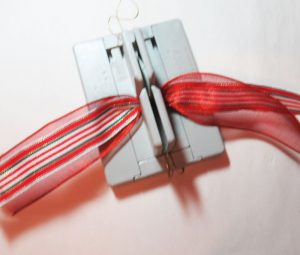
Start by placing the bow wire in the Bowdabra and place it underneath while working on your Christmas card bow . Holding 2 different sized ribbons together, place them in the channel leaving a 3″ tail.
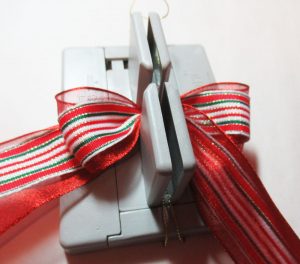
Create a small loop and twist the ribbons when passing through the channel. Be sure to check that the ribbons are lined up and that they go through the channel together.
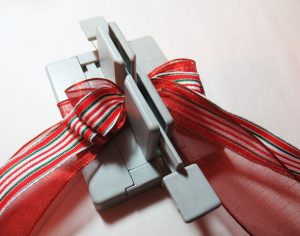
Continue to make loops and use the Bowdabra wand to push the ribbon into the channel.
As I was making cards, I wanted small looped bows so I created these bows with 3 loops each.
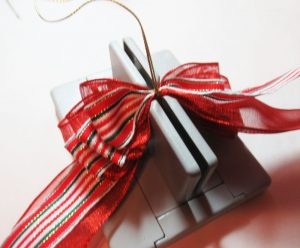
Pull up on the bow wire and tie off.
Fluff out the bow. Isn’t it pretty?
Prepare the green bow the same way.
Since I used grosgrain ribbons, the effect is slightly different than the red wired bow.
As the bows were ready, I had to create the Christmas cards.
Since the cards were stark white, the bows were just the right embellishments.
Wrap each card with the wider ribbons in each set and glue them in place.
Using the bow wire, tie the bows to the ribbons that were wrapped around the card.
Punch out an ornament shape and stamp a phrase on it.
Use the bow wire to tie the ornaments to the cards.
Finish by using a craft pick to twirl the bow wire.
Aren’t they pretty?
Thanks for stopping by.
Steph