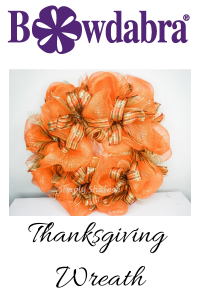
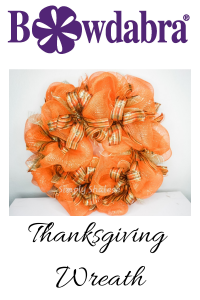
Thanksgiving Wreath


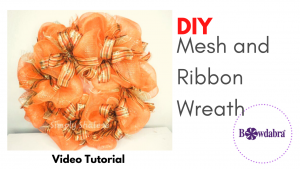
Hey everyone, I’m Simply Shalese, here to make something awesome with you guys! Today we will be making an adorable Thanksgiving plaid deco mesh wreath. Let’s get started!
Materials:
Plaid wire-edged ribbon
Wreath Form
21 inch Deco Mesh
Scissors
Placing your deco mesh
Take your deco mesh and curl it to a nice point. Start on the outer chenille stem, place your mesh, and twist it a couple of times. Make a nice poof, the size is completely up to you, and twist it to the next chenille stem. Repeat this step all around the outer ring. Then complete the same steps around the inner ring. Cut away any excess deco mesh
Making your bow
Take your bow wire and place it in the center of the bowdabra. Take your ribbon, scrunch it a few inches from the end and place it in the bowdabra. You can measure if you choose to do so but I always just estimate. Make a loop and scrunch it again. Repeat this step as many times as you’d like. Make as many loops and tails as you’d prefer.
Once you’re done, give your bow one final scrunch and tie your bow wire. Since this bow is going on a wreath, I just tie it in a simple knot a few times.
Adding bows to your wreath
After you’ve made the number of bows you want to have on your wreath, it’s time to add the bows. Choose a chenille stem, place your bow and twist the chenille stem. Then tuck the chenille stem away. Repeat this step for all of your bows. For the other stems that don’t have bows, I just took an 8-inch long piece of ribbon, scrunch it in the center and place it in the empty chenille stems. You can ribbon cut the ends if you chose to do so.
And you are all done! add any additional embellishments you’d like. Just have fun with it and make it your own!
Thanks for joining me. Be sure to check out and subscribe to my youtube channel, Simply Shalese DIY, for more awesome videos. Also, follow me on Instagram, Pinterest and Facebook! And check out Bowdabra blog as well!

