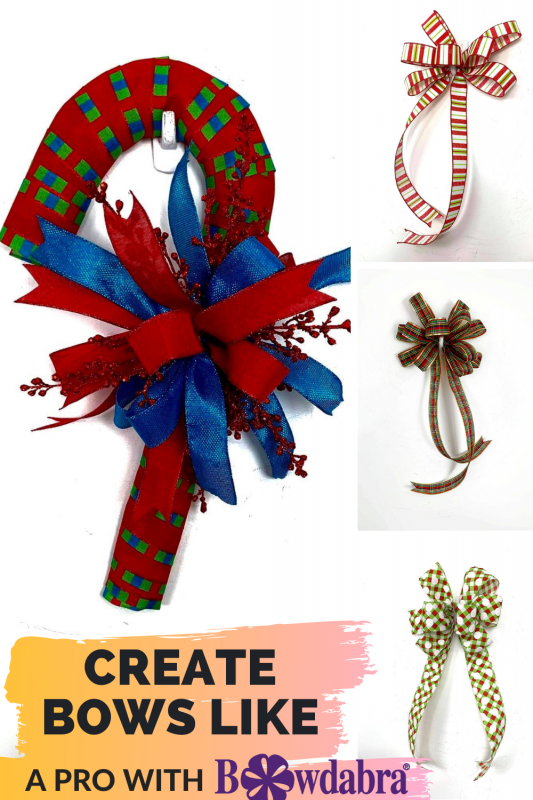
Watch Nick from Nick’s Seasonal Décor on Bowdabra Facebook Live, with lots of funky and classic bows and a candy cane, teaching us the process from scratch. Tune in to learn just how to make these bows to decorate your homes and those of your loved ones.
Materials required:
• 100-yard Bowdabra gold bow wire
• Hot glue
• Candy cane wireframe
• 3 kinds of ribbons (Red, Blue, Red-blue-green stripped) in different patterns
• Festive decorative red picks
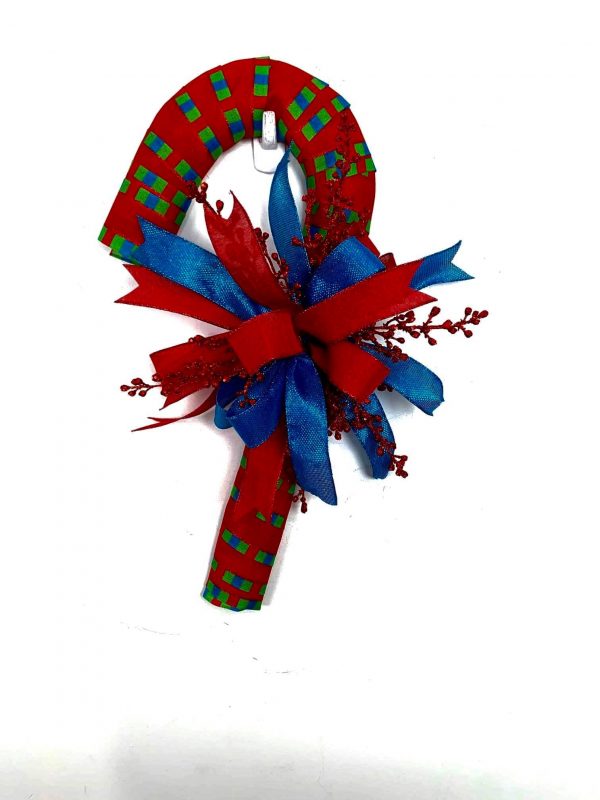
A Gorgeous Candy Cane for Christmas
1. Nick folds the bow wire in half and tucks it underneath the Bowdabra.
2. He takes a red ribbon with shimmery edges and creates a big loop and adds it to the Bowdabra.
3. He repeats the process with the Blue-ribbon roll to add to the other side and alternates with the red ribbon till there are 3 loops on each side of the Bowdabra.
4. He secures the bow with several wire knots in the back and finishes off by fluffing the loops and cutting the dovetail pattern on the tail ends.
5. Meanwhile, he opts for a sturdy, thick red-blue-green striped ribbon for the base of the candy cane and wraps it around the candy cane.
6. He adds a dollop of glue to seal the ribbon end.
7. In the end, he sticks the bow securely with hot glue to the wire-frame and some decorative red picks too.
Materials required:
• Brown ribbon roll
• Brown and Black Swiss Dog ribbon roll
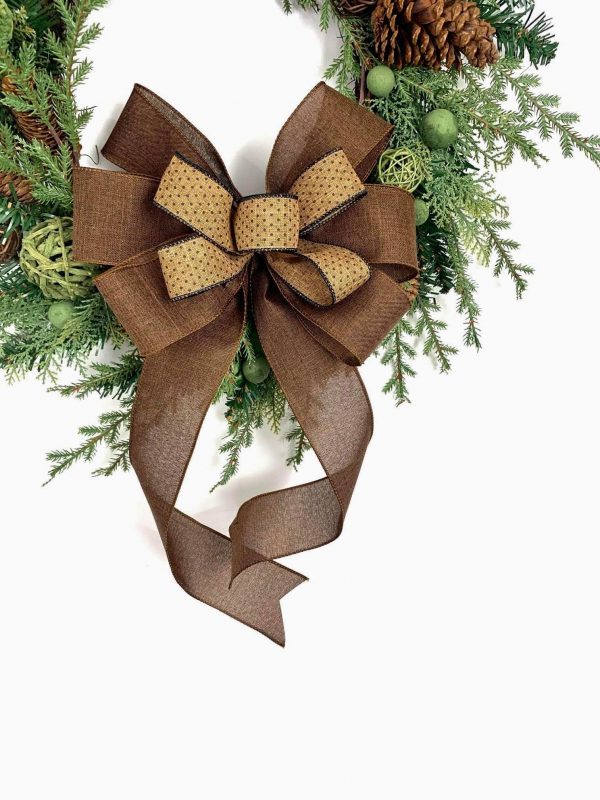
1. Nick folds the bow wire in half and places it underneath the Bowdabra.
2. After cutting off the tail (depends on the design) he creates 3 large
loops on either side of the Bowdabra with the brown ribbon roll.
3. With the 1½” Brown and Black Swiss Dog ribbon, he creates two medium loops on each side of the Bowdabra, with a cute button loop in the center.
4. To secure the bow he brings the wire from one side to another and put a slip knot.
5. He finishes off by fluffing the loops and cutting the dovetail pattern on the tail ends.
Materials required:
• 100-yard Bowdabra bow wire
• Large Bowdabra
• Red-white-green striped chequered ribbon roll
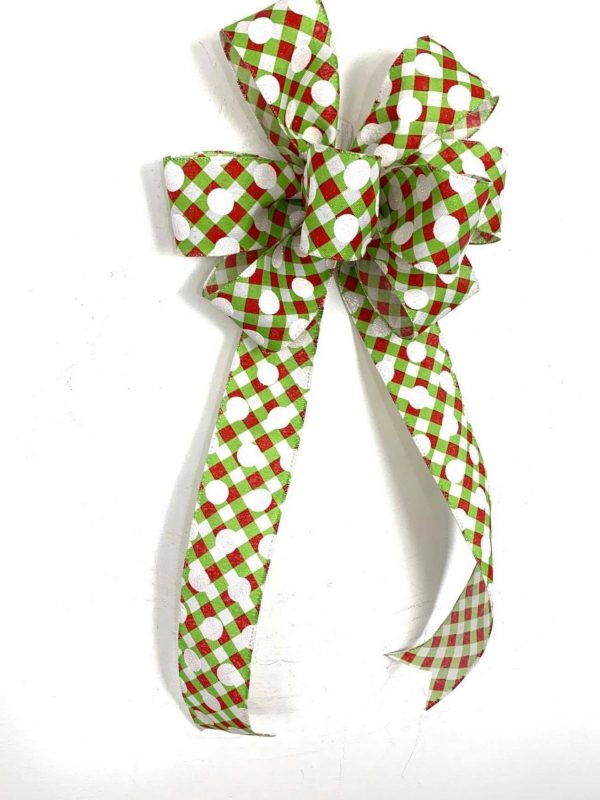
A Traditional bow with chequered ribbon roll
1. Nick folds the bow wire in half and tucks it underneath the Bowdabra.
2. He takes the chequered ribbon and slipped right into the Bowdabra
3. To create the perfect loops, flip the Bowdabra with each turn while twisting the ribbon and placing the loop.
4. He creates 5 big loops on both sides of the Bowdabra to give it a beautiful flower design.
5. He secures the bow with several wire knots in the back and finishes off by fluffing the loops and cutting the dovetail pattern on the tail ends.
Materials required:
• 100-yard Bowdabra bow wire
• A 2½” crimson ribbon roll
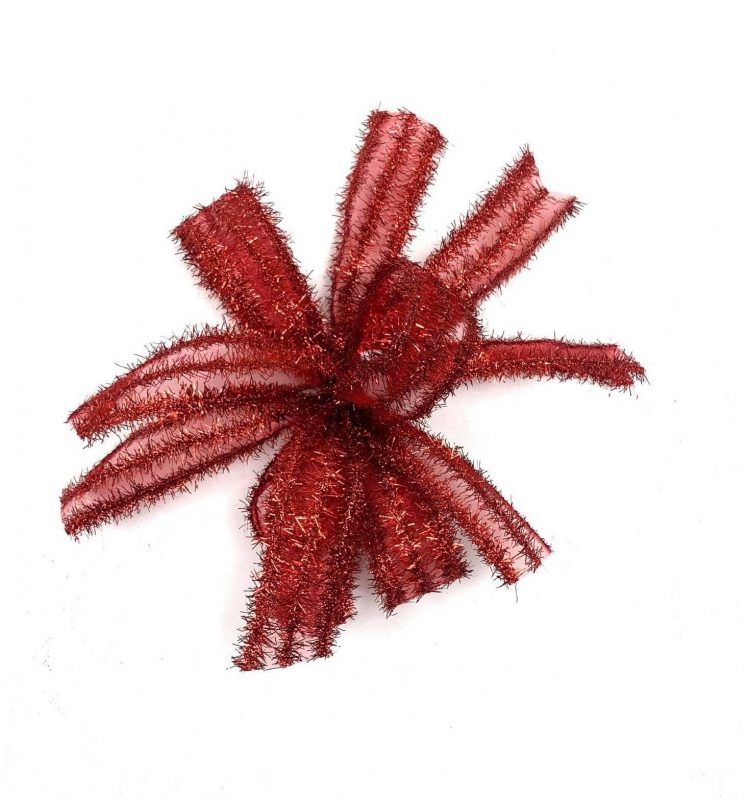
A Funky Bow with a small and thin wired ribbon
1. Nick folds the bow wire in half and tucks it underneath the Bowdabra.
2. After cutting off the tail about 4-5”, he creates two single loops on each side of the Bowdabra.
3. He pulls the bow wire from one end to the other, securing the bow and finishing off by fluffing the loops and cutting the dovetail pattern on the tail ends.
Materials required:
• 100-yard silver bow wire
• One lime green, and red glittery ribbon roll with red piping
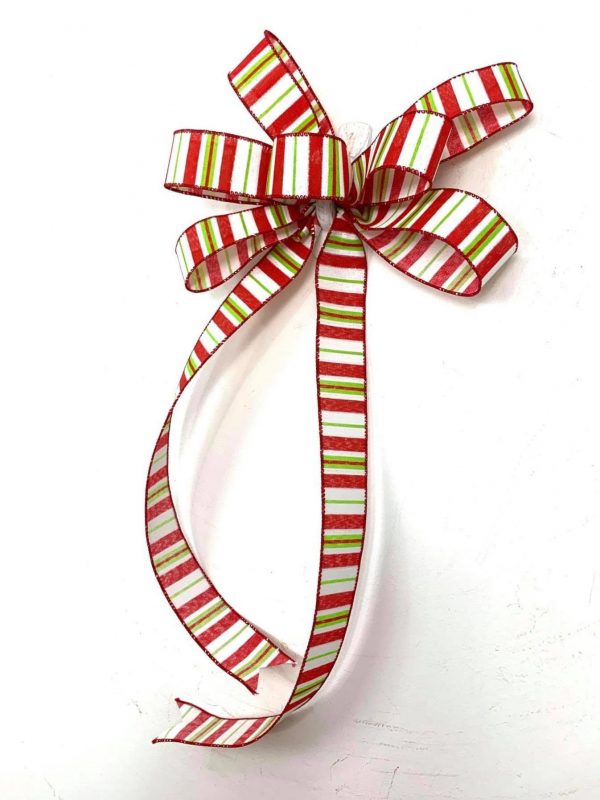
A Traditional Red and Green Bow
1. Nick folds the bow wire in half and tucks it underneath the Bowdabra.
2. He creates a long tail with the ribbon and adds two large loops on either side of the Bowdabra with the ribbon roll followed by two medium loops with a cute button loop in the center.
3. He then compresses the ribbons, pulls the bow wire from one end to the other, and ties the bow.
4. He finishes off by fluffing all the loops and cutting the dovetail pattern on all the tail ends.
Materials required:
• 100-yard Bowdabra silver bow wire
• A red ribbon roll
1. Nick folds the bow wire in half and tucks it underneath the Bowdabra.
2. He creates a long tail with the ribbon, followed by a slightly shorter second tail.
3. He then creates a loop with a tail and adds to one side of the Bowdabra, following the same process on the other side with another one.
4. In this fashion, he adds 4 loops on the Bowdabra.
5. To secure the bow, he pulls the bow wire from one end to the other and ties the bow.
6. He finishes off by fluffing all the loops and cutting the dovetail pattern on all the tail ends.
How to make Funky Candy Canes and Bows