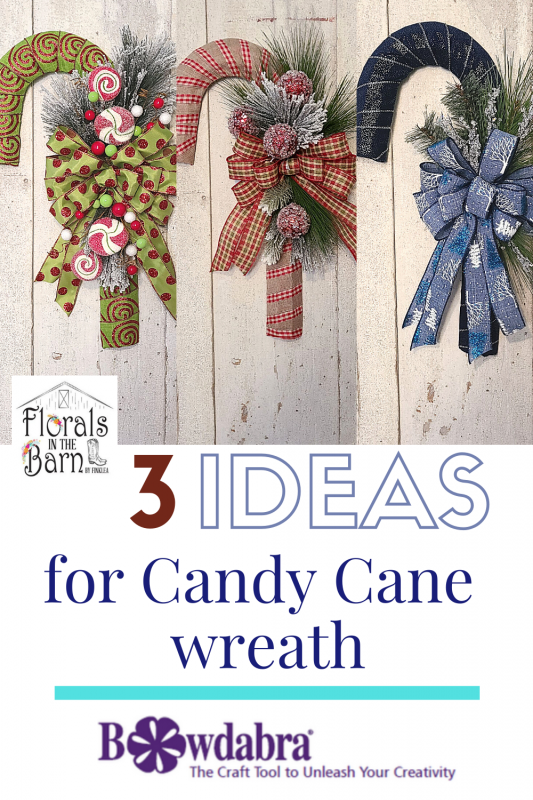
This week on the Bowdabra Live, join Kelly Klekamp-Smith from Florals in the Barn by Finklea, as she demonstrates the entire process of turning around every one of the simple and cute candy canes into gorgeous pieces of art.
These bows will look pretty, whether in the fall season or at Christmas. These beauties are perfect handmade decorations that are great as gifts for family and friends. They are that perfect accessory to turn around any indoor corner or wall into a festive one within a matter of a few seconds.
So, go on ahead and learn how to decorate all kinds of candy canes in literally minutes!
Materials required:
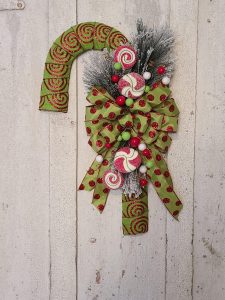
1. Kelly selects a green ribbon covered and ready candy cane with its own bow. She begins by tucking in several frost-covered pine picks to the bow with the help of hot glue.
2. She then works in some pretty fake candies so that the shimmery colors add to the green of the candy cane, bow, and pine.
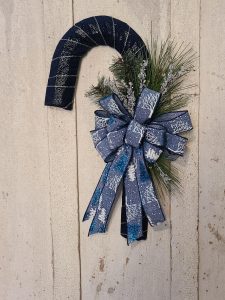
3. Next, she moves on to the navy blue ribbon covered candy cane wireframe with a bow made out of a cute icy blue tree patterned, shimmery ribbon to offset the frame.
4. She picks out some green pine needles and begins to work them into the back of the bow. She makes sure to intersperse them with some frosted pine needles as well.
5. With the help of hot glue, she also adds some crystal crusted icy picks.
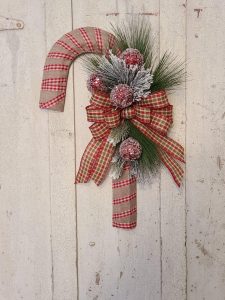
6. Then, Kelly moves on to a beige colored ribbon with plaid piping ribbon covered candy cane, which has a bow made out of the same kind of plaid ribbon for decorating.
7. She takes some plain green pine needles and workes them into the bow. Kelly alternates them with some frost-covered pine needles as well. Finally, she adds some bright red cherries for the required pop of color.
8. She fluffs all the loops of all the bows and checks if the tail ends are dovetailed, making sure the candy canes and embellished bows have the intended professional flourish and finish when they are ready.
