Watch as Nick from Nick’s Seasonal Décor comes on Bowdabra Live, with lots of funky and classic bows and a candy cane, teaching us the process from scratch. Tune in to learn just how to make these bows to decorate your homes and those of your loved ones.
(Starts at 0: 57)
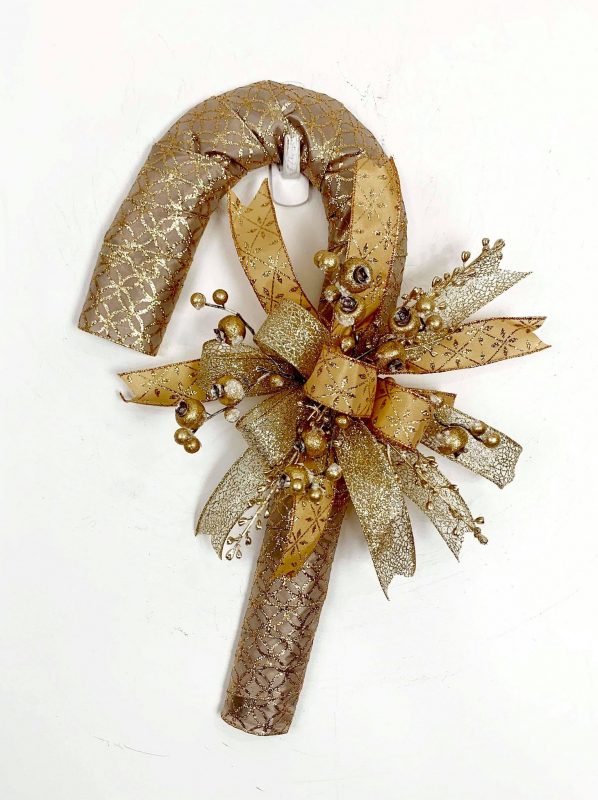
A Gorgeous Candy Cane with decorations
1. Nick adds a dollop of glue to one end of the candy frame and wraps one of the ribbons across the entire frame.
2. He carefully seals the ribbon end with hot glue on to the candy cane frame.
3. Meanwhile, he folds the bow wire in half and tucks it into and underneath the Bowdabra.
4. He creates a long tail with a loop with the second ribbon roll and adds it to the Bowdabra.
5. He repeats the process with the third ribbon roll to add to the other side and alternates between the two till there are 3 loops on each side of the Bowdabra.
6. He secures the bow and finishes off by fluffing the loops and cutting the dovetail pattern on the tail ends.
8. With hot glue, he sticks the bow securely to the frame and some gold berries too.
1. Nick folds the bow wire in half and tucks it into and underneath the Bowdabra.
2. He creates a long tail with the ribbon and keeps adding large loops on either side of the Bowdabra with the ribbon roll till he has a full traditional bow.
3. He secures the bow and finishes off by fluffing all the loops and cutting the dovetail pattern on the tail ends.
(Starts at 17: 41)
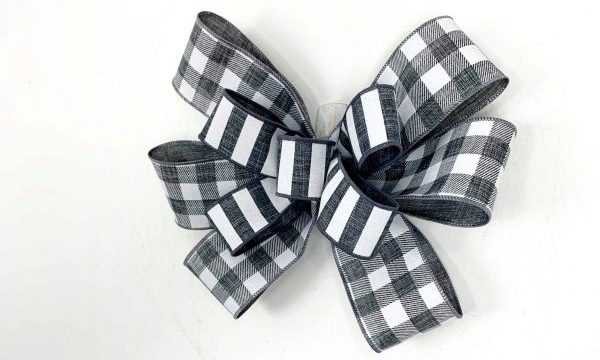
An Elegant Grey-and-Ivory Bi-ribbon Bow
1. Nick folds the bow wire in half and tucks it into and underneath the Bowdabra.
2. He creates three large loops on both sides of the Bowdabra with the 2½” chequered ribbon.
3. With the 1½” striped ribbon, he creates two smaller loops on each side of the Bowdabra, with a cute button loop in the center.
4. He secures the bow, finishing off by fluffing all the loops and cutting the dovetail pattern on the tail ends.
(Starts at 20: 25)
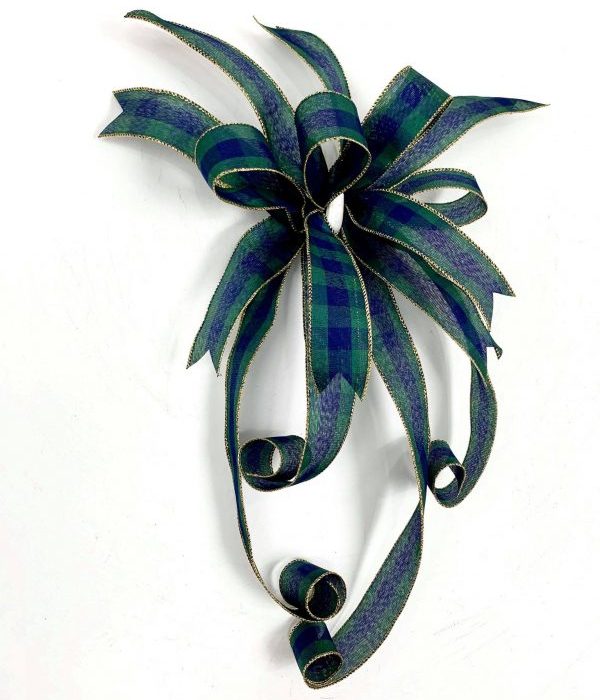
A Modern Deep Blue Bow with multiple tails
1. Nick folds the bow wire in half and tucks it into and underneath the Bowdabra.
2. He creates a long tail with the ribbon, followed by a slightly shorter second tail.
3. He then creates a loop with a tail and adds to one side of the Bowdabra, following the same process on the other side with another one.
4. In this fashion, he adds 3 loops on each side of the Bowdabra.
4. He compresses the ribbons, pulls the bow wire from one end to the other, and ties the bow.
5. He finishes off by fluffing all the loops and cutting the dovetail pattern on all the tail ends.
(Starts at 24: 00)
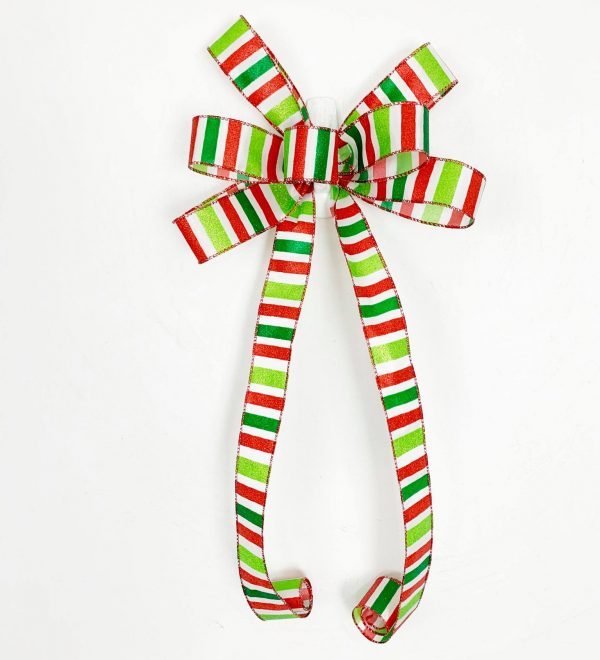
A Big Modern Christmasy Red and Green Bow
1. Nick folds the bow wire in half and tucks it into and underneath the Bowdabra.
2. He creates a long tail with the ribbon and adds two large loops on either side of the Bowdabra with the ribbon roll followed by two smaller loops with a cute button loop in the center.
3. He then compresses the ribbons, pulls the bow wire from one end to the other and ties the bow.
4. He finishes off by fluffing all the loops and cutting the dovetail pattern on all the tail ends.
(Starts at 26: 36)
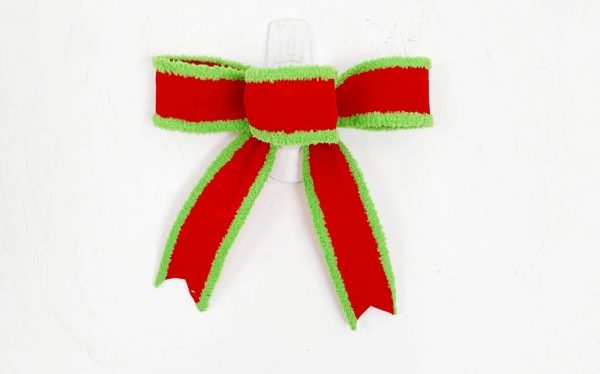
A Funky Crimson Bow
1. Nick folds the bow wire in half and tucks it into and underneath the Bowdabra.
2. He creates a tiny tail with the ribbon roll to and three small loops on either side of the Bowdabra with each subsequent one getting smaller.
3. He secures the bow and finishes off by fluffing all the loops and cutting the dovetail pattern on all tail ends to make the bow pretty.
(Starts at 29: 42)
1. Nick folds the bow wire in half and tucks it into and underneath the Bowdabra.
2. He creates a long tail with the ribbon and follows it up with two single loops with tails on each side of the Bowdabra.
3. He pulls the bow wire from one end to the other, securing the bow and finishing off by fluffing the loops and cutting the dovetail pattern on the tail ends.
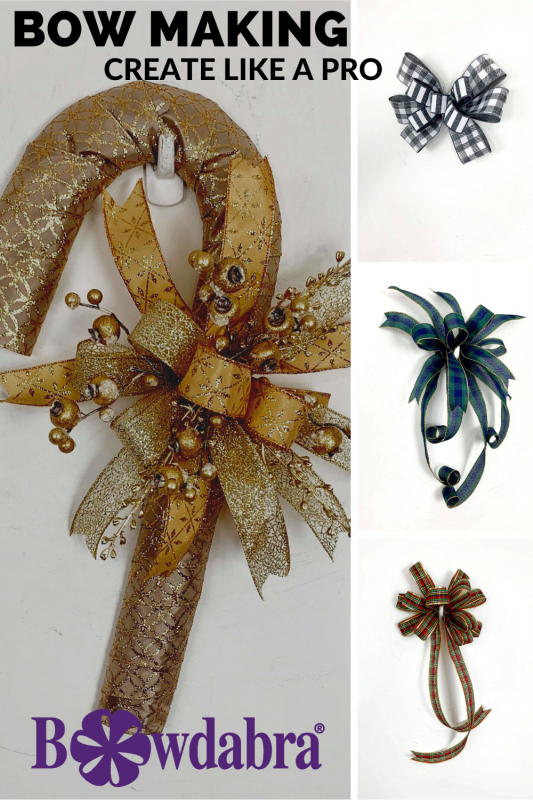
How to make Funky Candy Canes and Bows