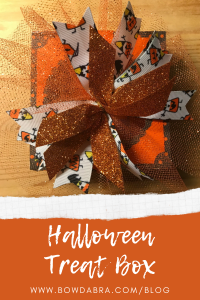
This Halloween treat box is sure to delight the little ghouls and goblins that visit you on Halloween night.
Double, double toil and trouble,
Gather these supplies on the double!

- 14″ length 7/8″ Halloween theme patterned grosgrain ribbon
- 18″ length 6″ orange tulle
- Five 5″ lengths 7/8″ Halloween theme patterned grosgrain ribbon
- Three 4″ lengths 5/8″ glitter ribbon
- Halloween treat box pattern
- Two 8½” x 11 sheets of Halloween theme cardstock
- 4½” x 4½” piece acetate
- 18″ length Bowdabra bow wire
- Mini Bowdabra Bow Making & Design Tool
- Hot glue and glue gun
Let’s Make the Halloween Treat Box
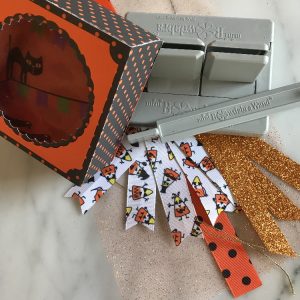
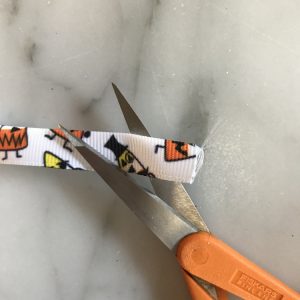
- Cut ribbons to length. Straight cut the end of the 14″ ribbon. Dovetail the ends of the 5″ grosgrain ribbons. Angle cut the ends of the glitter ribbon. Then, quickly pass the ribbon ends through a flame to seal the ends and prevent fraying.

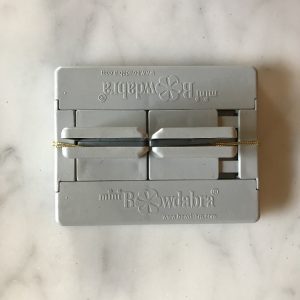
- Next, fold bow wire in half and put it in the Mini Bowdabra. Tuck the ends of the wire under the Mini Bowdabra to keep them out of the way.

- Scrunch the tulle into the Mini Bowdabra.
- Layer the ribbons spikes in the Mini Bowdabra, beginning with the 5″ spikes.
- Compress the ribbons with the wand.
- With the ribbons still in the Mini Bowdabra, pass the wire ends through the loop and tighten. Tie a knot on the reverse side. Trim the wire ends. Make any adjustment to the box, then set aside.
- Download the free treat box pattern. Cut out the pieces with the exception of the band.We’ll be using a length of ribbon in place of the paper band. Assemble the box.
- Wrap the 14″ ribbon around the treat box. Overlap the ends and hot glue the ends together. You want the band snug around the box, but with enough ease that it can slide off easily.
- Hot glue the bow to the band on top of the overlap.
- Fill your treat box with all sorts of Halloween treats.