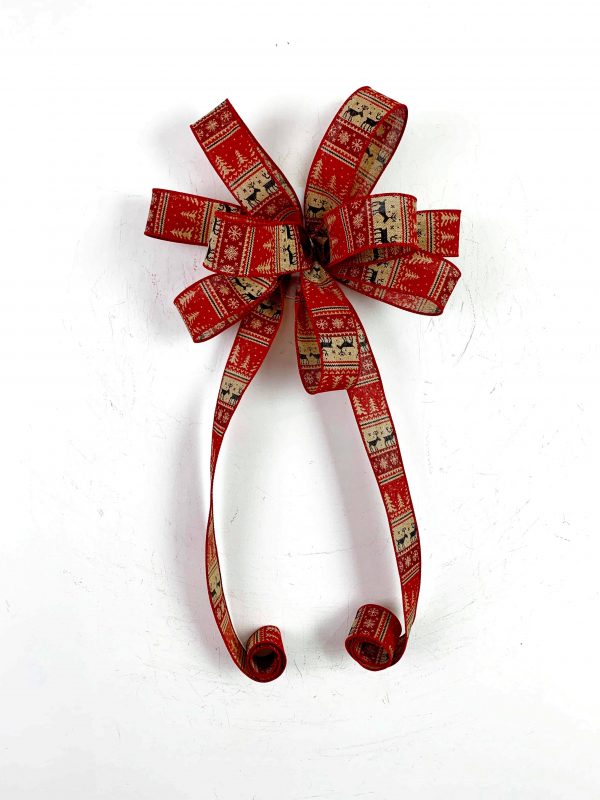
On Bowdabra Live this week, watch Nick from Nick’s Seasonal Décor demonstrate the entire process of creating several kinds of Christmas as well as Fall bows. Watch this Live and you will be all set for the celebrations – starting from fall all the way to Christmas.
A Traditional Christmas Bow (Starts at 0: 32)
Materials required:
• 100 yard Bowdabra bow wire spool
• One-sided vibrant Christmas patterned red and gold ribbon roll

A Traditional Christmas Bow
1. Nick folds the bow wire into half, and tucks it into and underneath the Bowdabra.
2. He cuts two lengths of the patterned ribbon to create a tail with the pattern facing in the same direction, and adds to the Bowdabra.
3. After that he creates as many loops as he can fit in the Bowdabra for a full bow.
4. He compresses the ribbons down, then goes on to pull the bow wire from one end of the Bowdabra to the other and ties the bow up to secure it well.
4. He finishes off by fluffing the loops to make the bow real pretty.
A Funky Doorknob Bow (Starts at 7: 14)
Materials required:
• 100 yard Bowdabra bow wire
• Large Bowdabra
• Flannel plaid ribbon roll
A Funky Doorknob Bow-
1. Nick folds the bow wire into half, and tucks it into and underneath the Bowdabra.
2. He fashions a long tail with a single looped bow and adds it to the Bowdabra.
3. He repeats the process twice over with the loops and tails on the same sides each time.
4. Nicks then pulls the bow wire through a slip knot to secure the bow, ties it up and fluffs all the loops up to give it a professional touch.
5. Finally he takes each tail end between his fingers and curls them up to create a whimsical touch.
A Velvet Christmas Swag (Starts at 11: 0)
Materials required:
• Christmas decorations like pines, juniper and other greenery
• 2 ½” candy cane red and white velvet ribbon roll
• 1½” red and white polka dotted velvet ribbon roll
A Velvet Christmas Swag
1. Nick folds the bow wire into half, and tucks it into and underneath the Bowdabra.
2. He creates a loop with a tail with the candy can ribbon and adds it to the Bowdabra.
3. He repeats the process with the other ribbon and adds it to the Bowdabra so that the loop and tails are on opposite sides to the previous bow.
4. He repeats the process over and over again alternating between the ribbon rolls, till there is a pile in the Bowdabra.
5. He pulls the bow wire through a slip knot to secure the bow and ties them altogether.
6. He snips his favorite dovetail pattern on all the tail ends and fluffs up all the loops.
7. Nick chooses a selection of pines, juniper and other greenery to make two piles facing the opposite directions, and brings them together to secure them tightly.
8. He sets the composite bow in the center of the greenery and secures them together to make a beautiful swag for your window sill.
A Victorian Two-Layered Bow (Starts at 20: 55)
Materials required:
• Large Bowdabra
• Champagne colored ribbon roll
• Rose gold colored ribbon roll
A Velvet Christmas Swag
1. Nick begins making the bow by folding the bow wire into half, and tucks it into and underneath the Bowdabra.
2. For this unique bow, he adds a tail each per ribbon and adds to the Bowdabra, one on top of the other.
3. Then he adds four loops of one ribbon on each side of the Bowdabra as a base.
4. He follows the same process with the other ribbon, making two loops on each side that are a little smaller than the previous set, with a cute button loop in the center.
5. He pulls the bow wire through a slip knot to secure the bow and ties it up.
5. Nick then curls the tail ends with the help of his fingers before fluffing up all the loops for good measure to provide it a smooth finishing touch.
A Funky Halloween Bow (Starts at 26: 29)
Materials required:
• 100 yard Bowdabra bow wire
• Purple satin ribbon roll with black piping
Halloween Bow
1. Nick begins making the bow by folding the bow wire into half, and tucks it into and underneath the Bowdabra.
2. For this bow, he first makes a loop with the ribbon and adds to the Bowdabra right through the center with the tails on the other side.
3. He follows the same process one more time, only this time he adds the bow to the Bowdabra so that the loop and tails are in the opposite directions than before.
4. He then follows the same process till there are an equal number of bows on each side to make a full bow.
5. He pulls the bow wire through a slip knot to secure the bow and ties it up.
6. He goes on creates his favourite dovetail pattern on the tail ends before fluffing all the loops for good measure for a smooth finishing touch.
