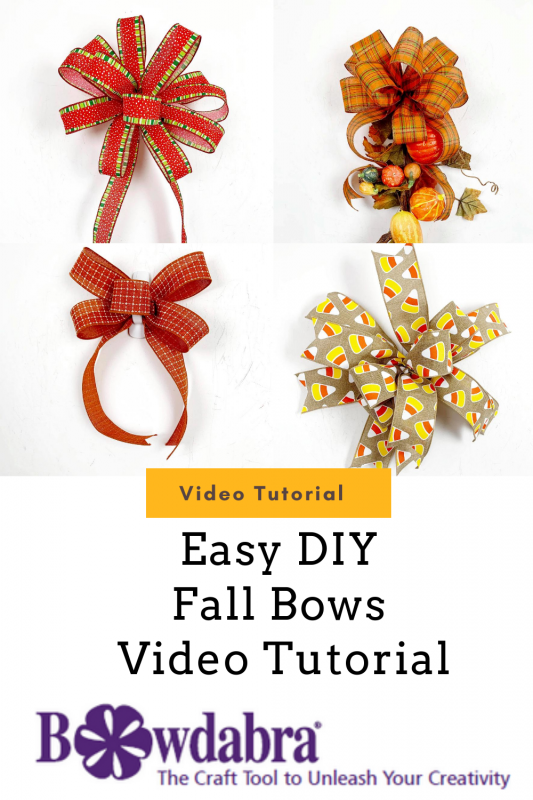
With the fall season upon us, Nick from Nick’s SeasonalDécor shows us how to make some traditional as well as funky bows onBowdabra Live.
Materials required:
• Gold Bowdabra bow wire
• 2 ½” wide patterned, shimmery ribbon
• Single-sided floral ribbon
1. Nick then takes the gorgeous shimmery ribbon and cuts off a 28” piece, folds it into half and cuts a simple dovetail pattern in the ends.
2. He takes the same ribbon roll and scrunches another portion of it into the Big Bowdabra leaving a slight overhang on one side.
3. He makes 4-6 loops of the shimmery ribbon on each side to create a full bow. (If you don’t want a full bow, you can work with fewer loops; if you want a fuller bow, just add more loops).
4. Nick ends the loops with an overhang – a critical step in making this bow, as it allows for adjusting the loops later.
5. Then he pulls the bow wire from one end and uses a pair of scissors (you can use the Bowdabra wand if you like) to compress the loops.
6. Finally, he ties up the bow with 2-3 knots to secure it.
7. Nick remembers to fluff the loops well to bring the bow to life.
Materials required:
• Gold Bowdabra bow wire
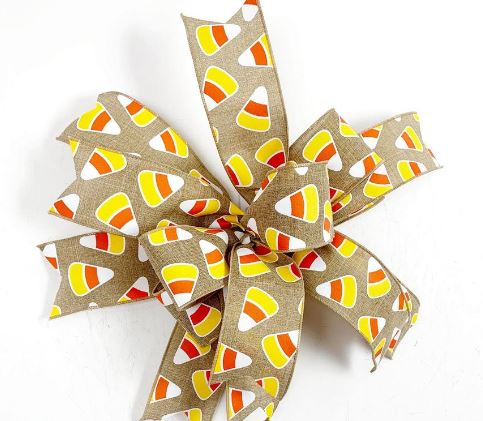
• One-sided fancy candy corn ribbon
1. Nick folds and places the gold bow wire in the LargeBowdabra and tucksthe ends under the base.
2. He cuts up a portion of beautiful single-sided candy corn ribbon and makes a single loop with two tails on either side and scrunches it into the Bowdabra.
3. He also shows how to achieve the same effect without cutting up the ribbon first – by placing the ribbon into the Bowdabra, twisting it to create a loop and placing the end on the other side before slicing the ribbon.
4. Nick adds four more loops of ribbons into the Bowdabra – with loops hanging on both sides.
5. Finally, heties gold bow wire around the pretty Halloween bow.
6. To get a patterned tail, Nick holds together two ribbon tail ends, folds them in half and cuts a pattern on to them.
7. He gets the same dovetail pattern on all the ends and ends up by fluffing the loops and adjusting the bow tails to make the bowlook lovely.
Materials required:
• Bright red ribbon
• Gold Bowdabra bow wire
• One-sided patterned ribbon
1. Using the Large Bowdabra, Nick places the gold bow wire and tucks the ends under the Bowdabra.
2. Nick cuts a 40” piece of the red ribbon to create the bow tail, holds the end together to cut a dovetail pattern on them.
3. He then scrunches the strip into the Bowdabra with a tail on each side.
4. Next, he adds the ribbon on top of the tail with three equal loops on either side.
5. Nick then takes the one-sided patterned ribbon and adds 2 loops on each side with it, which are about an inch shorter than the red ribbon loops.
6. Finally, he ties the strips up together with three knots and fluffs the loops nicely.
Materials required:
• 1 1/2” colored ribbon
• Gold Bowdabra bow wire
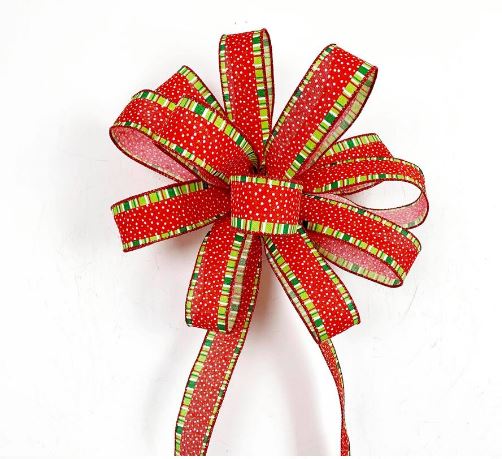
Traditional Bow
1. Nick uses the Bowdabra gold wire and puts inside the Large Bowdabra and tucks it beneath it.
2. To make this Bow tail-less, Nick starts with the tail of the ribbon and scrunches it in the Bowdabra.
3. Nick makes about six loops on each side.
4. The ribbon is compressed and tied with the help of the wire to make it secure.
5. Taking the bow out of the bowdabra, a few more knots are made.
6. Shaping and fluffing the loops, and Voila! Your tail-less fall traditional bow is ready.
Materials required:
• A Stem
• Gold Bowdabra bow wire
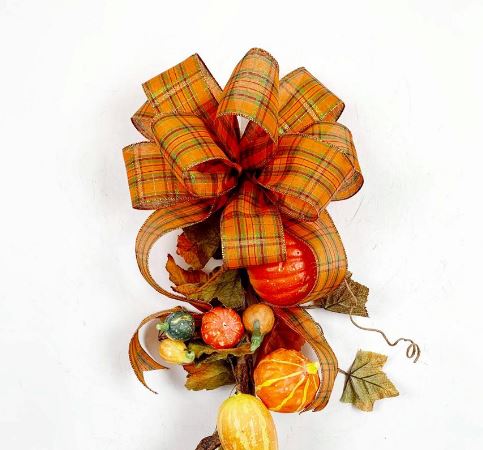
• A Dovetailed Bow (Starts at 0:03 of 2 ½” wide patterned, shimmery ribbon)
1. Nick takes a branch with Pumpkins, greenery, and gnarly stems already attached to it.
2. Picking up the Dovetailed Bow, Nick firmly attaches the bow to the stem with the wire.
3. He ties knots to make it secure and wraps the branch with it.
4. Ready to use and put it up on any of the doors this Fall.
Materials required:
• Large Bowdabra
• 1 1/2” coloured ribbon
• Gold Bowdabra bow wire
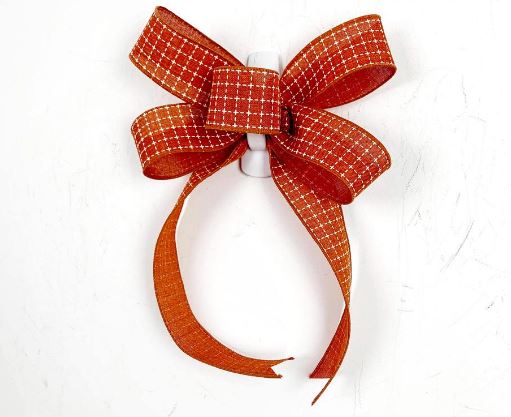
1. Cutting the tails of the ribbon, Nick places a piece in the Bowdabra.
2. Then loops are made and added with the ribbon on the piece.
3. Loop, twist, scrunch! Two loops are made on each side with a button loop, tucked together with the Bowdabra Wire.
4. After taking the bow out of the Bowdabra, the loops are fluffed and separated as two loops on each side, headed with a button loop.
5. The tails are pulled down and the bow is ready to be placed on a wine bottle.
