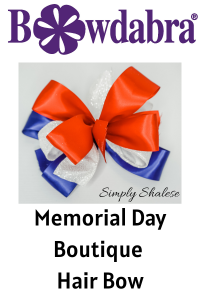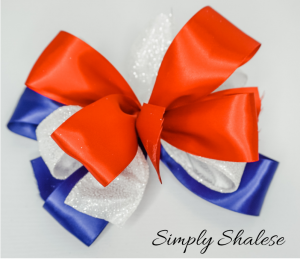
Hey everyone, I’m Simply Shalese, here to make something awesome with you guys! So, today we will be making a precious boutique hair bow, perfect for Memorial Day. Let’s get started!
1-inch wide red ribbon – 32 inches long
1-inch wide white ribbon – 34 inches long
1-inch wide blue ribbon – 36 inches long
Hair clip
Scissors
Hot glue gun
To begin with, I fold the bow wire in half and place it in the center of the Bowdabra. I like to use about 8-9 inches of bow wire.
So then, I Scrunch the blue ribbon about 1 or 2 inches from the end and place it down in the center of the Bowdabra. Make a loop and scrunch again. Repeat this step for as many loops as you’d like. I decided to go with four loops. Once you’re done, leave another 1 or 2 inches on the other end. So you will have a total of 4 loops and 2 tails.
Make note that for the white ribbon, you will have to scrunch and twist the ribbon before placing it down. You will have to add this step for any ribbon you are using that has a right and wrong side.
Then, repeat this step with the white and red ribbon. If you want a more dramatic size with a different in each color bow, add 3 or 4 inches between each ribbon color.
Now, give the ribbon one final scrunch with your wand and use this time to adjust the hair bow as needed.
Once you’ve added your loops, give it one final scrunch. Then take the bow wire, the two open ends inside of the loop. Hold the hair bow in place and give it a nice tug. Then remove it from the Bowdabra. Tie it in a know a few more times just to make sure it’s nice and secure. Then cut away the excess bow wire.
Take your 3/8 inch long piece and hot glue it to the incline of the hair clip. Bring the ribbon around and glue it down to the back of the clip. Lastly, glue the end of the ribbon to the inside of the clip.
Place hot glue along the back of the hair clip and place it firmly to the back of the hair bow. Be sure that the entire clip is pressed against the hair bow. And you are all done!
Adjust your bow and much as you need to. And, you also have the option of using a lighter to finish off any frayed edges. Modify the color or pattern to fit any holiday or theme. So simple and easy to make.

Thanks for joining me. Be sure to check out and subscribe to my youtube channel, Simply Shalese, for more awesome videos. Also, follow me on Instagram at SimplyShalese_diy And check out Bowdabra blog as well!
