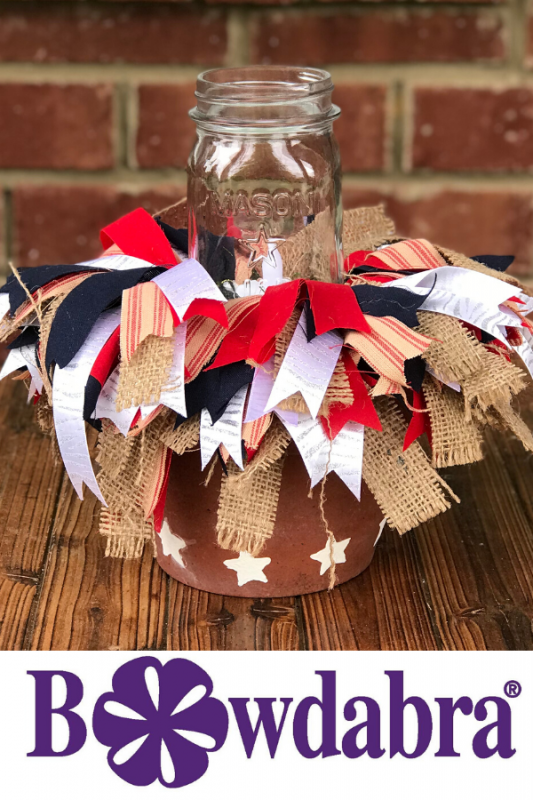
Make this simple and easy outdoor table centerpiece to use all summer long. It has a bit of a farmhouse style flair because we used a terracotta clay pot as our base, scrap cotton fabric for our scrappy bows and a Mason jar for lighting the center.

Enjoy a cozy summer evening on the patio with your new low light outdoor table centerpiece. It’s an easy DIY project that comes together in under an hour.
You could fill the Mason jar with string lights, a small candle, even a citronella candle would work or a battery powered votive as I have used.
Use red, white and blue fabric for your scrappy bows or be creative with your own colors and decor theme using the same idea. It’s the scrappy bows that give this centerpiece so much character!
SUPPLIES
- Bowdabra
- Bowdabra wire
- White ribbon of your choice (20 each, 8″ strips)
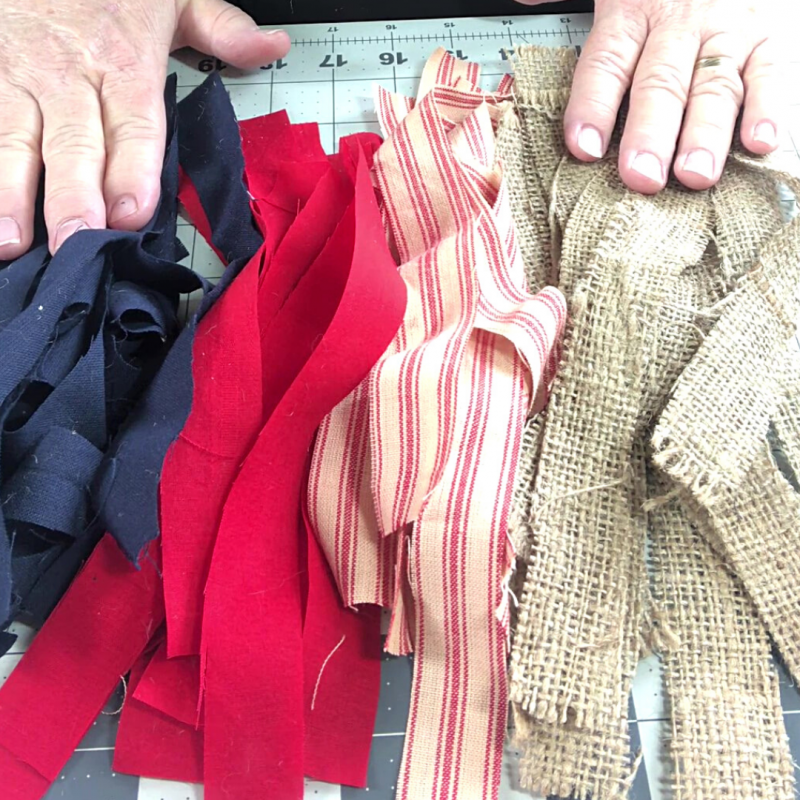
- Cotton fabric scraps in Red and Blue (20 each, 8″ strips)
- Burlap fabric scraps (20, 8″ strips)
- Floral wire
- 4′ x 4″ floral foam brick
- Clay Pot (6 1/2″ x 5″ x 4″)
- Glue gun
- Faux moss

FABRIC METRICS
Each strip of fabric is cut to 1 inch wide and 8 inches long. That is the size which fit well on my clay pot. You may want longer or shorter depending on the size of the flower pot you use.
SCRAPPY BOWS
There are a total of 20 scrappy bows on my centerpiece. Each bow is made up of 5 fabric scraps. These are also fun to use on other projects like Christmas tree decor too!
Mine are all made with scrap cotton fabrics from the sewing room.
TERRACOTTA POT
The dimensions of my Terracotta pot are 6 1/2″ x 5″ x 4″. No need to buy a new one, use what you have on hand. I found this one in my garage. It has the perfect character to make my new outdoor table centerpiece feel rustic.
I used a small star stencil to add the stars near the bottom. I traced the inside of the stencil with a pencil onto the pot then painted inside of the lines. It was rather therapeutic and fun to do.
See the easy step by step video tutorial. Thanks for the thumbs up over on my You Tube!
Shirley is owner and content creator at two blogs; Intelligentdomestications.com where she shares all things Homemaking and Explorethesouth.org which is a brand new adventure where she is sharing travel in the deep south. Find Shirley on Pinterest, Facebook, Instagram and Twitter.