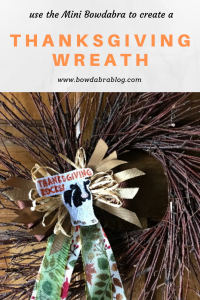
Let’s have some fun with ribbon scraps, and create a beautiful Thanksgiving wreath. I’ll give you the measurements of my scraps—yours may be a bit shorter or longer. No problem. That’s what makes your bow unique.
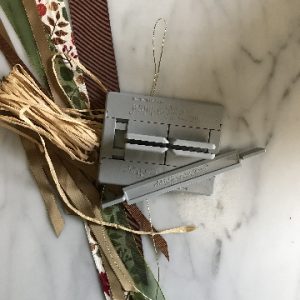
Supplies for Thanksgiving Wreath Bow

- 28″ length patterned 1½” grosgrain ribbon
- 20″ length 1¼” organza ribbon
- 24″ length 1½” grosgrain ribbon
- Six 6″ lengths ½” satin ribbon
- 72″ length raffia ribbon
- 24″ length Bowdabra Bow Wire
- Mini Bowdabra
- Wreath
- Embellishment (optional)
Instructions for Making the Thanksgiving Wreath Bow
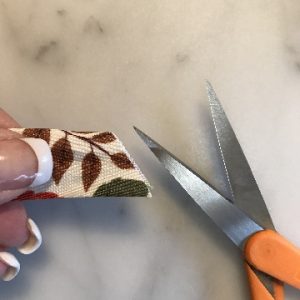
- Cut ribbons to appropriate lengths. Dovetail the ends by folding the ribbon in half and cutting the fold on an angle. Quickly pass the ribbon ends through a flame to seal.

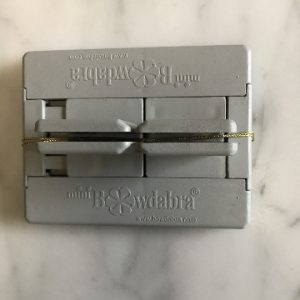
- Fold the bow wire in half and put in the Mini Bowdabra. Tuck the ends of the wire under the Mini Bowdabra to keep them out of the way.

- Center and layer the 28″ length of patterned grosgrain and 20″ length of organza ribbon in the Mini Bowdabra.
- Make a four-loop fold bow with the 24″ length of grosgrain ribbon. A longer length of ribbon will yield more/larger loops.
- Layer the 6″ satin ribbon spikes in the Mini Bowdabra. You can opt to use more that six, but use at least three.
- Make a fold bow with the raffia. I had ten loops on each side of the Mini Bowdabra.
- Compress the ribbons with the Mini Bowdabra wand.
- With the ribbons still in the Mini Bowdabra, pass the wire ends through the loop and tighten. With the ribbons still in the Mini Bowdabra, tie a secure knot.
- Remove the bow from the Mini Bowdabra, bring the wire ends to the back side of the bow, and tie a secure knot. Leave the wire ends long for attaching the bow to the wreath.
- Make final adjustments to the bow loops and fluffy the bow.
- Optional: Use hot glue or strong liquid adhesive to secure a Thanksgiving embellishment to center of the bow.
- Attach the bow to the wreath using the ends of the bow wire.