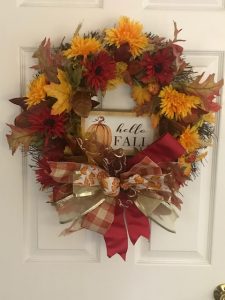
I love grapevine wreaths. Did you know how easy it is to recycle a wreath for each season? With all the weaved twigs it is so easy to just push in floral picks, flowers, leaves, etc. without even using a drop of glue. So then, when the next season rolls around you simply remove the foliage and replace them with ones from the current season. To finish, make a large Terri style bow with multiple prints of scrap ribbons. Then, tie it on the wreath with the Bowdabra bow wire. Yup, no glue again!

Cut all your ribbons pieces before you start.
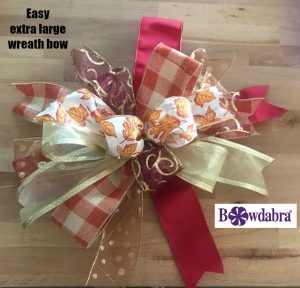
2 ½” wide wire edge ribbons are used throughout this project
35” long red ribbon
20” long red ribbon
30” long sheer fall glitter ribbon
16” long sheer fall glitter ribbon
28” long checkered print ribbon
20” long checkered print ribbon
25” sheer gold ribbon
15” sheer gold ribbon
20” sheer burgundy sparkle ribbon
14” sheer burgundy sparkle ribbon
18” leaf print ribbon
12” leaf print ribbon
Bowdabra bow maker
Bowdabra bow wire
Large recycled grapevine wreath
Various floral picks, leaves etc.
Remove any old foliage from the wreath. Add your current foliage in a pleasing manner. If you push it into the wreath it should stay with no problem.
Note: You can use your choice of color ribbons, just make sure for each color you have one long piece and a corresponding shorter piece with a dove tail.
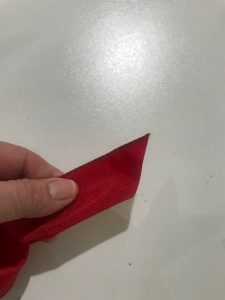
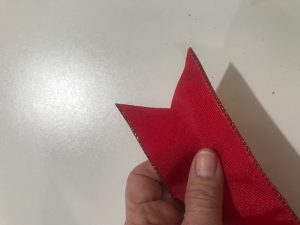
First, each color ribbon has a long piece and a short piece. On every corresponding short ribbon piece, fold in half and cut at an angle towards the fold to make a dovetail. Run a lighter over the edges on ribbons that tend to fray.
Next, cut a longer piece of Bowdabra bow wire. Fold it in half and insert into the Bowdabra. You will have a loop on one end and two loose wires on the other. Tuck the ends under to keep out of the way while you make your bow.
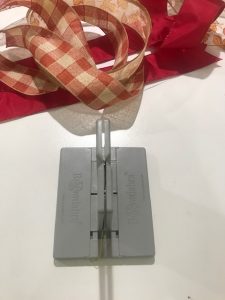
Begin with the first ribbon’s short dovetailed piece. Fold it in half to find the center and insert into the Bowdabra right side facing up.
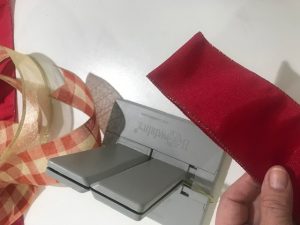
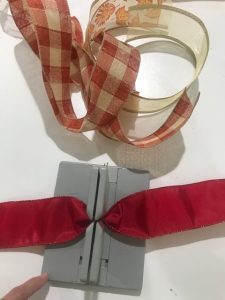
Now with the longer piece in the same color place in the Bowdabra right side facing down. Bring over the towers to make a loop and insert into the Bowdabra. Push the center down to make a large bow.
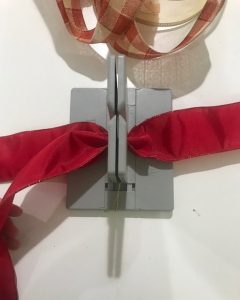
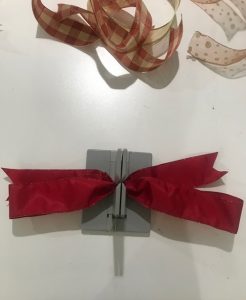
Repeat the last two steps with the next color ribbon. Continue the same previous steps with all the ribbon until you have finished using them all. The Bowdabra gets to be quite full with all the ribbon so you may have to put the wand in it and push down periodically.
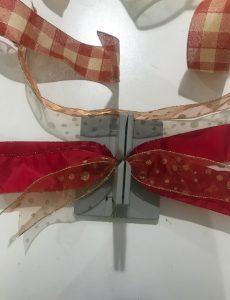
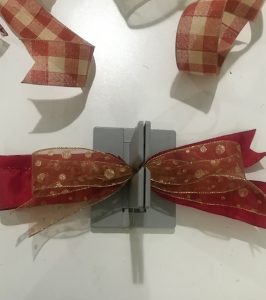
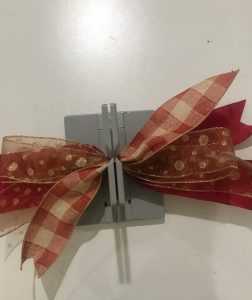
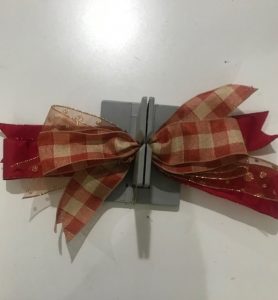
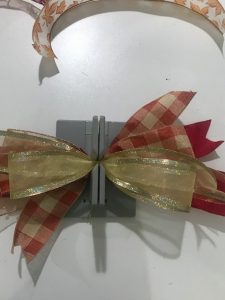
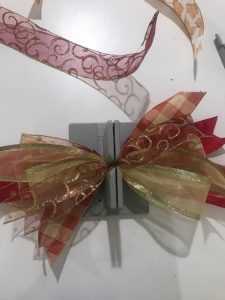
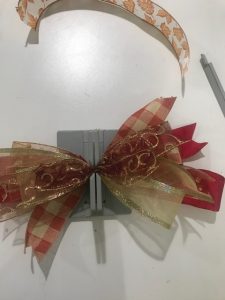
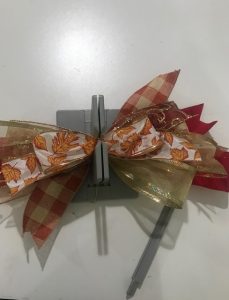
After you have added the last ribbon, push down with the wand. Then, insert the two loose ends through the loop (slipknot) and pull tight while the Bow is still in the Bowdabra. Remove from the Bowdabra, turn to the back and tie a knot and double knot.
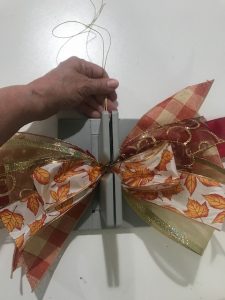
Now, adjust the bow by pulling the loops open and arranging the dovetails all around. This may take a few minutes to get it to your liking.
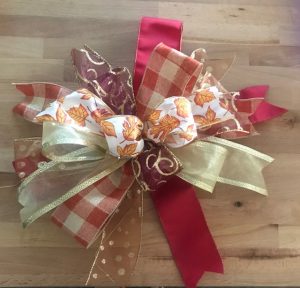
To finish, use the bow wire to tie the bow to the wreath.
