Every day is Christmas if you spend it happily in a positive mood! Here is Sandy Sandler, creator of the Bowdabra bow making tool, showcasing some of the most amazing bows for Christmas in July celebration.
Materials required:
* Large Bowdabra
* Silver scrunchy ribbon
* Silver decorative pick
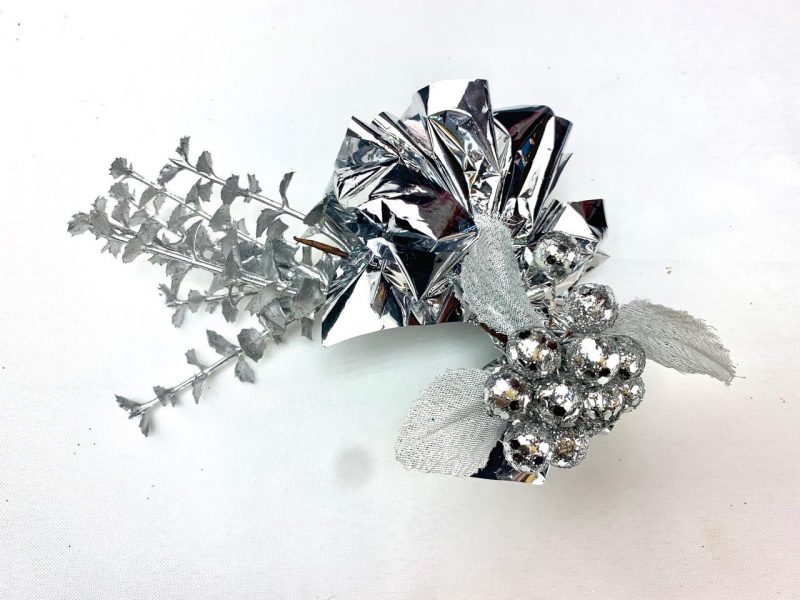
Quick Scrunchy Ribbon
1. Sandy begins by scrunching a yard-long sliver scrunchy ribbon in the Large Bowdabra.
2. She adds two beautiful silver picks to it and ties it all to finish the bow that can be acute little ornament for the tree or a pretty package gift wrap. It can also be used as a wedding gift wrap.
Materials required:
* Large Bowdabra
* Green ribbon
* Golden ribbon
* White flower picks
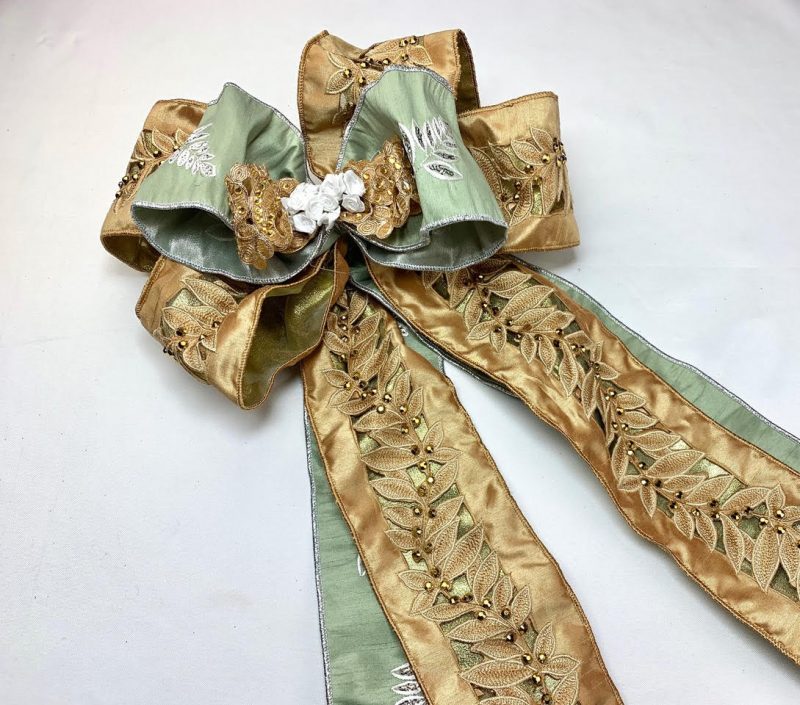
Stunning Tree Topper Bow
1. Sandy scrunches a pretty green ribbon (2 yard long and 4” wide) in the Large Bowdabra.
2. Next she scrunches 3 yards of another pretty golden ribbon over it making loops in an X manner with twist and turn method.
3. She adds another green printed ribbon (30” long and 4” wide) over it making loops.
4. Sandy tops it with a beautiful golden ribbon (17” long and 2” wide) making loops.
5. She adds some cute white flower picks to it.
6. Lastly, she ties it all and fluffs the loops to finish the stunning tree topper bow.
Materials required:
* Large Bowdabra
* Golden ribbon
* Printed ribbons
* Golden decorative pick
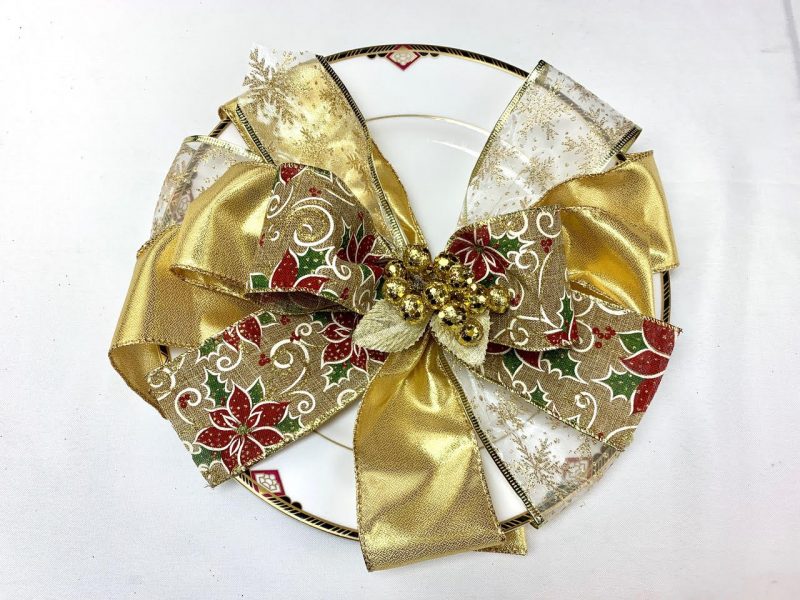
Simple Yet Cute Gift Wrap
1. Sandy scrunches a few golden and printed ribbons (19” long and 2.5” wide) in the Large Bowdabra.
2. Now she scrunches a dovetailed golden ribbon (25” long and 2” wide) making loops.
3. She adds another beautiful ribbon (11” long and 2” wide) and scrunches another same ribbon (18” long and 2.5” wide) making loops.
4. She adds a golden pick to it and ties it all to finish the pretty tree bow that can be used for gift wrapping, or a charger plate bow/centerpiece.
Materials required:
* Large Bowdabra
* Red ribbon
* Red polka dot ribbons
* Green ribbon
* White printed ribbon
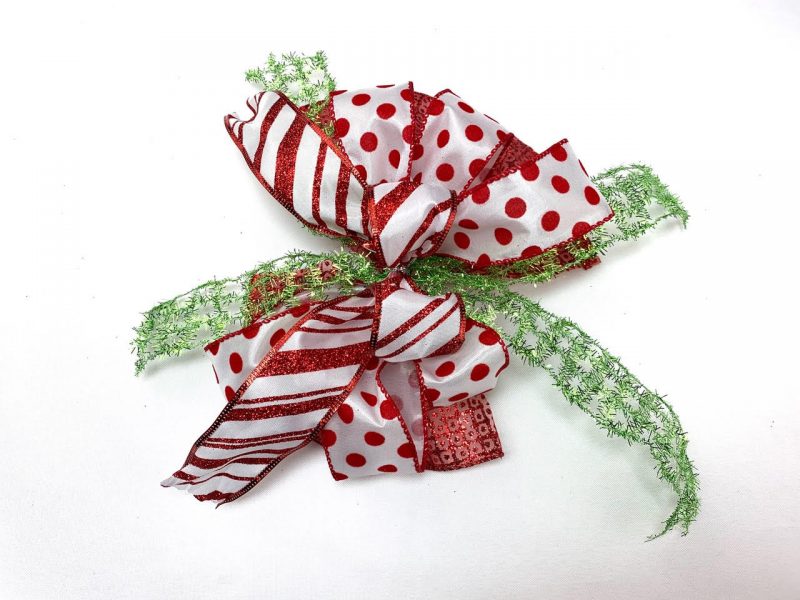
Cute Little Packaging Bow
1. For this project, Sandy scrunches a red ribbon (9” long and 8” wide) in the Large Bowdabra.
2. She tops it with a red polka dots ribbon (1.5 yards long and 1.5” wide) making loops with twist and turn method.
3. She adds a green ribbon (13” long and 1.5” wide) over it.
4. Next, she scrunches two red and white printed ribbons (12” long and 1.5” wide each) over it
.
5. In the last step, Sandy scrunches one of these ribbons making loops. She ties it all to finish the cute little bow for packaging.
Materials required:
* Mini Bowdabra
* Two-colored ribbon
* Ponytail holder
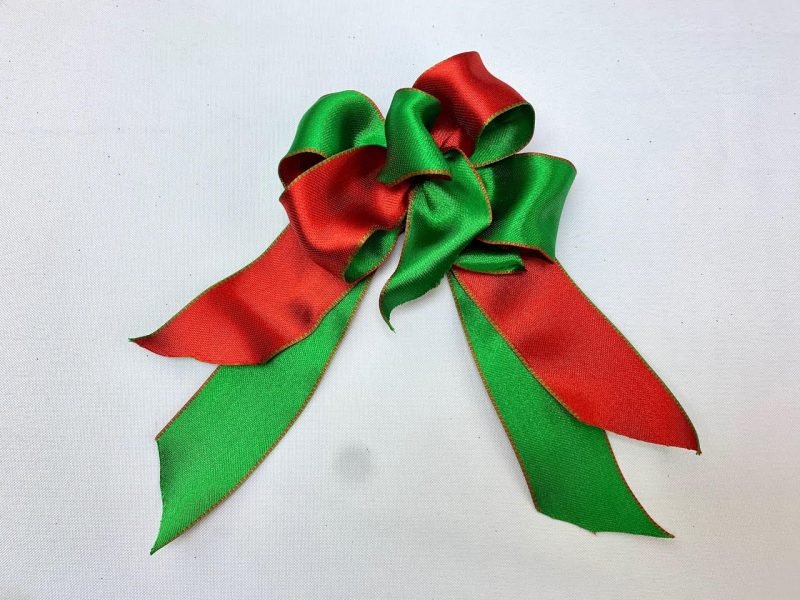
Cute Holiday Hair Bow
1. Sandy switches to Mini Bowdabra for this project. She scrunches a two-colored ribbon (16” long and 1.5” wide) in the Mini Bowdabra with green side up.
2. She scrunches another similar ribbon (13” long) with the red side up.
3. Next she adds a third piece of same ribbon, making loops with twist and turn method.
4. She ties it all and attaches the bow it to a ponytail holder.
5. This can be a really cute holiday hair bow or tree bow.
Materials required:
* Large Bowdabra
* Golden mesh
* Red crimson ribbon
* Ornament pick
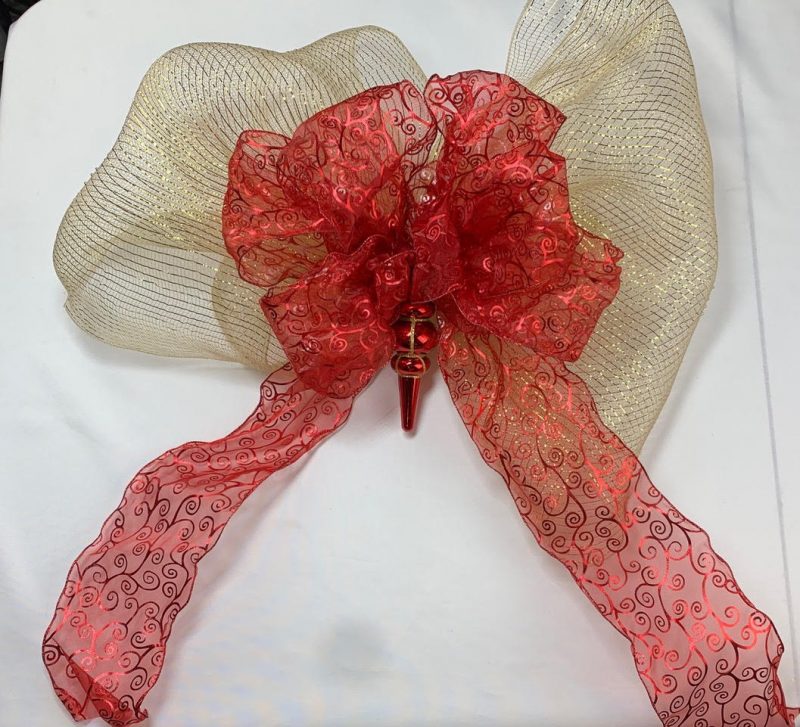
Perfect Door Bow/Tree Topper Bow
1. Sandy returns to the Large Bowdabra for this project.
2. She scrunches a golden mesh (1 yard and 30” long and 21” wide) and tops it with a red crimson ribbon.
3. Sandy scrunches another red crimson ribbon making loops with twist and turn method.
4. She adds a beautiful ornament pick over it and shapes the tails and the loops to finish the perfect door bow or tree topper bow.
2 thoughts on “Christmas in July, Amazing DIY Christmas Bows”