We continue our Christmas in July celebration. It’s a great idea to get a head start on holiday crafting before the rush. And this cute little poinsettia duct tape hair bow is a great little gift and doubly nice when it comes with a matching gift bag! Follow the easy DIY.
This little duct tape poinsettia hair bow is so inexpensive to make you will want to make several to have on hand.
Updated: July 2019
Duct tape Poinsettia hair bow

Materials
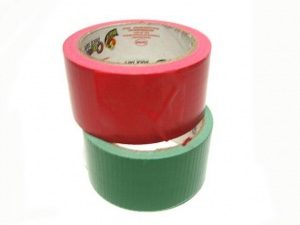
- Red and green duct tape
- Scissors
- Alligator clip
- Mini Bowdabra
- Hair bow tool and ruler
- Bowdabra bow wire
First, Make a matching gift bag
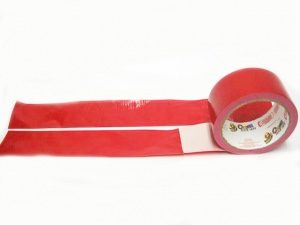
Gather your supplies. Next, pull a large strip of duct tape from the roll. Fold the duct tape on itself but leave it on the roll. It makes it easier to work with. Now, pull the duct tape farther from the roll and fold the other side on its self. Then, cut or tear the duct tape from the roll.

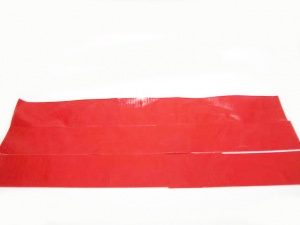
Make three strips; our strips are 16” long. But they can be as long as you want them as long as each strip is similar in size.

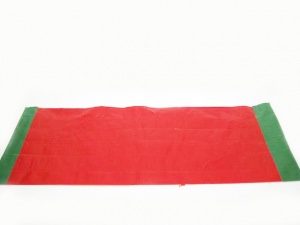
Cover the seams with more duct tape front and back. Next, cover the ends of the duct tape with green duct tape.


Cut a long strip of green duct tape. Add a slightly smaller in length piece of green duct tape over it. You should have about 1” or 2” of sticky tape on each side. Fold the duct tape sheet in half and attach the handle to the top by pressing the tape along the sides. Add duct tape along the sides to finish the gift bag.
Make the poinsettia hair bow
Place the Bowdabra Hair Bow Tool and Ruler onto the Mini Bowdabra. Leave a space at the bottom for the Mini Bowdabra tower to move. Cut an 18” piece of Bowdabra Bow Wire and fold it in half. Lay it into the Mini Bowdabra. You’ll have a loop at one end and two loose pieces at the opposite end.
Next, cut green strips of duct tape about 16” long and then fold them in half. Cut red strips of duct about 12” long and then fold those in half. Make several green and red strips.
Next, fold the strips in half. At the fold cut poinsettia leaves and petals; leave about an inch of the fold still in place. When you open the strips it should look like this.
Pinch the duct tape at the center and slide it into the Mini Bowdabra.
Then, add the red petals to the top by pinching the center and sliding them, while you pinch the center of the leaves and placing them into the Mini Bowdabra.
Finally, scrunch down with Mini Bowdabra Wand. While the bow is still in the Mini Bowdabra, thread the two loose ends of the Mini Bowdabra Bow Wire through the loop at the other end and pull tight.
Gently pull the bow out of the Mini Bowdabra. Separate the two loose ends of the Bowdabra Bow Wire and bring them around to the back of the bow and knot.
Fluff the poinsettia bow and gently form the flower by pulling and placing the leaves and petals symmetrically. Add the alligator clip by attaching to the bow wire.
We hope you are enjoying all of our Christmas in July projects. What did you think of this two-fold project of a gift bag and matching poinsettia hair bow? We would love to hear what are your favorites Christmas in July projects. Also, be sure and post your special projects on the Bowdabra facebook fan page so that everyone can see your amazing bows!