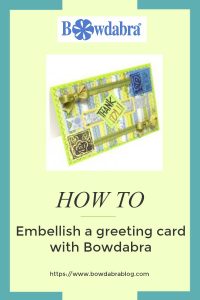
A few pretty stitches on a greeting or Thank you card adds that beautiful extra touch. You can beautifully embellish a greeting card with some hand or sewing machine stitching and finish with cute little Bowdabra bows.
Graduations, weddings, and more events are coming up and wouldn’t it be perfect if you embellish a greeting card to have on hand?

Updated May 2019
Materials:
- Mini Bowdabra
- Hair bow tool and ruler
- Thank you and butterfly stamp
- Ribbon in various sizes and prints
- Embroidery thread
- Sewing machine or hand stitch
- Hot glue gun and hot glue sticks
- Cardstock
How to beautifully embellish a greeting card
Instructions:
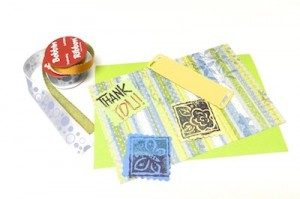
Gather your supplies.

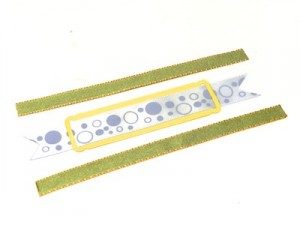
- First, begin by cutting the ribbon to fit across the first layer of my cardstock. I then inserted a cardstock tag onto the ribbon.

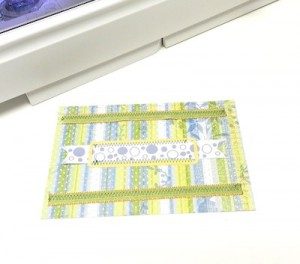
- Next, using a zig-zag stitch on a sewing machine assemble the ribbon to the cardstock. A hand-stitch using embroidery thread and an embroidery needle is also an option.

- Then, stitch each of the square cardstock tags that were stamped with “Thank You”, a butterfly, and a flower onto the greeting card.
- Next, use a large zig-zag stitch to sew the cardstock outline to the card.
- To finish the greeting card, use the Mini Bowdabra and Hair Bow Tool & Ruler (metric side) to design small little bows for the card.
- Make two bows the exact same size. It’s so easy to do with the hair bow tool and ruler!
- Lastly, attach each bow to the card using hot glue.