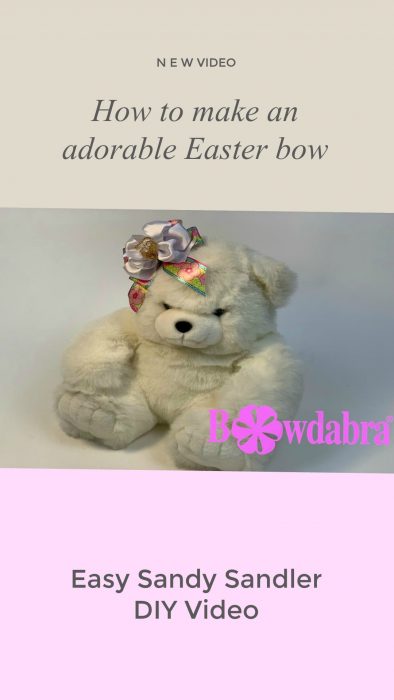
Watch Sandy Sandler, the creator of the Bowdabra as she shows you how to make an adorable little multi-use Easter bow.

Video how to make an adorable Easter bow
Materials
- Mini Bowdabra
- Gold Bowdabra Bow Wire
- 1 piece of 1 ½” x 9” Printed Satin Ribbon
- 2 pieces of 1 ½” x 12” Printed Satin Ribbon
- 1 piece of 1 ½” x 28” White Wired Ribbon
- 1 piece of 2 ½” x 2” Gold Wired Ribbon
- Ponytail Holder elastic
“Hi, everybody. I’m Sandy Sandler, the creator of the Bowdabra Bow Maker. Today, we’re going to make a really cute little girl’s Easter bow or ponytail holder. It really works great for spring with these awesome colors. So, let’s get started.”
First, I’m going to take my Bowdabra Bow Wire. I’ve folded it in half, and I’m just going to lay it into my Mini Bowdabra and just tuck the ends underneath so they stay out of my way.
Now, I’m going to take this really pretty floral ribbon, and I’ve already cut the ends at an angle. I’m just going to fold it in half and find the center do my little mountain up. This is just basically a little crease right in the middle and I’ll put that down into my Bowdabra.
Then, I’m taking more. So, this is just going to be a great spring or Easter bow. I’m going to take the right side of the ribbon, turn it upside-down and scrunch that down into my Bowdabra. I’m going to bring it back around and do exactly the same thing on this side. And then, I’m just going to put it into my Mini Bowdabra. Next, I’m going to just use my wand and scrunch it down a little bit.
Then I’m going to do exactly the same thing. I’m going to take the wrong side, scrunch that into my Bowdabra, bring it around, scrunch it in, so now I have my four loops.
Add the wired ribbon
Next, I have this really pretty wired ribbon, and I’ve dovetailed this end. So, I’m just going to twist it and scrunch that into my Bowdabra, fold it back over, twist, and fold it back and twist it. And bring it back in, twist, fold it and twist, bring it back and twist it. I’m just sort of graduating my bows. Bring that back over.
And now, I’m just going to take my wand and scrunch everything down into my Bowdabra. And I’m not measuring any of this. I’m just kind of doing it with my eye. Next, I have this little piece of mesh ribbon, and I’m just going to scrunch that down in here. And one more time, take my wand and scrunch it all in there.
Finally, I’m just going to hold everything down, bring my wire through my slipknot, pull it really, really tight while it’s still in my Bowdabra. I’m going to pull my bow out, separate the ends, bring it around to the back and I’m going to knot it. If I make a ponytail holder, I’m going to grab my elastic and just bring this through. And just tie a double knot here. Let’s go there. And double-knot it.
Finishing your bow
Clip the ends there. And then, we’re just going to fluff everything out. Now, this is a wired ribbon here, but this isn’t. This is just satin. So, I can shape my wired ribbon a little bit. And now, bring my tails down. And you have a really, really cute little hair bow or use it for any Easter project.
So, wasn’t that super simple? And how adorable. So please, don’t forget to subscribe to our YouTube channel and like and follow us on Facebook so you’ll know when we go live and when we have new videos. See you soon!”