
Learn how to make this beautiful and so elegant Bowdabra winter wreath. Although it incorporates the cool colors and tones of winter, with a few minor substitutions it makes a wonderful year-round wreath.
Materials Needed for this Project:
Bowdabra Bowmaker
Assorted Ribbon
Bowdabra Silver Wire
Medium Sized wire wreath frame
Embellishments
I’ve wanted a Winter wreath to decorate my front door with for some time now and since
I’m now on the Bowdabra Design Team I thought this was as good a time as any. I love my Bowdabra! It makes the process so much easier to create some wonderful bows and in this case a wreath.
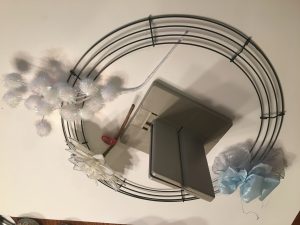
Here is the first bow that I made. This one has blue and white in it. All total I made 18 bows that I wired around the wreath and also added the embellishments that you see in this picture.
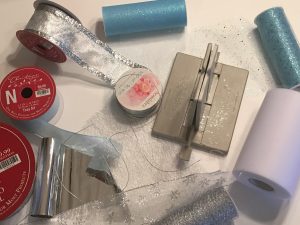
This picture shows the Bowdabra and also all of the ribbons which I used to create the wreath. Once all of the bows had been wired to the wreath frame, the embellishments were inserted in what I thought was the best spot and wired on.
Once you have all of your wire gathered round, cut your pieces to approximately 24″ each. I used three colors per bow, (except for the white tulle that I used as filler to the wreath) All of the wreath ribbons that have been used in this project can be purchased at Hobby Lobby. I purchased all of mine while they had a 50% off sale going on.
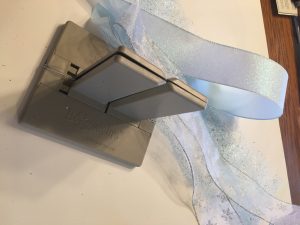
I used approximately two blue tulle ribbons with fine and coarse glitter in them 4″ wide, a roll of silver mesh 4″ wide , a roll of the silver scrunchie that Sandy Sandler uses in her videos 4″ wide, a roll of white tulle 4″ wide , a roll of silver wired ribbon with glitter snowflakes 4″ wide, a roll of wired ribbon blue with very fine glitter in it. The bow that I’ve shown has 4″ wide coarse blue glitter, blue wired ribbon 4″ wide and silver wired ribbon 4″ wide.
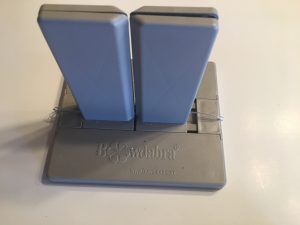
Start by placing folding your wire in half and placing (in this case silver) through the pillars. Then, put the ends underneath to keep them out of the way while you’re working.
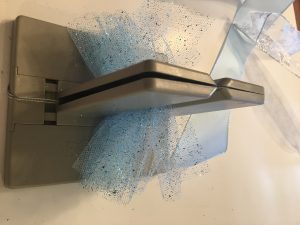
Starting with the tulle, scrunch it down into the Bowdabra .
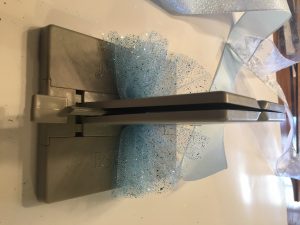
Then, using your Bowdabra wand, scrunch it down unto the tulle. Do this step periodically during your project.
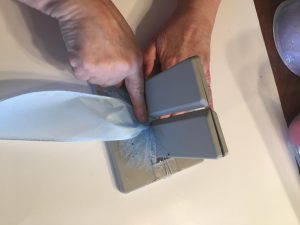
Next, add your blue fine glitter wire ribbon. Work from one side to the other, twisting your ribbon when you pass through each time so that your ribbon is always up with the right side up. You will get approximately two bow ends plus some leftover.
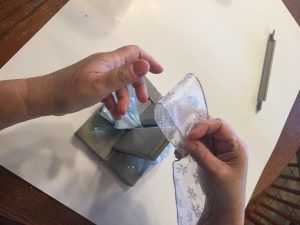
Then, using the silver, glitter snowflake wired ribbon make a loop. Make sure that the tail is on the bottom and that it would be on either side of the pillars. Twist the ribbon to bring it back through to the other side. You should be able to make at least three loops on each side if you make them slightly smaller.
Use the wand to push all of the ribbons down.
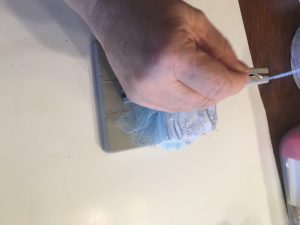
Put your ends through the loop you made in the wire and pull it through. Make sure and give it a good tug while it’s still in the Bowdabra. Finally, bring your wire around to the back and make a double knot in the wire.
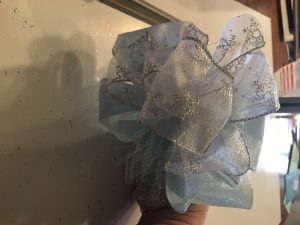
Fluff all of your tulle and ribbon out. I used three different tulle colors and ribbons to make each bow, in addition to the tulle ribbons (white for fill). In all I made 18 bows and tied unto the wire frame.
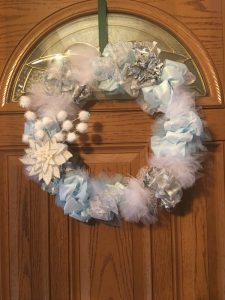
The wreath turned out great A Beautiful Bowdabra Winter Wreath. And the best part is that you can use it all Winter long. I also love using so many different ribbons to create this wreath.
There are many more projects to be seen at the Bowdabra blog You can see Sandy Sandler ( the owner of the Bowdabra) create beautiful pieces using all of the Bowdabra products. Tune in at 7:00 PM Eastern Time, 6:00 PM Central Time, 5:00 Mountain Time, and 4:00 PM Pacific Time on the Bowdabra Facebook page every Monday night to watch live or watch the recording later on the Bowdabra Facebook page.
Barbara