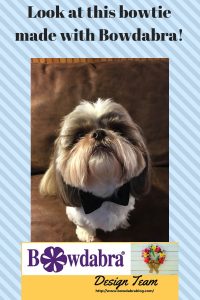
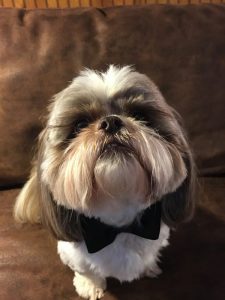
I have got to say that I am so happy with the way this Bowdabra bowtie pet bowtie turned out! And beyond thrilled that I had the idea and my youngest dog Buddy modeled it so well.
Items needed for this project:
Black ribbon 2″]
Black ribbon 1/2″
Black elastic 1/2″
Glue
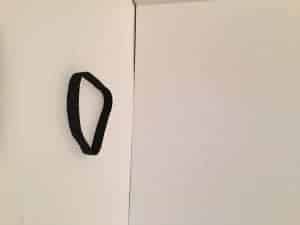
To begin with, I measured my dog’s neck and cut the elastic to fit. Then the ends were glued together. (you could sew this instead)
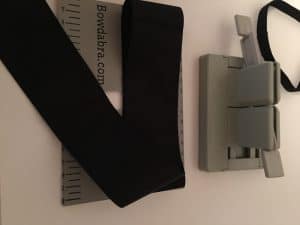
Measuring the wider ribbon (2″) for the bowtie was part of the next step. Measure twice and cut once right?
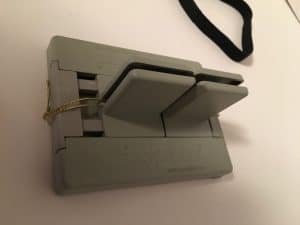
Place your wire into the Mini Bowdabra.
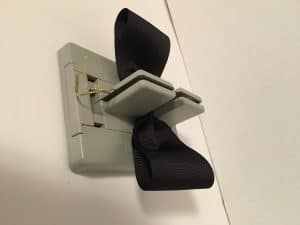
Now you need to scrunch your wire into the Bowdabra, bring your wire up and make a slip knot out of your wire and pull it tight. Tie it into a knot in the back of the bowtie. Once you’ve completed that, measure and cut your thinner ribbon (1/2″) to go around the bowtie in the middle and glue it around the bowtie.
Now you need to make sure that your glue is dry and glue the bowtie to the elastic piece that you have already glued together. Your glue should be completely dry and then you place the bowtie around your dog’s neck. With a little coaxing, hopefully, you will be able to get a great picture!
 Barbara
7 thoughts on “How to make a fun Bowdabra pet bowtie”