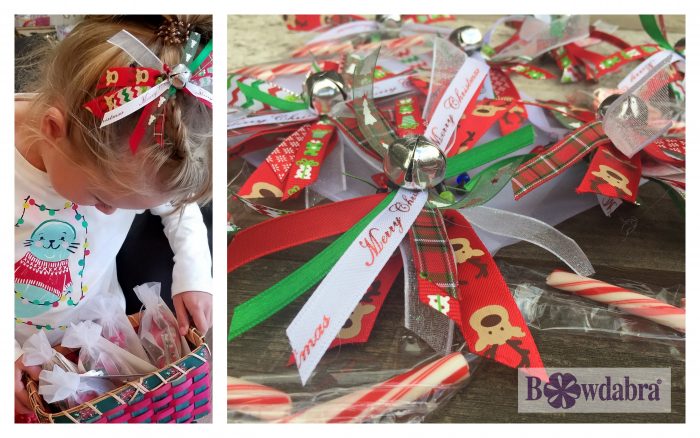
Quick! Christmas is right around the corner and your daughter wants to give her friends gifts! What do you do? These Holiday hair bows are a great project to do with your kids.
Pull out your Bowdabra and get busy!

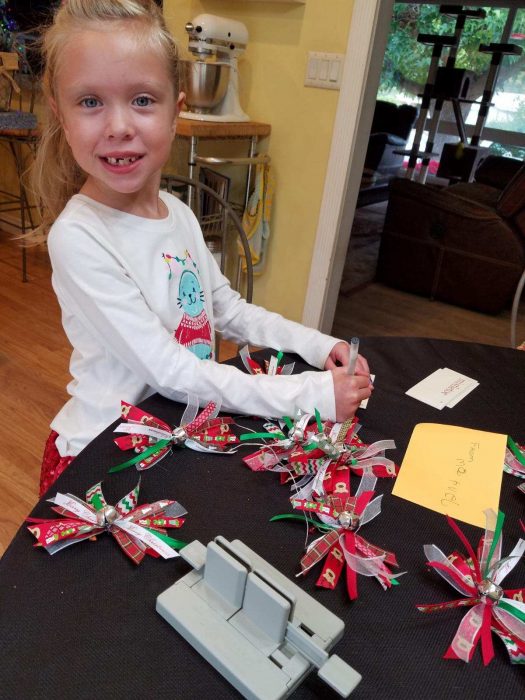
Recently I spent an afternoon crafting handmade gifts with my boss and her 6-year daughter.
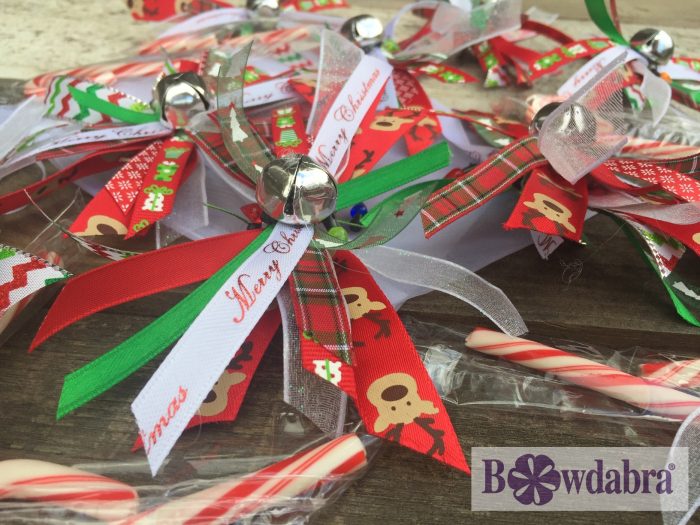
These holiday hair bows are adorable and are such a great project to do with kids. And a truly great way to teach the value of giving something handmade, from the heart.
Yes, a six-year-old can help create these bows!

So let’s get started!
Supplies Needed
- Bowdabra Mini
- Silver Bowdabra Wire
- Ribbon
- for each bow, you will use 8 – 10 pieces of DIFFERENT ribbon (think leftover scraps!) cut to 4″ – 5″
- Jingle Bells
- Hair Clips (available at any big box craft store)
- Hot Glue Gun

Getting Ready
Kids are easily distracted and bore quickly when they have to wait around. So, keep the craft fluid and moving. Do the following ahead of time:
- Cut ribbon (angle the ends to create a spikey look). Arrange pieces in a long row of piles – 1 pile for each ribbon pattern or texture to be used for the bows
- Next, cut pieces of Silver Bowdabra Wire (for these bows, I used 18″ pieces of wire to work with)
- Open jingle bells and hair clips and put into bowls for easy access
- Plug in the hot glue gun and put safely away from bow making area
- Have your gift packaging ready (we used organza bags)
- Arrange all of these supplies on the table (throw down an old sheet or plastic disposable tablecloth first!)
Let’s craft!
Before you start, arrange the ribbon pieces in a row (from widest to thinnest). This will allow your helper to stack the pieces on the Bowdabra easily, assembly line style.
- To start, fold a piece of Bowdabra Bow Wire across the Bowdabra and tuck the ends underneath the unit to keep out of the way
- Once your helper has a full stack of ribbons, show them how to tamp down the ribbons tight with the Bowdabra wand
- Next, pull the Bow Wire out from under the unit, pull the 2 loose ends through the looped end, tighten and knot
- Add a jingle bell by threading it through the bow wire and knotting
- Meanwhile, install a new piece of bow wire on the Bowdabra so your helper can continue stacking and smashing ribbon
- At this time, trim off the long ends of the bow wire, fluff the ribbons and trim any ribbon ends that are too long
- Repeat the assembly line for 12 hair bows, then hot glue the bows to hair clips
While I was hot gluing the bows to the clips, Marvel wrote her name on mini Christmas themed flash cards (from Elles Studio) to use as gift tags
Finally, pop your finished bows into organza bags, add a candy cane and attach gift tag.
This project took 2 hours – in spite of the distractions of 3 dogs and 2 kittens!
Above all, be Prepared. That is my best advice for crafting with kids!
She was so proud of her gifts!
Remember, handmade is better!
Thanks for stopping by the blog today.
Shelly