Fall has its own colors, fragrances, and styles. Join in the joie de vivre of the season with Sandy Sandler and create the most amazing and super simple decor and bows in just minutes with the Bowdabra.
Sandy begins the warm-up session by scrunching silver and gold scrunchy ribbons in the standard Bowdabra. She ties it all and fluffs the ribbons to finish the cute gift wrap pompoms.
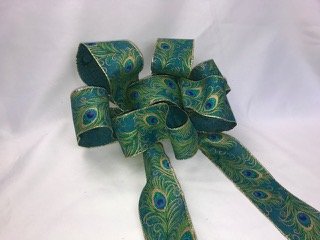
For this session, Sandy uses a yard-long printed tail. After scrunching it in the Bowdabra, she adds some more tail with twist-and-turn method making loops with printed side out. Once tying the ribbons, she spreads the ends to finish the beautiful wreath bow.
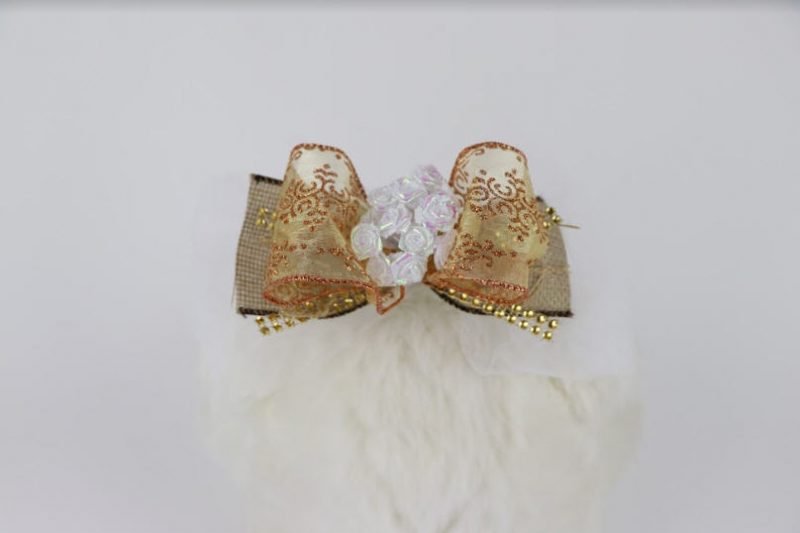
Sandy uses a tulle (26” long and 12” wide) for this session that she scrunches down the Bowdabra with twist-and-turn method making loops. After scrunching another ribbon (6” long and 2.5” wide) and a wired mesh (5” long and 2.5” wide), she adds a few strips of Bowdabra rhinestone ribbons (5.5” long). Adding a golden ribbon (15” long and 2.5” wide) with twist-and-turn method making more loops, Sandy tops it up with a few decorative little flowers and ties it. Shaping the loops and edges of the bow, she attaches it to a ponytail holder to complete the stunning hair bow.
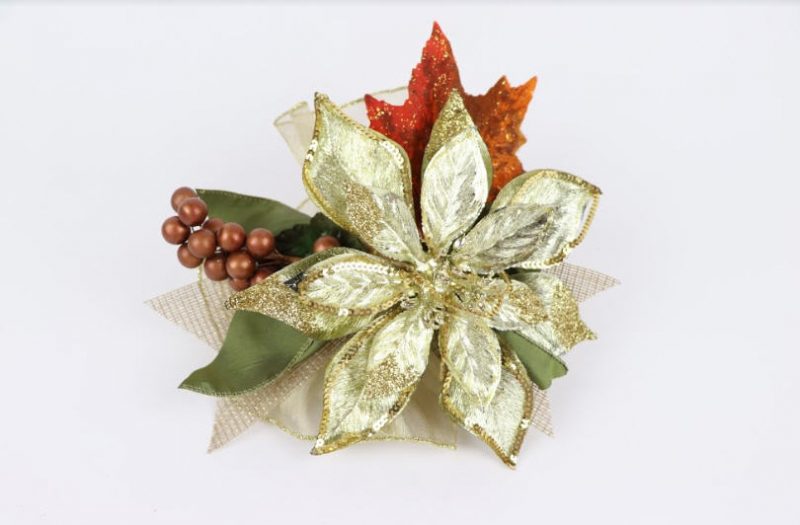
Sandy uses a golden ribbon (30” long and 9” wide) and scrunches it with one end folded. She uses another strip of dovetailed ribbon (12” long and 4” wide). Then, she scrunches a green dovetailed ribbon (11” long and 5” wide) over it. She tops it with a few decorative flowers and fruits like a grape bunch. She ties it all to finish the beautiful bow that can be used as a centerpiece.
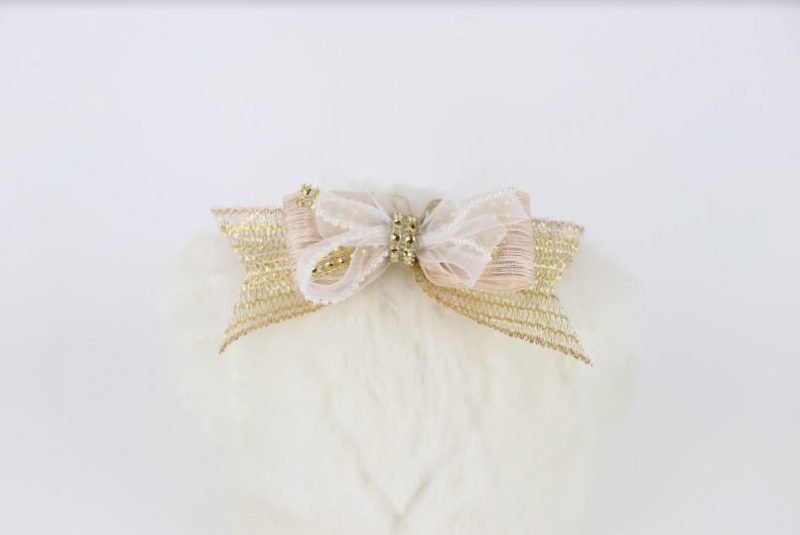
For this session, Sandy uses Mini Bowdabra. She scrunches a dovetailed golden ribbon (7” long) and tops it with a silver ribbon (11” long) using a twist-and-turn method. Next, she scrunches another ribbon with twist-and-turn making loops in an ‘X’ manner. She adds a golden rhinestone strip to it and ties it all up, spreading the ends to finish the beautiful bow. As the last step, she ties a ponytail holder to it.
Sandy starts the session by scrunching a few green mesh ribbons and topping it with a printed ribbon (23” long) with twist-and-turn method making loops in ‘X’ manner. She adds another green mesh over it and after tying it with the bow wire, she spreads the loops to finish the beautiful bow.
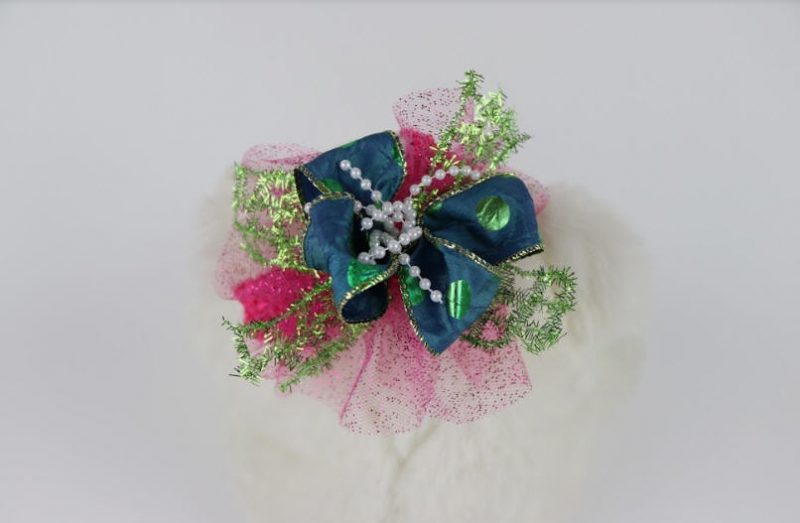
Sandy scrunches white and blue dovetailed ribbons (32” long) in the Bowdabra and tops it with another dovetailed white ribbon with twist-and-turn method making loops. She spreads the loops with the tails to finish the beautiful bow.
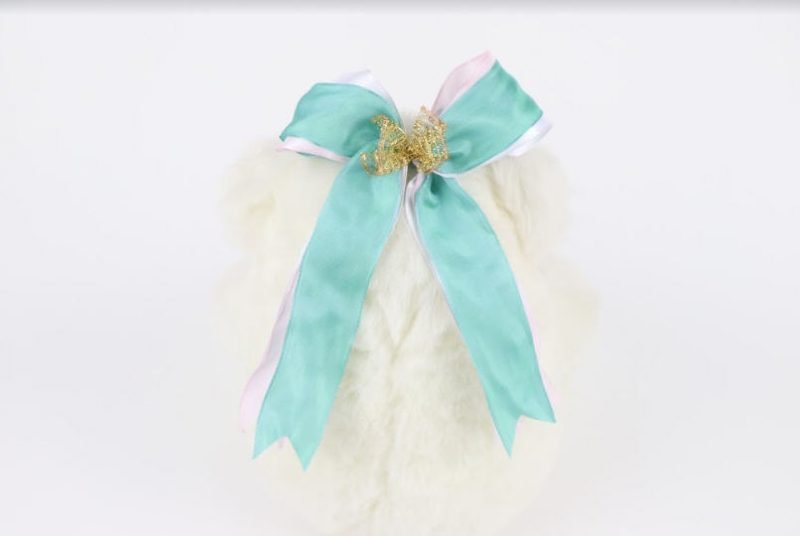
For this one, Sandy starts with scrunching a green mesh and a pink ribbon (25” long each) in the Mini Bowdabra, inserting it with the twist-and-turn method making loops. She ties the ribbons to finish the pretty bow.
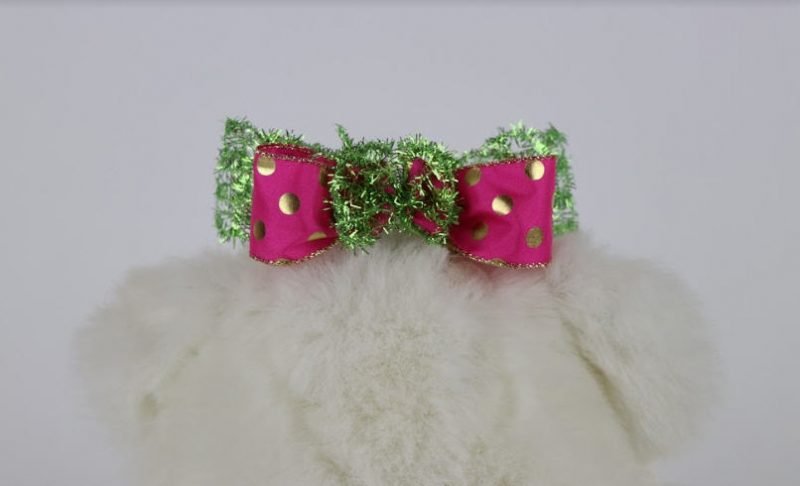
In this session, Sandy scrunches a silver scrunchy ribbon (10” wide) in the standard Bowdabra and tops it up with different colored korker ribbon strips. She tops it with silver rhinestone strips and ties it all to finish the bow that can be used as a hair bow or a gift wrap.
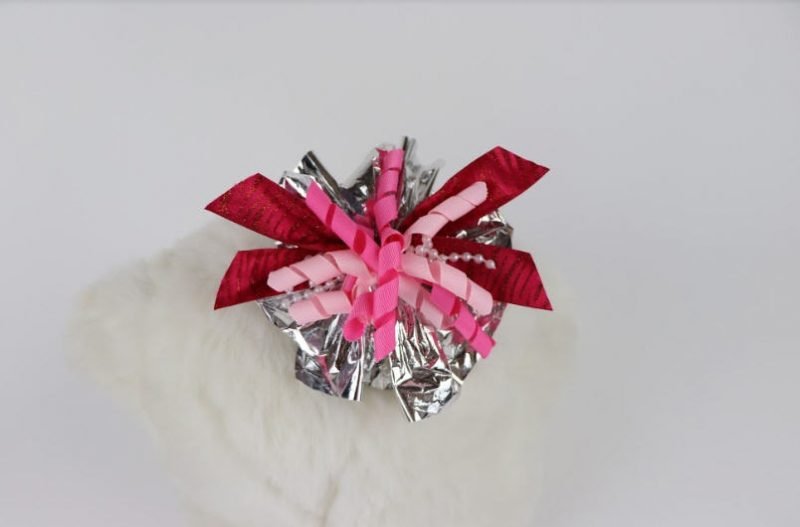
Keep these ready when you watch this video to start making awesome fun projects and bows in minutes:
* Large Bowdabra
* Mini Bowdabra
* Bowdabra wire
* Patterned ribbon in various lengths
* Burlap ribbon
* Scrunchy Ribbon
* Bowdabra Gold Rhinestone Mesh
* Golden Mesh
* Different colored korker ribbon strips.
* Decorative flowers and fruits / grape bunch