Make amazing and fun Halloween decor, ribbon flowers and headbands in minutes with the Bowdabra. Sandy Sandler, the creator of the world’s easiest bowmaker, the Bowdabra, takes you through this exciting journey of creating super simple yet gorgeous Halloween projects.
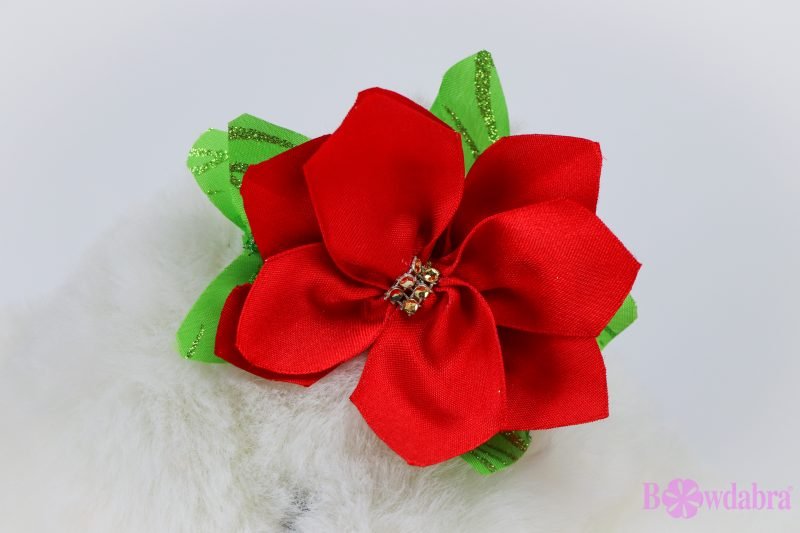
Sandy cuts the green wired ribbons in the shape of leaves. Similarly, she cuts the edges of red wired ribbons in curves to give them the look of petals of flowers. After setting the Bow Wire in the Mini Bowdabra, she scrunches in the glittering green ribbon leaves and tops it up with the red petal ribbons. Once the ribbons arrangement is tied up, she pushes the tied ribbons upwards to give them the appearance of a flower. As a finishing touch, she uses some glue to make the ribbons stay in the flower shape.

Sandy scrunches a golden mesh (14” long) and then yellow rusty ribbon (19” long) over the mesh in the Large Bowdabra. She inserts a dovetailed red rusty ribbon (19” long) on top and adds another piece of yellow rustic ribbon of same size.
Next comes a decorative tree branch followed by a pretty printed loopy ribbon bow created with the twist-and-turn method. As a final add on, Sandy puts in a decorative pumpkin before tying up the arrangement. She spreads out the ribbons to finish the beautiful decorative bow that can be placed on doors or on the witch’s broom on Halloween.
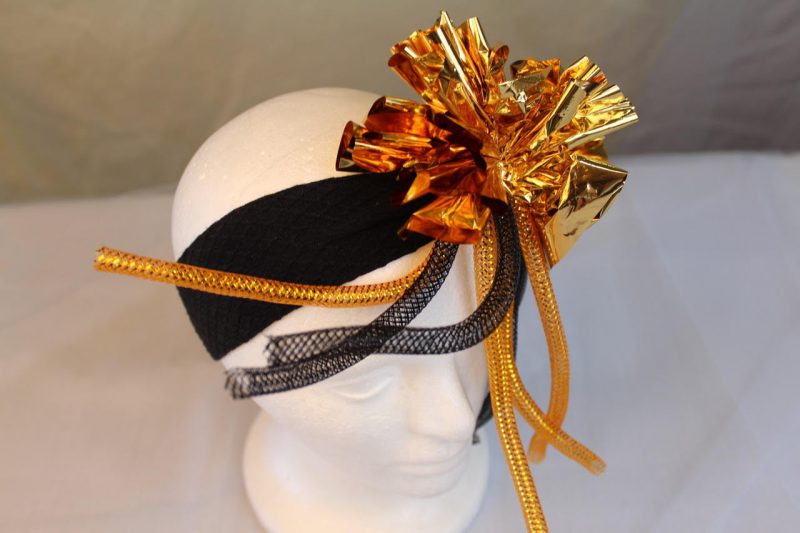
If you thought spiders are creepy and crawly, go for this super cute glimmering spider made in minutes! Sandy simply scrunches in a piece of Gold Scrunchy ribbon (4.5” wide and 42” long) in the Bowdabra. She scrunches yellow and black strip ribbons and ties it all to a headband to finish this amazingly simple yet attractive spider headband bow for Halloween.

Sandy scrunches in a burlap fabric (9” wide and 16” long) in the Bowdabra and adds pieces of a pretty dovetailed fall rust ribbons (10” long) over, positioning them in separate directions. She scrunches in another decorative ribbon (2.5” wide and 12” long) and ties it all up. Shaped out, it turns out to be a beautiful bow that can be used in Thanksgiving, Christmas, Halloween or Fall dinner party.
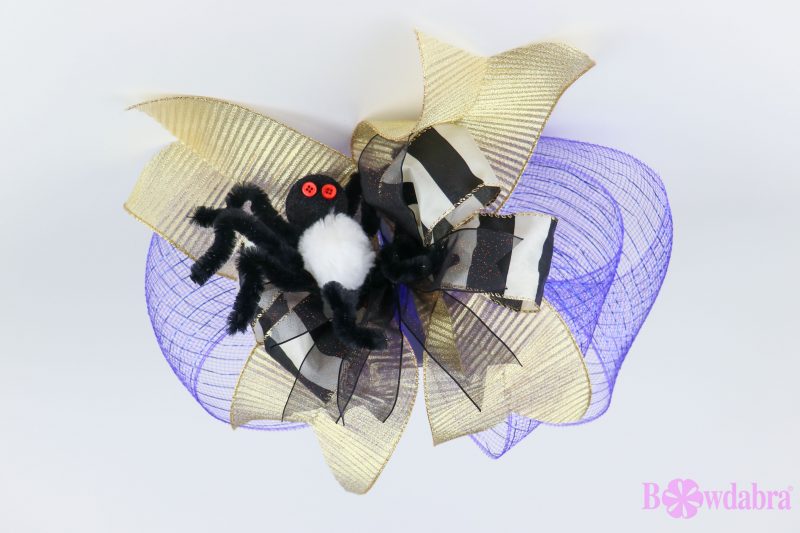
Sandy scrunches a purple mesh (5.5” wide and 60” long) with twist-and-turn method. She then inserts two dovetailed curly golden ribbons (5” wide and 20” long) in a crisscross manner and afterwards scrunches a white and black ribbon over it with the twist-and-turn method. Sandy adds black mesh pieces (1.5” wide and 10” long) to it and scrunches a decorative spider over it. Giving it a last touch, she spreads the ribbons to finish the Halloween spider bow.

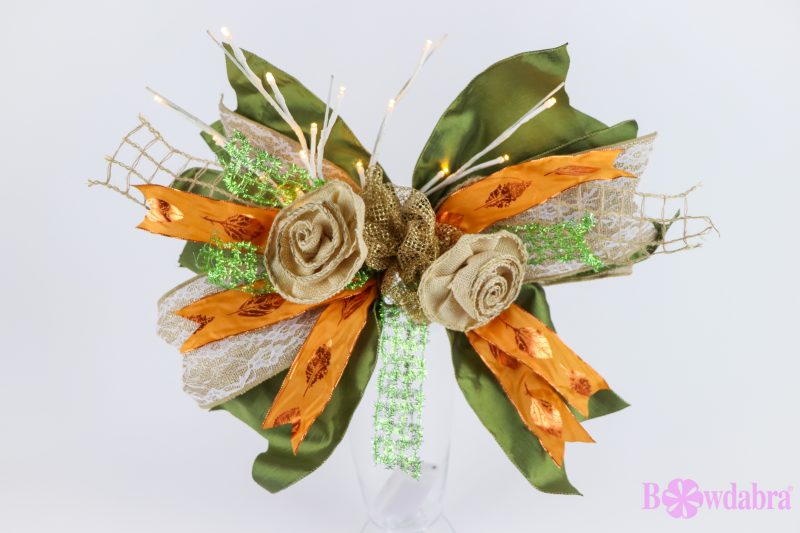
Sandy scrunches in a dovetailed burlap ribbon (5” wide and 16” long) with another burlap ribbon of a different color but same measurement. She inserts a green dovetailed ribbon of the same size over it and adds a light pick. More green dovetailed ribbons are added with a burlap mesh and to make it a fulsome bow, Sandy adds some more burlap ribbons of same size. A pretty orange and green mesh comes over it with two decorative burlap flowers placed opposite to each other. Finally, she adds a golden mesh (6” wide and 12” long) over it and scrunches it all with the wand. She then ties and spread the ribbons to finish the beautiful bow.

Sandy uses dovetailed burlap fabrics (2.5” wide and 21” long) for this session. After scrunching it down in Bowdabra, she inserts yellow ribbons of same size and adds golden and green mesh ribbons (1.5” long) over it. Using a pretty printed ribbon, Sandy makes a loopy bow with the twist-and-turn method. Finally, she inserts pretty decorative flowers and ties it all up with the Bow Wire. Shaping the ribbons, she finishes the beautiful bow that can be used as a centerpiece or decoration on a mantel or on a wreath.
Keep these ready when you watch this video to start making awesome fun projects and bows in minutes:
• Large Bowdabra
• Bowdabra wire
• Patterned ribbon in various lengths
• Gold Scrunchy ribbon
• Flowers
• Headband
• Lights