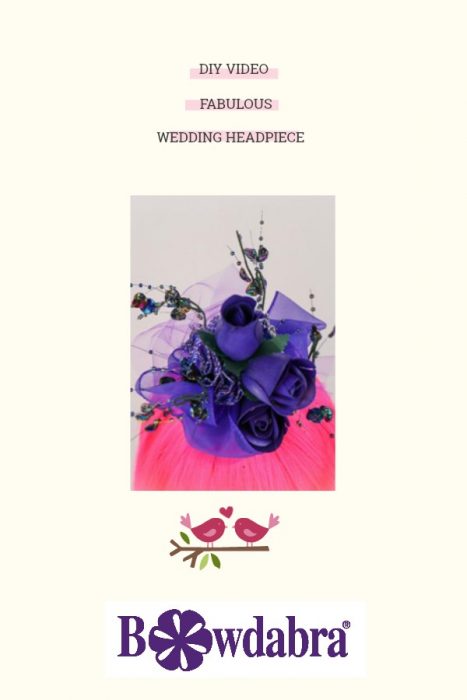
Just watch this video DIY from Bowdabra creator and designer, Sandy Sandler and you too can make this fabulous wedding headpiece in mere minutes! We’ve shown a purple wedding headpiece here but you can use any color ribbon to match your wedding party! So easy and inexpensive you will be amazed!
Materials:
6″ x 38″ Tulle
2 1/2″ x 19″ Purple Sheer Ribbon
2 1/4″ x 24″ Striped Matching Ribbon
3 Purple Rose Picks
(2) 10″ Pieces of Purple Garland

So, now we’re going to make this really cute wedding headpiece that’s like a ponytail holder.
So first, I’m going to take my silver Bowdabra Bow Wire, which I’ve folded it in half. Then, I’m going to lay it into my Bowdabra. I’m just going to tuck the ends in underneath; I’m not connecting them to anything. This is just so they stay out of my way.
Now, I’m going to take my 5″ wide tulle. And, on the materials list, I’ve given you the full length, but I’m just using two different pieces. So, I’m just going to scrunch this.
Next, I have this really pretty, sheer, wire edge purple ribbon. And, we’re just going to fold this back and forth and make really pretty little loops here. I’m going to twist and put this down into the Bowdabra. Because this is a sheer ribbon I’m not going to do anything. I’m just going to stick this down. Since it is sheer ribbon, you don’t necessarily have to twist it, but I like to twist.
Now, I’m going to take this piece, I’m just going to cut the end so it’s straight. And I’m going to make a little scrunchy bow right here in the middle. And I’m just going to fold this under here and scrunch everything down in there.
Finally, I take my wand and give everything an extra scrunch. I do see a little bit of wire sticking out here so I’ll just snip it off.
Then, I have this really pretty garland that I’ve just twisted together. And I’m going to just put that in here. And then I’m going to take my three roses, just lay those down in here. I’ll shape them once I get it out.
To finish, I take my wire and pull the wire through the loop. Take it out. Then, I’m going to separate the ends and bring it around to the back.
(Tie & Knot)
And I’m going to just take my ponytail holder, put that through here.
(Tie, Knot, & Clip Ends)
And now we’re going to shape everything. You have this really, really fabulous wedding headpiece.

Please do me a favor and click the Subscribe button below, and also, like us at Bowdabra on Facebook.”
4 thoughts on “ How to make a fabulous wedding headpiece”