It is so easy to make a one of a kind back-to-school hair bow using satin ribbon, iron-on transfers, and Bowdabra!! Great way to customize and personalize a hair bow for a special little girl. These back to school bows can be made in the school colors, too.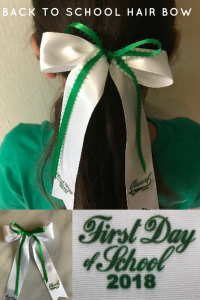
Supplies for Personalized Back-to-School Hair Bow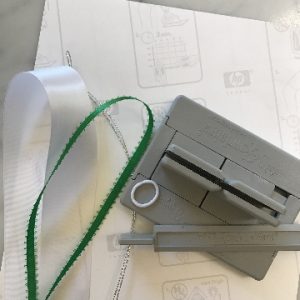

- 24″ length 1½” satin ribbon
- 18″ length ¼” satin ribbon
- 3″ length ¼” satin ribbon
- One covered elastic hair tie
- 18″ length Bowdabra bow wire
- Strong liquid adhesive or hot glue
- Printable iron-on transfer sheet
- Pattern for graphics
- Bowdabra bow wire
- Bowdabra Bow Making & Design Tool
Instructions for Making the Personalized Back-to-School Hair Bow
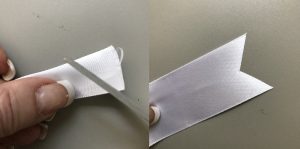
- Dovetail the ends of the 1½” ribbon by folding the ribbon in half lengthwise and cutting away the tip at an angle. Quickly pass all ribbon ends through a flame to seal the ends.
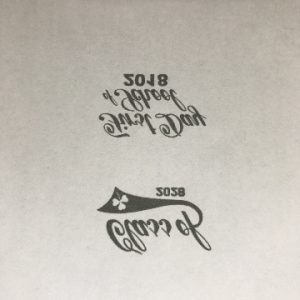
- Print the graphics following the directions provided with the iron-on transfer, remembering to reverse or mirror the image. Position the transfers on the dovetailed ends of the wide ribbon.
- Fold the Bowdabra bow wire in half and place in the Bowdabra. Tuck the wire ends under the Bowdabra so they are out of the way.
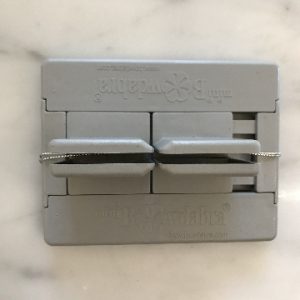
- Place the ¼” ribbon in the Bowdabra leaving a 6″ tail.
- With the remaining 12″ make a two-loop bow, ending with a second 6″ tail.
- Place with 1½” ribbon in the Bowdabra lace down, leaving an 8″ tail.
- With the remaining 16″ make a two-loop fold-and-twist bow, ending with a second 8″ tail.
- Compress the ribbons in the Bowdabra with the Bowdabra wand. Pass the ends of the bow wire through the loop, and tighten.
- Slide the hair tie onto one of the wire ends, and tie a secure knot. Bring the wire ends to the back side of the bow, and tie a second knot. Trim the wire ends.
- Working of the back side of the bow, wrap the 3″ length of ¼” ribbon around the center of the bow. Secure in place with strong liquid adhesive or hot glue.
- Now you’re ready to show off your school spirit on the first day back to school.
SaveSave