It’s Christmas in July and time to start on those handmade Christmas ornaments! So let’s make a pretty Ribbon Wrapped Bow Ornament! Here’s an easy and inexpensive way to make a lovely ornament topped with an amazing Bowdabra bow! And the best part about this is that you can use decorative ribbon to match your holiday décor! Yay!!!
July is the best time to start your Christmas crafting. You will want to make a few extra ornaments to give away as gifts to family and friends. The days go by quickly so let’s get started!
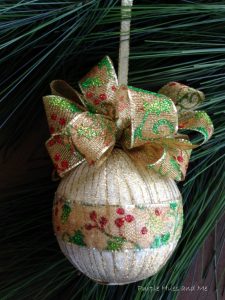
You will need:
Smooth Styrofoam ball – 3″
Double-sided tape
1/4″ Ribbon – 6+yds.
7/8″ Decorative Ribbon – 9 ft.
Mini Bowdabra and Wand
Bowdabra Hair Bow Tool and Ruler
Bowdabra Bow Wire
Scissors
Fabric glue
Begin by wrapping the ball with double-sided tape, starting at the center end, down, around, and back to the starting point. Next, run the tape across the middle, until ends meet.
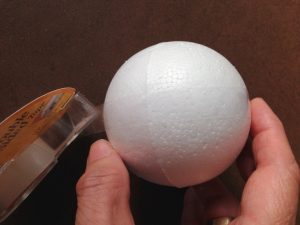
Then at the top center, place the end of the 1/4″ ribbon on top of the tape and start wrapping the ball down and around, back to the starting point, slightly moving to the left or right (it doesn’t matter), overlapping the edge of the ribbon . . .
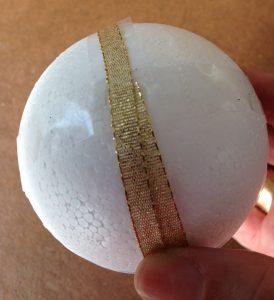
down and around and crisscrossing at the center top and bottom.
Smooth out or straighten the overlapping ribbon as it sticks to the tape.
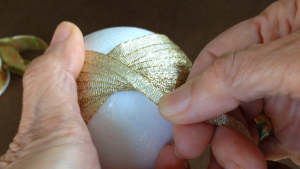
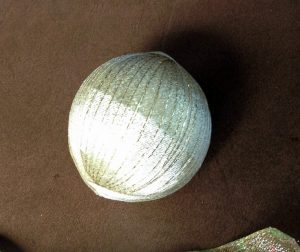
Continue following the ribbon edge, pulling ribbon down to the bottom, crisscrossing ribbon, and back up to the starting point, crisscrossing again . . . and overlapping until the ball is completely covered. End the ribbon at the top starting area, cutting off excess and holding taut, glue down with a small dab of glue.
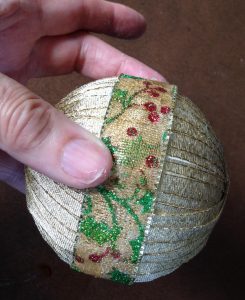
Add a strip of decorative ribbon using fabric glue to cover the ridge of the ball.
To make the bow, Cut an 18″ piece of 1/4″ ribbon and place in the Mini Bowdabra, tucking ends under. Then, pinch the end of the 7/8″ ribbon and place decorative side down into the Mini Bowdabra.
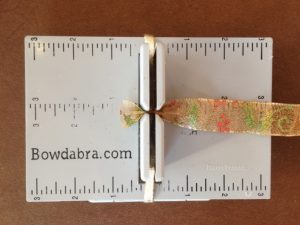
To make the first loop, twist and fold the ribbon at the 2-inch mark and press into the Mini Bowdabra.
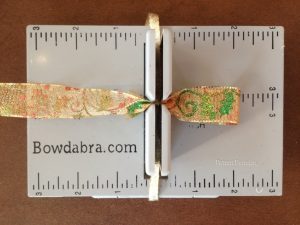
Next, twist and fold the other side at the same width. Continue twisting and folding to make eight loops on each side.
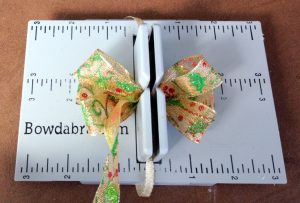
Scrunch down with the Mini Bowdabra Bow Wand.
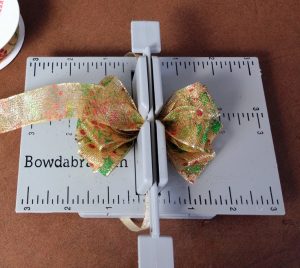
Pick up and tie together the 1/4″ ribbon tightly around the bow and fluff!
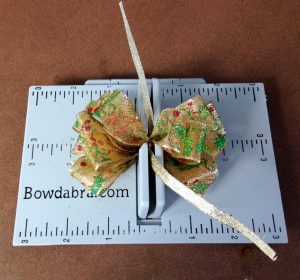
Glue on the finished bow to the top of the ball (not shown).
Next, to make the hanging loop, cut an 8″ piece of 1/4″ ribbon, fold it in half. Place a dab of glue between the ribbon about an inch from the ends and press together. Let dry.
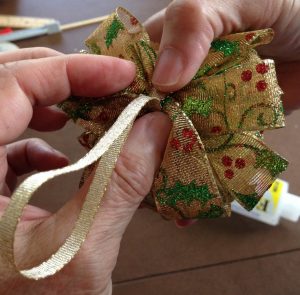
Open the ends of the ribbon out from the glued spot, and place glue on both sides of the inside ends.
Press down ribbon ends along the center of the bow tie strip and hold in place. Let dry.
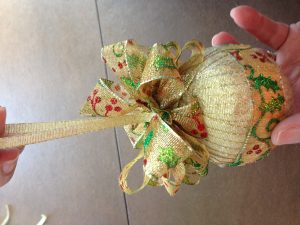
I’m loving how this turned out!!!
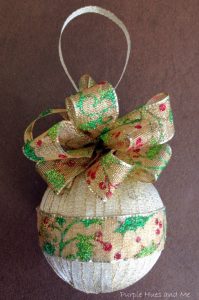
What an easy way to make a pretty ribbon wrapped bow ornament – especially for Christmas in July!!!!
If you’d like to see more of Bowdabra designer Gail’s amazing craft tutorials visit her blog at Purple hues and me.
SaveSave