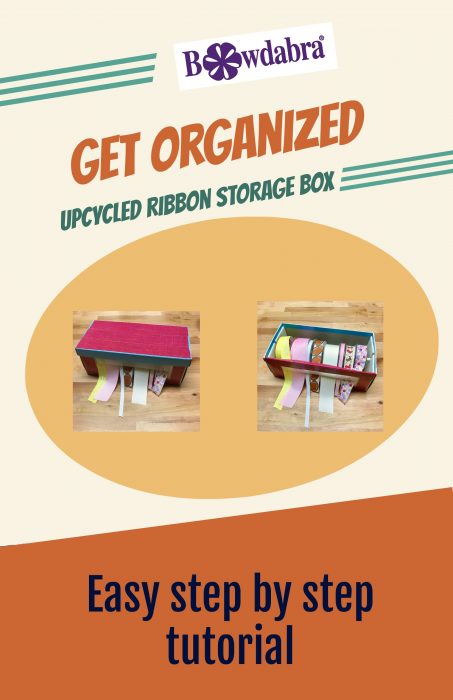
If your craft room is looking a bit messy with ribbon scraps scattered all over the place, you are not alone. You can, however, fix this disarray quickly and easily with an upcycled ribbon storage box.
Simply follow the easy step-by-step Bowdabra tutorial and you can make an upcycled ribbon storage box from an ordinary shoebox. They stack very easily so you may want to make more than one. The box holds eight to ten rolls of ribbon depending upon how wide the rolls are. Easy as pumpkin pie!

Upcycled ribbon storage box
Materials:
- Shoebox with top (My box was 11 ¼” x 5 ½” wide. If your box is larger you will need to adjust the measurements for the foam board and dowel)
- Stencil blank (Used for cutting your stencils, available in the craft store)
- Foam board
- X-Acto or craft knife
- Cutting mat or board
- Ruler
- Pointed scissors
- Glue gun and hot glue sticks
- 5/16” diameter dowel
- Optional decorative duct tape
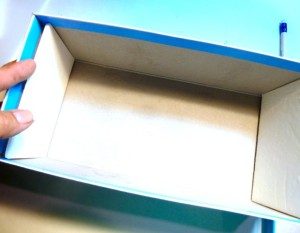
- Measure the inside of the shoebox on each of the sides starting about 1 ½” from the top edge. Use the craft knife to cut two pieces of foam board that fit inside the box on each end. You can put it in to check the fit. It should be tight but not straining the box. Set the foam board pieces aside.

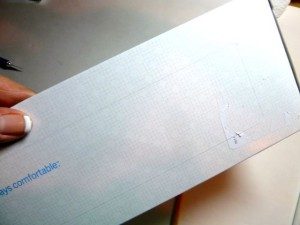
- Measure and cut a window on the side of the box 8 ¼” x 2 ¼”. Use the pointed scissors to cut it out.

- Cut a piece of the stencil blank 9 ½” x 3 ½.” Using the ruler and the craft knife cut a slit across this stencil blank piece leaving an ample margin on both ends. (This will be where the ribbon ends come through) Use the hot glue gun to attach the prepared piece of stencil blank to the inside of the box where you cut the window.
- Working with the two sidepieces of foam board, find the center and cut a line 1/16” wide about 1 ¼” down. Cut a ½” circle at the end. This is where you will insert the dowel rod. Use the hot glue gun to attach the foam board to each side making sure they are facing the same direction. Measure and cut the dowel to fit in the foam board circles.
Add your ribbon
- Add your ribbon rolls to the dowel and insert the ends through the plastic slit in the window.
- You can dispense the ribbon without opening the box. Make more than one and you can stack them on top of each other.
- If desired decorate your ribbon box with decorative duct tape.
Now that you will have all your ribbon organized why not follow the Bowdabra tutorial and make this cute Thanksgiving menu frame?
SaveSave
SaveSave