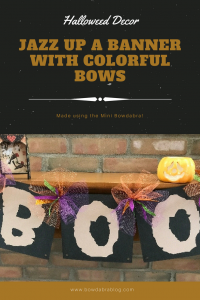
Transform an ordinary Halloween banner into a great display home decor display piece. Jazz up a Halloween banner with colorful bows.
Supplies for Making Bow to Jazzing Up a Halloween Banner
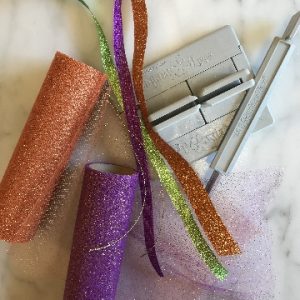
For each bow, you will need:
- Five-inch length each of 3/8″ green and purple glitter ribbon
- 5″ length 5/8″ orange glitter ribbon
- 6″ x 6″ square orange glitter tulle
- 6″ x 6″ square purple glitter tulle
- 12″ length Bowdabra bow wire
- Mini Bowdabra
- Paper Quilt Project Squares or 8″ x 8″ pieces chipboard
- Pattern for banner letters
Instruction for Making Halloween Banner
- Download pattern for banner letters.
- Apply letters to project squares.
Instruction for Making Bow to Jazz Up a Halloween Banner
- Cut your bow wire, tulle, and ribbon for each bow. Quickly pass the ribbon ends through a flame to seal the ends.
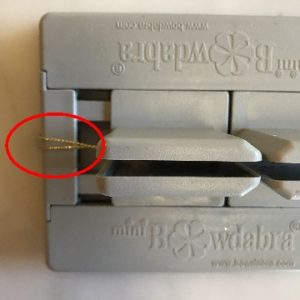
- Fold bow wire in half and place in the Mini Bowdabra. Tuck the ends under the Mini Bowdabra so they are out of your way.

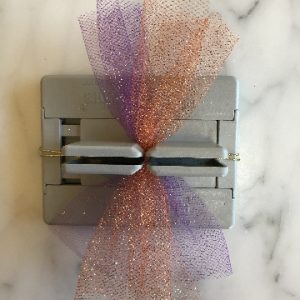
- Scrunch each piece of glitter tulle into the Mini Bowdabra.

- Layer the ribbon in the Mini Bowdabra, placing the widest ribbon first.
- Compress the tulle and ribbons with the Mini Bowdabra wand.
- With the bow still in place in the Mini Bowdabra, pass the wire ends through the loop and tighten securely.
- Bring the wire ends to the back of the bow and tight in a secure knot. Leave the wire ends long to use in attaching the bows to the banner.
- Decide how many bows you will need. I made one to go between each banner tile and one for each end.
- Add the bows to your banner using the bow wire tails.
- Enjoy!!
Would you like more fun Halloween project ideas? Check out this twig broom door decor!