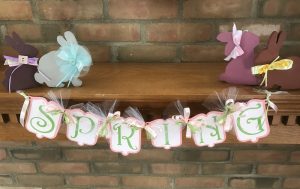
We’ve had a weird winter here in central Ohio with 60°days in January and February. Can’t wait for spring to truly be here. I’m ready with this spring home decor banner.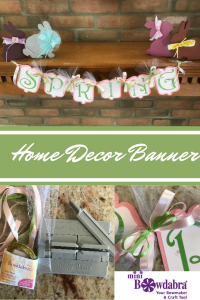
For each bow you will need:
You’ll also need:
The free downloadable banners from Dreaming Tree include six different designs, so you can select your favorite. Cut one banner shape for each letter in your banner. I cut my banner shapes on my Zing electronic cutter, but the download includes a PDF file so you can easily cut them by hand.
Gather the supplies that you’ll need to make your bows. I made one to go between each letter.
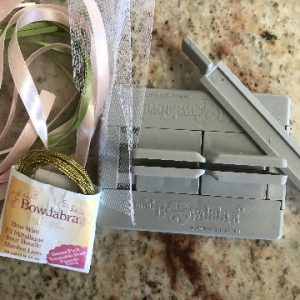
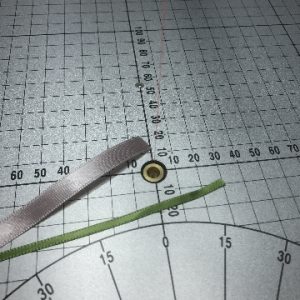
Cut the tulle and ribbons to length with the Thermocut. Its hot wire cuts and seals the ends in one step. Alternatively, pass the ribbon ends through a flame to seal the ends to prevent raveling.
Fold the bow wire in half and insert into the Mini Bowdabra. Next, scrunch the tulle into the Mini Bowdabra with the narrow end parallel to the Bowdabra base. Follow with the 3/8″ satin ribbon, making a three loops on each side. Finally, use the 1/8″ ribbon to make two loops on each side. These last loops should be narrower than the first three.
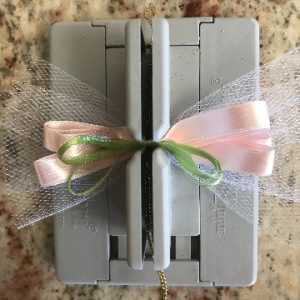
With the bow still in place in the Mini Bowdabra, pass the wire ends through the loop and tighten. Bring the wire ends to the reverse side of the bow and tie. From the front of the banner, feed the wire ends through the banner holes—one wire through one letter; the other wire through the next letter. Tie the wire and trim the excess. (Note: Tie firmly and carefully, but not so forcefully as to tear the paper banners.)
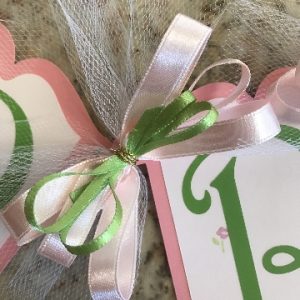
Now you’re ready to welcome spring with your home decor banner.
Stay in touch with me on Facebook, Create & Craft, and Pinterest.