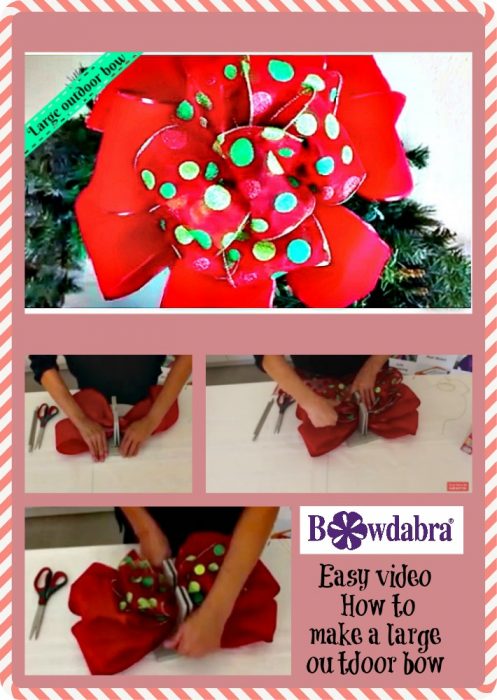
Watch as Sandy Sandler, the creator of the Bowdabra makes this incredibly beautiful large red outdoor bow. She uses two different color and textures of ribbon to make a unique outdoor bow. You can use this adorable outdoor bow on wreaths, doors, treetops and even outdoors! It’s so versatile you will want to make several. You can purchase large ribbon on rolls now throughout the holidays and many are on sale! What could be better?
“Because this is a really large bow, I’m starting with a fairly large piece of Bowdabra bow wire because I also want to be able to tie it onto the wreath. So again, I’m just going to fold it in half and lay that down into my Bowdabra.
Now, the first thing I’m going to do is take my ribbon and I’m going to twist it and scrunch it down into the Bowdabra. This is a pretty thick velvet outdoor ribbon. So I just want to make sure that I twist and shape it as I’m making the bow.
And I’m going to come back and again, I’m going to fold it and twist it. And what most of you know is there are springs underneath the Bowdabra. The springs are what’s holding my bow in the Bowdabra. This allows me to have the third hand that helps me in making my Bowdabra bows.
Now I’m just going to twist here and again I’m going to fold. And I’m just eyeing the size of my loops because it’s a hand-tied bow. It can’t – it’s not going to be perfect and it doesn’t matter that it’s perfect.
And I think what I’m doing on here is I’m going to make five loops on each side before I go into my second ribbon. So I’m just going to fold this back, twist it. And this is about a 5-inch-wide velvet ribbon that I purchased.
So now I’m going to fold it back, twist. There are a lot of people that would love to have you come and decorate their trees. You can even make their bows for them or even do their gift-wrapping. So it’s sort of a fun little business you can start on the side with your Bowdabra.
As I add my second ribbon, I’m just going to scrunch it in here. Then I’ll take my wand and kind of push everything down.
And then I’m going to fold it and twist. And I’m just making these loops a little bit smaller than my other loops to add dimension to my finished bow. So I twist it here. And again, it’s the same thing. Just fold, twist and push and just kind of shape the bow.
Remember that when I start getting into a bow this big, I am using my hand to kind of hold the ribbon in because there’s a lot of ribbon in here. This is a very, very thick bow.
And I’m just going to twist it here and then come back, make my last little loop and scrunch that down into my Bowdabra. I’m just going to do one more push for good measure with my wand to kind of scrunch everything in there.
And here I am holding my bow down because there is so much ribbon in here. And I’m just going to take my wire, pull the ends through. Again, hold my bow down and pull it really, really tight while it’s still in the Bowdabra, separate my ends, bring them around to the back.
And before I tie it off, I’m just going to kind of twist my bow a little bit. I’m going to end up twisting it while I shape it. I’m going to tie it, tie a knot so that it’s ready to tie onto the wreath.
I am just going to fluff it. And because this is a wired velvet ribbon, it’s fairly easy to shape it how I want. What’s also nice for the community is that they can use this next year as well. Since the ribbon is wire they just take them off the wreaths. Then, put them in a big garbage bag and they’ll be very easy to shape again for next year.
So I just continue shaping here and fluffing. Finally, I’ll do my final fluffing when we put it on the wreath. And you just kind of put your hands in there and pull them apart. And there you have an absolutely beautiful bow.”