Hello and welcome, This is Chris here showing you how to make a professional cheer bow in minutes! This cute cheer bow is super quick and easy to make with the Mini Bowdabra®. Bowdabra® tools are so helpful in making bows, they really give you that extra hand you always seem to need. Today’s cheer bow only took a few minutes to make. That’s right…a quick, easy, and cute cheer bow in just minutes.
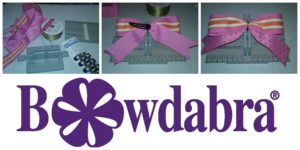
Here is what you will need:
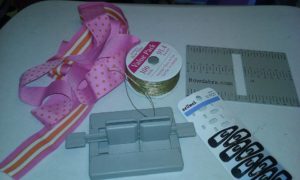
Bowdabra® cheer bow tools
Once you have gathered up your supplies you are all set to go. I started by cutting my piece of ribbon for my tails. I cut my ribbon about 9 inches long and pointed both ends of the ribbon. I placed the Bowdabra® Hair Bow Tool on top of the Mini Bowdabra® Tool. Then cut a piece of the Bowdabra® Bow Wire and place in the slot. Then I did a little crinkle fold in my ribbon and centered it into the Mini Bowdabra® tool. 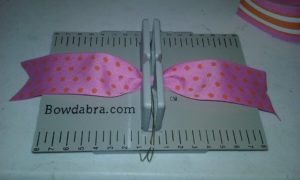
Next I cut about 12 inches of the ribbon for my loops. I made a circle with the ribbon, did a crinkle fold in the middle and placed into the Mini Bowdabra® tool. 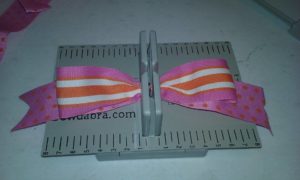
Now you grab the Bowbabra® Bow Wire and pull it tight around your bow. I turn my wire around to the back of the bow, pull tight and then tie it in a nice knot. I know I’m going to be hot gluing this bow later so the knot doesn’t have to be perfect.
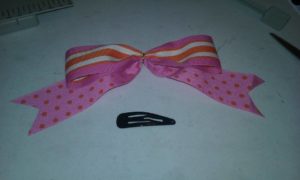
Now you are ready to attach your bow to your hair clip. I just used my regular glue gun and glue sticks. Added a drop of glue to the back of the bow and then held it onto the clip….done!!
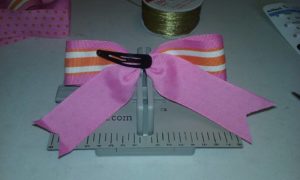
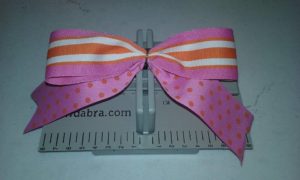
Quick and easy cheer bow ready for any little cheerleader!! These bows are so cute and so easy to do. Bowdabra® tools really are great for all your bow making needs. If you don’t already follow Bowdabra® on Facebook please do.
We hope you enjoyed Bowdabra designer Chris Gibson’s tutorial how to make a professional cheer bow. Please visit Chris at her blog, Stinky Dog designs.