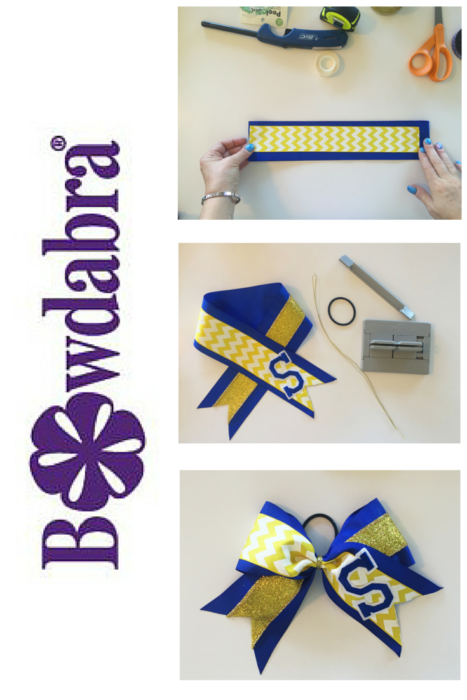
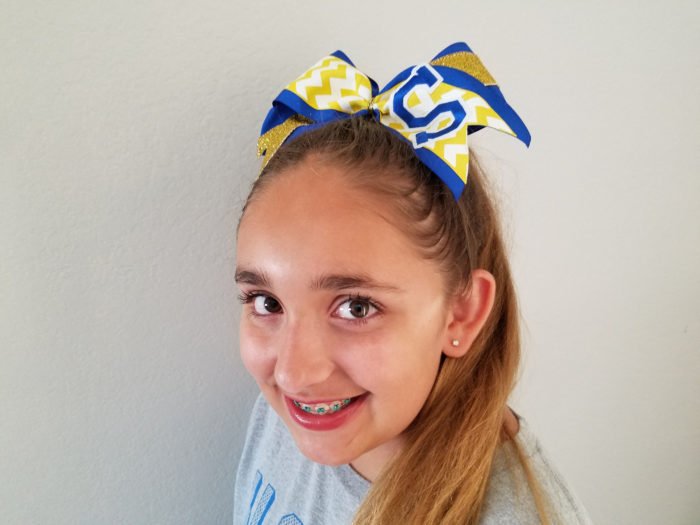
Hi everyone, Tammy here with a fun embellished cheer bow tutorial for you today! My daughter is going to softball summer camp at UCLA this year and she wanted me to make a fun cheer bow for her hair in UCLA colors. She really loves how the bow turned out and it was really easy to make with the help of the Mini Bowdabra.
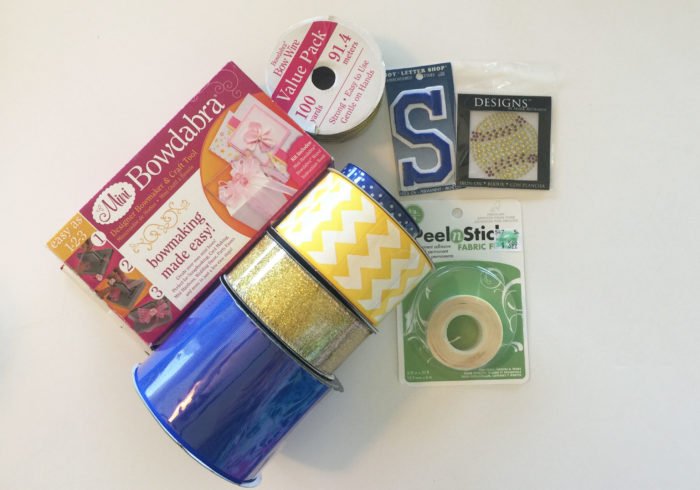
Ribbon
Double stick fabric tape
Embellishment of your choice
Scissors
Iron
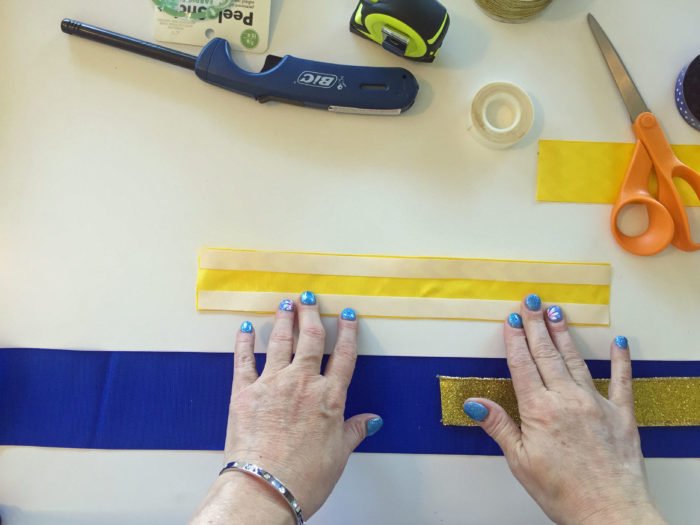
Cut one 28 inch piece of 3 inch wide ribbon and two 13 inch pieces of 1 1/2 – 2 inch wide coordinating ribbon.
Place double stick tape on the back of the coordinating ribbon. If your ribbon is wired, make sure you remove any wires in the ribbon.
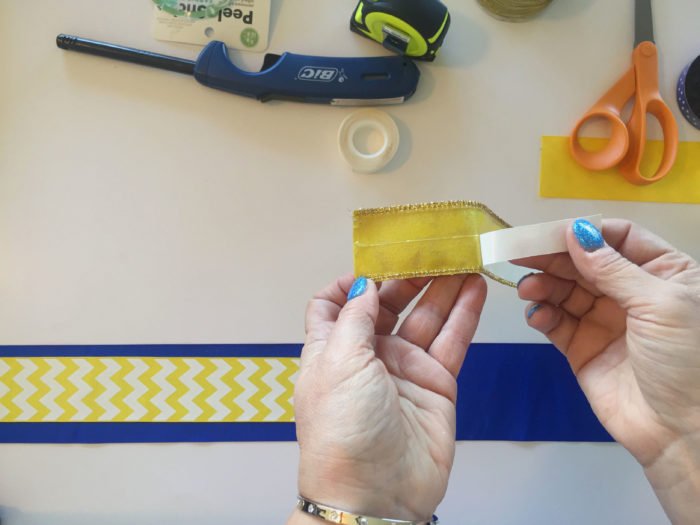
Peel off tape backing and place on top of the 3 inch ribbon.
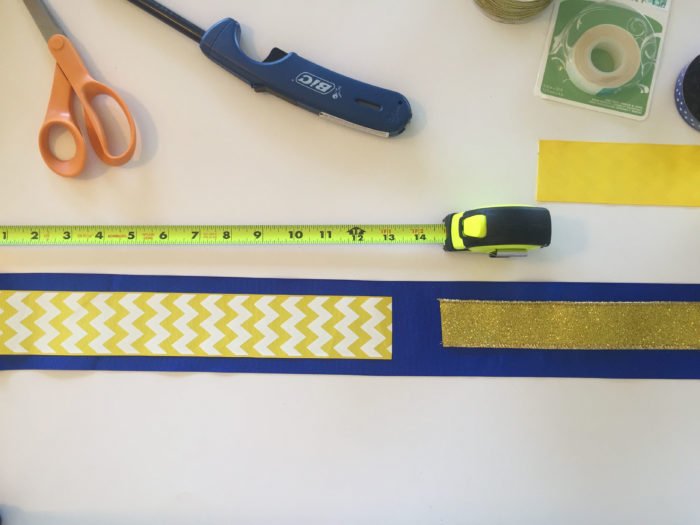
Place one style of ribbon on the left side in the center of the 3 inch ribbon and one style of ribbon on the right side in the center of the 3 inch ribbon. You should have a space of about 2 inches in the middle.
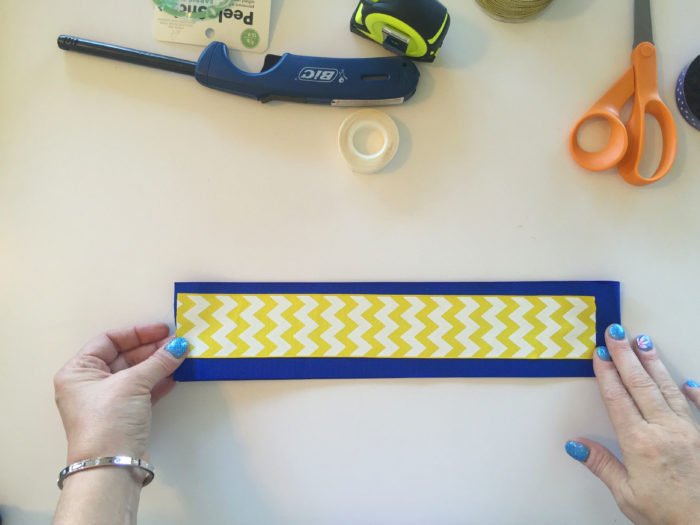
Fold ribbon in half and create a crease in the center of the ribbon. This will help you find the center when you pinch the bow.
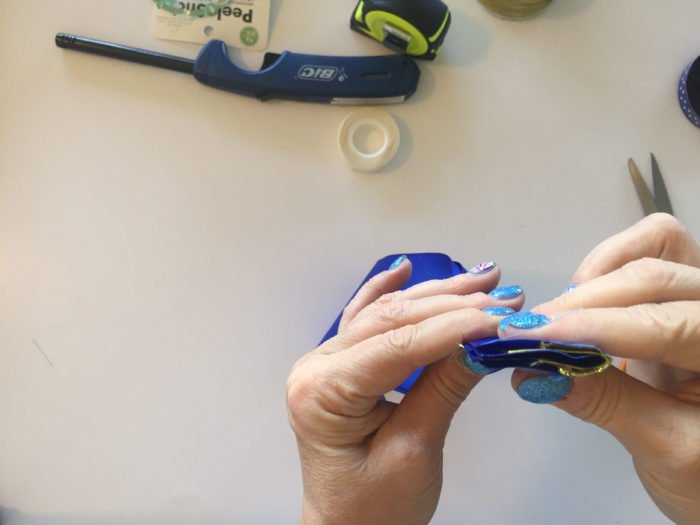
Fold ends in half all together.
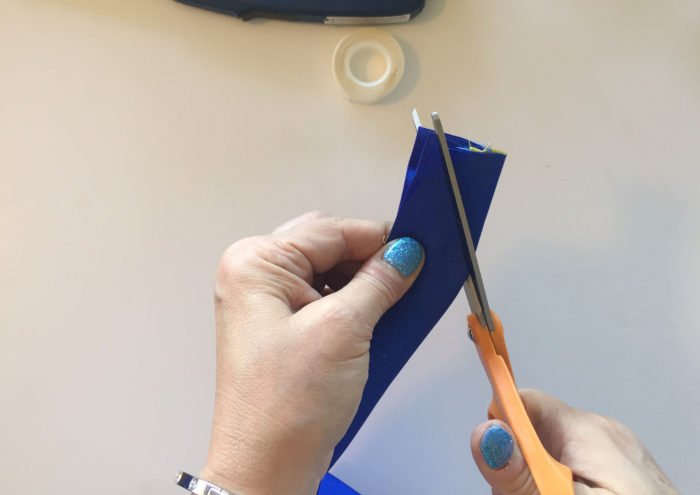
Cut tails all together so they match perfectly.
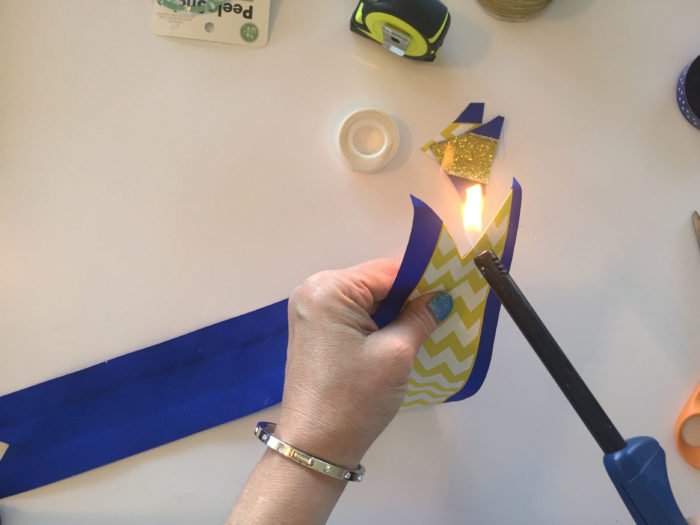
Heat seal ends with a lighter.
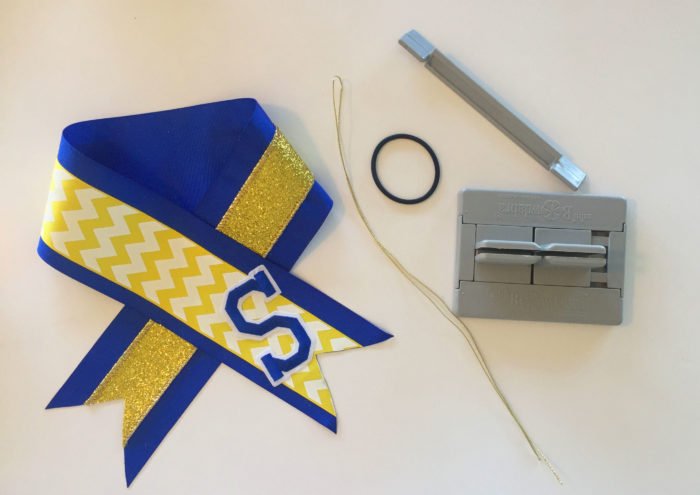
Iron on your embellishment now. Gather your Mini Bowdabra, Bowdabra Bow Wire, pony holder and prepared ribbon.
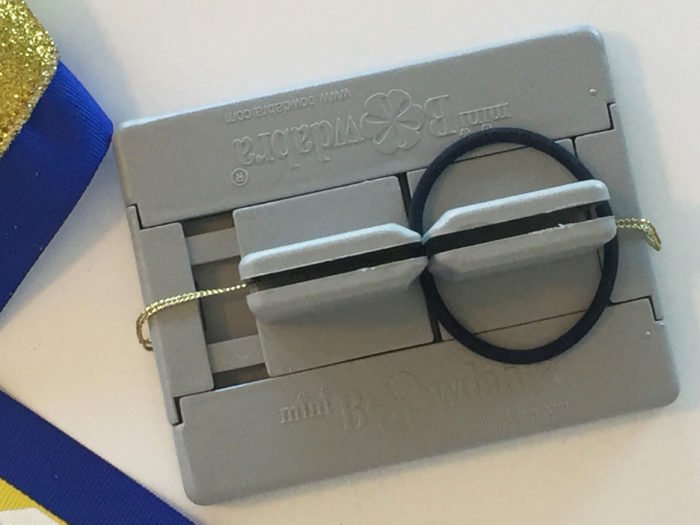
Cut 18 inches of gold Bowdabra Bow Wire inside of the Mini Bowdabra and bend around the edges. Then place your pony holder inside the Bowdabra as shown.
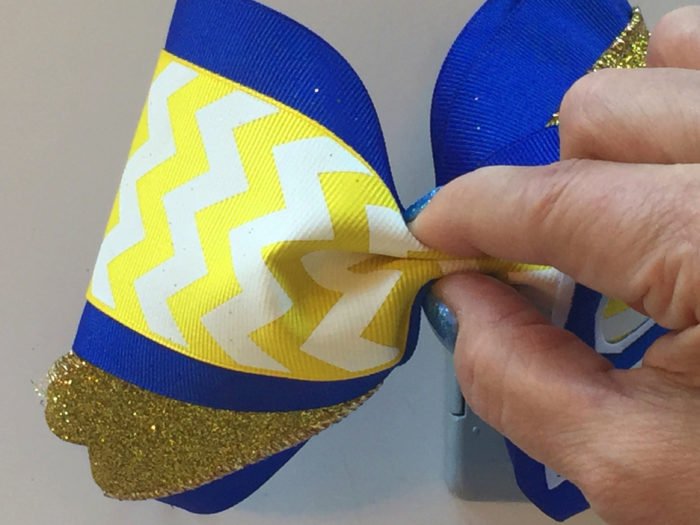
Check to make sure your tails are even, look for the center crease you created earlier and then pinch the center as shown.
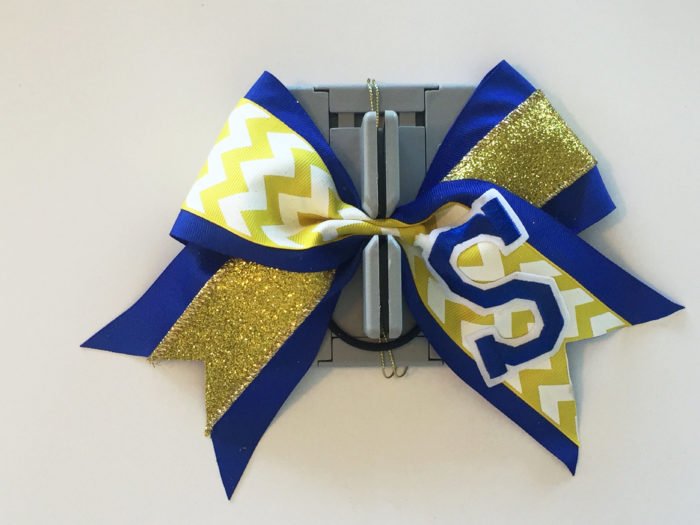
After pinching the center, place bow inside the Mini Bowdabra as shown.
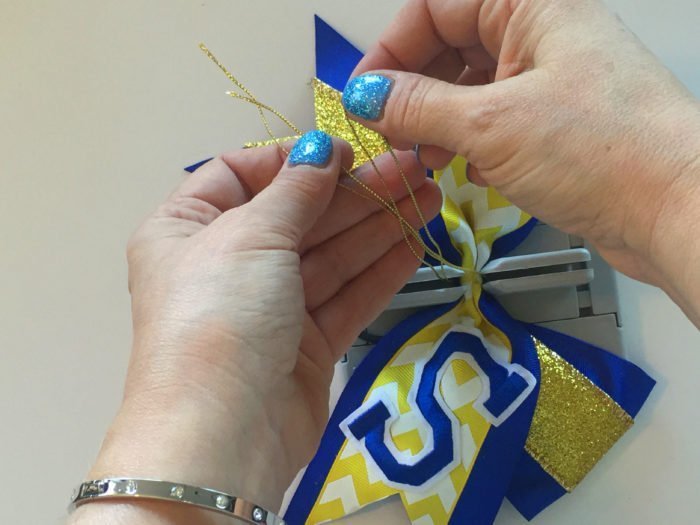
Pull up the Bowdabra Bow Wire and create a slip knot.
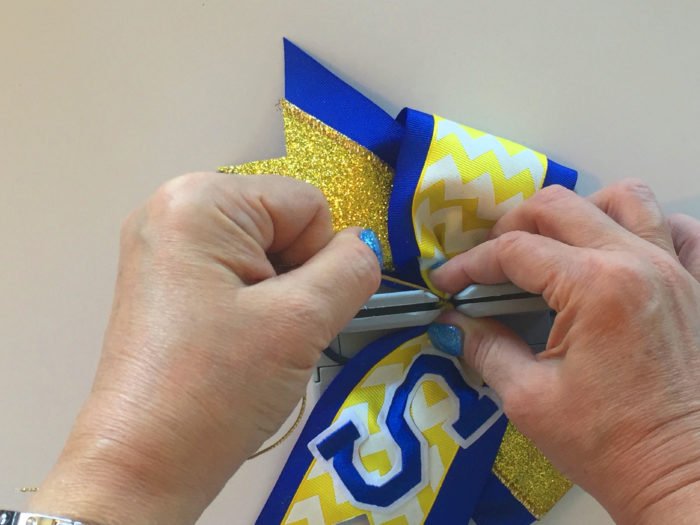
Pull the knot tight.
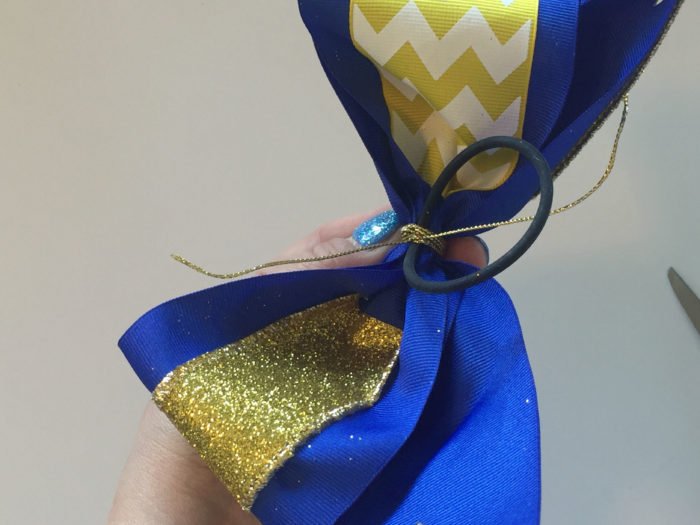
Pull the bow out of the Bowdabra and wrap the Bowdabra Bow Wire around the center of the bow several times and tie a double knot in the back. Clip any extra wire off and adjust bow.
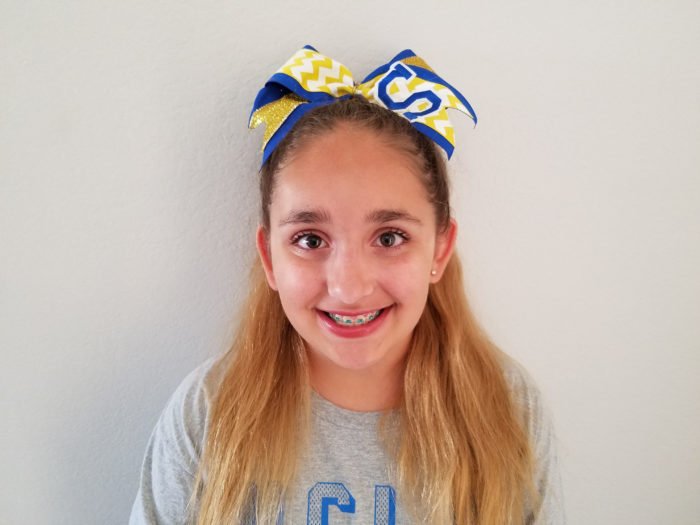
Fluff the bow, and try it on your favorite cheerleader, and make sure the loops are even. As you can tell, my daughter absolutely loves her new cheer bow. The Bowdabra is like having an extra set of hands to help tie the knot in the center, so handy!! I hope this tutorial has given you some ideas on how to create your own cheer bows :)