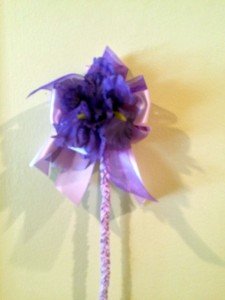
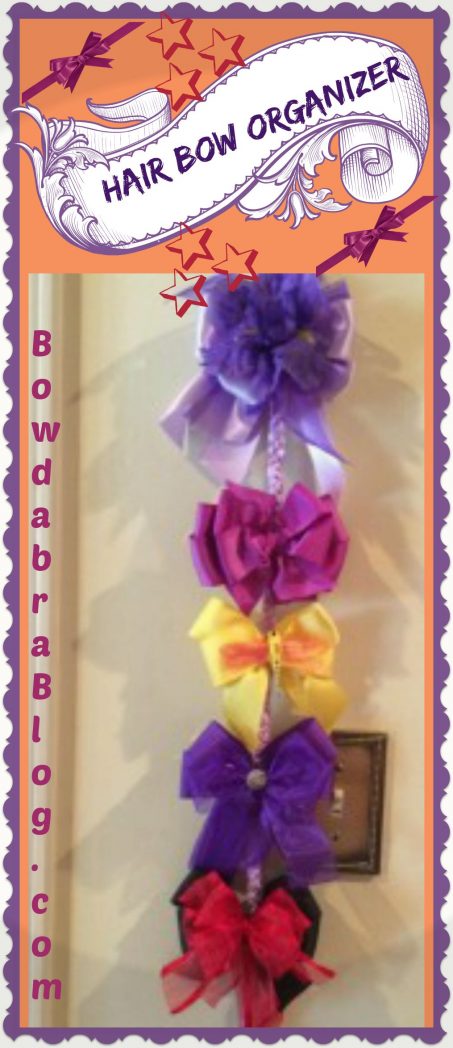
Make this cute and decorative hair bow organizer for all your bows and barrettes and add a stylish room adornment at the same time.
Easy to make, so neat and so useful.
Supplies:
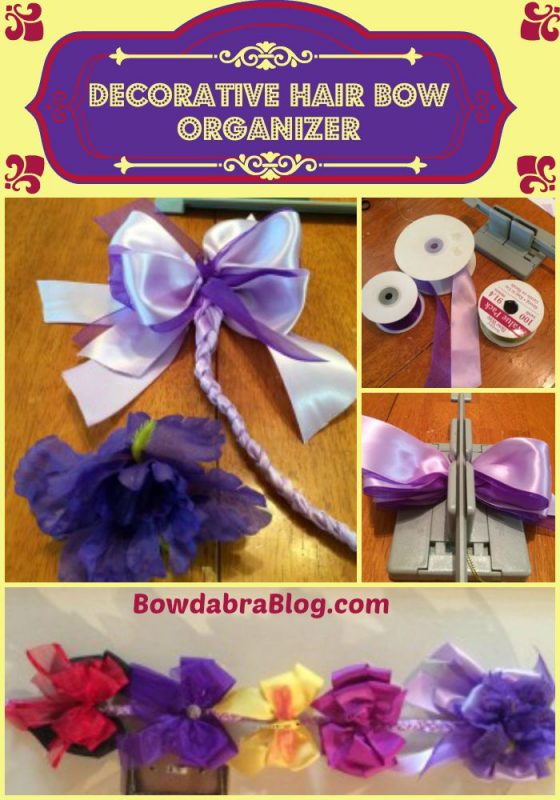
Gather your supplies.
1. Take two of the pieces of ribbon and tie in a knot about 4 inches down.
2. Tie the third piece around the first two.
3. Holding the three lengths of ribbon together, insert into the Bowdabra tool to ‘anchor’ your ribbon for your braid.
Note: The Bowdabra tool comes in very handy anytime you want to do a craft that involves a braid. Use the tool as an anchor to begin your braid.
4. Pull tightly and begin your braid.
5. Continue until your braid is the desired length.
6. Tie the three pieces together at the end.
Create your bow.
1. Fold your bowdabra wire in half and insert into the bowdabra tool.
Put together your different colored ribbon. Insert into the tool leaving a 3 inch tail.
2. Twist the ribbon so that the purple ribbon will be on the inside of your loop.
3. Make a loop and bring to the other side.
4. Continue twisting each time you make a loop. Continue until you have 3 loops on each side.
5. Pull your bowdabra wire up and insert the two loose ends into the loop end. Pull together tightly. Turn the bow over and tie the wire at the back. Do NOT cut your wire yet.
6. Spread and twist your loops out until you have a fluffy bow.
7. Tie the 6 inch piece of organza at the middle of the bow.
8. Tie the bow tightly to the top of the braided ribbon.
9. Using hot glue, glue your flower to the center of your bow.


 Be sure and visit Bowdabra designer Pat at her Facebook page BeaParterre florals today!