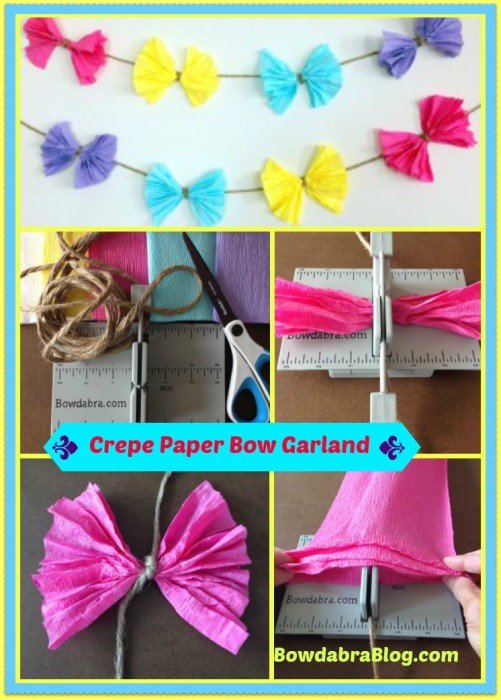
Don’t you just love creating pretty party décor for the summer? There’s nothing quite like a festive crepe paper bow garland to delight any warm weather celebration. Party decoration DIY’s don’t get much simpler than this – especially using your Mini Bowdabra!
Here’s how to make:
Gather the following supplies
Mini Bowdabra
Crepe Paper
Scissors
Twine
And then . . .
1. Cut off 12 inches of twine and insert into your Mini Bowdabra.
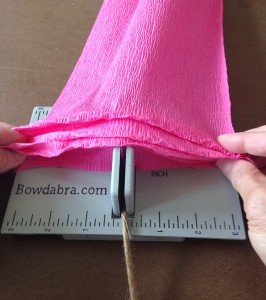
2. Next, cut a strip of crepe paper the full length (20″) and 6 1/2″ wide (the width of the Mini Bowdabra ruler) and place on top of your Mini Bowdabra. Grab the ends and with your forefingers and thumb, start folding the crepe paper down, forming folds or pleats.
 The technique is all in your fingers and thumb action, forming the folds, like an accordion. Take your time . . . and soon you’ll get the hang of it!
3. Continue forming folds until reaching the end of the paper. Pinch the middle of the folds, pressing down into your Mini Bowdabra. Use the Bowdabra Wand to scrunch the crepe paper down. Straighten and smooth out the folds while in this position. Don’t try to make them perfect – they’re handmade and oh so cute!!!!
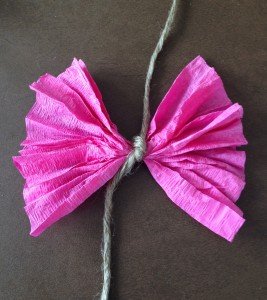
4. Remove the wand and pick up the ends of the twine and tie a knot.
5. Take the twine ends around to the back of the bow and tie again.
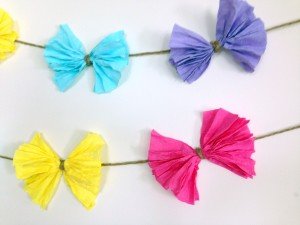
 6. Now fluff the crepe paper bow . . . isn’t it adorable!!!! Now make several more in different colors and tie to plain twine garland. Be sure to cut off excess twine after tying in place.
You’ll find this bow garland incredibly easy and additive to make.

 If you’re looking for a super cute idea for summer decorations, get out your Mini Bowdabra, and follow this easy bow garland tutorial! And don’t forget to have fun making this!!!
Happy Crafting,
Gail
Be sure and visit Gail on her blog Purple hues and me to see more of her incredibly awesome creations!
2 thoughts on “Crepe Paper Bow Garland”