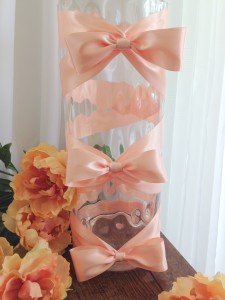
It’s so simple and just takes minutes to achieve a designer look for that special occasion.
Here’s how:
Gather your supplies 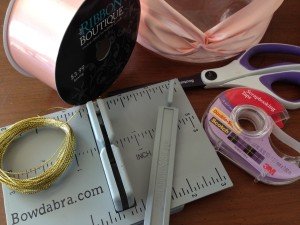

- Bowdabra and wire
- 7.5 yards of satin ribbon
- Scissors
- Double faced tape
- 18″ Cylinder vase
- Hot glue gun
- clamp or clothespin
And then begin by making the Bowdabra bows first.
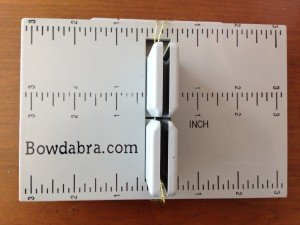
Fold a 15″ Bowdabra bow wire in half and place it into the Bowdabra.
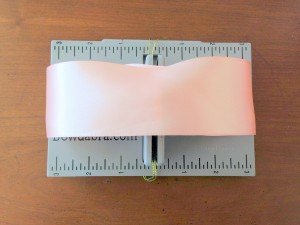
Cut a 16″ piece of ribbon, heat set the ends and fold into a loop with ends centered in middle.
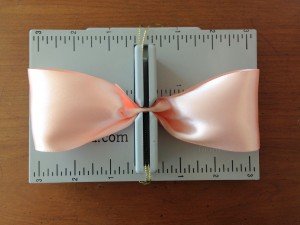
Grasp the center of the ribbon and push down into the Bowdabra.
Use your Bowdabra wand to scrunch the ribbon down.
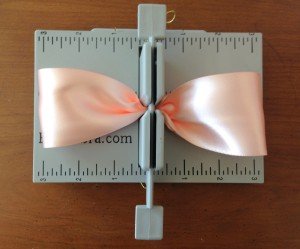
While the bow is still in the Bowdabra, thread the two loose ends of the bow wire through the loop at the other end. Pull the bow wire tightly.
Gently pull the bow out of the Bowdabra and separate the bow wire to the back of the bow, tying a knot. Cut off excess wire.
Finishing Ribbon:
1. Cut a small piece of ribbon approximately 5″ long, and fold over.
2. Run a glue line along the top of the wire in the center of the bow. Attach the finishing folded ribbon along the glue bead, running the ribbon to the back of the bow. Trim ends and glue together. Use a clamp or clothespin to hold until dry.
To wrap and twist ribbon on the vase:
Place a piece of double sided tape on the back top of the vase.
Cut off six yards of ribbon, fold in half and place center on top of tape at the back edge of vase. Wrap ribbon around to the front and twist, crisscrossing ribbon tightly.
Wrap ribbon around to the back, making sure to keep the ribbon smooth and straight, wrapping ribbon to the front, finding the center point and twisting ribbon again and back around.
Continue wrapping and twisting ribbon until reaching the back bottom. Seal both pieces of ribbon with double faced taped to the vase for an endless seam look.
Place a dab of hot glue where the ribbon crosses in the center and place the Bowdabra bows in place until glue dries.
Save
Save
Save
Save
Save
