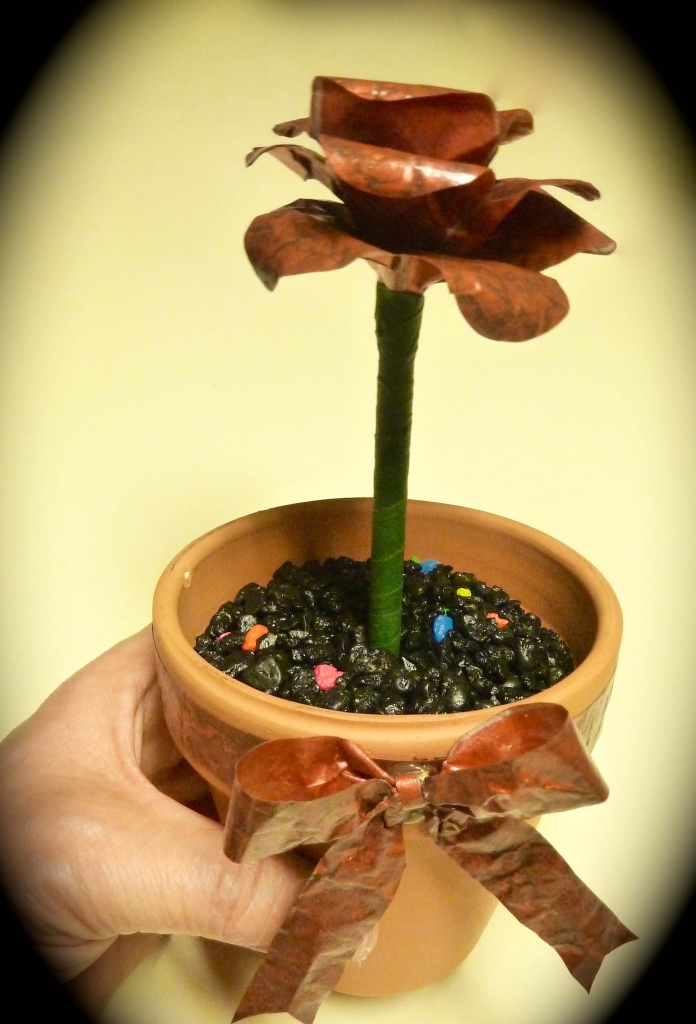
When is ribbon not exactly ribbon? When it’s made from a simple brown paper bag! Yes you heard it right, a 
Be sure to head on over to my blog to learn how to make a brown paper bag rose!
You will need:
- Brown paper lunch bag
- Acrylic paint in desired color (I used copper metallic)
- Acrylic water based stain in brown
- Acrylic gloss sealer (Mod Podge is a good one)
- Small paintbrush
- Mini Bowdabra w/Ruler
- Bowdabra bow wire
- Tacky craft glue
- Scissors
- Ruler
- Pencil
- Waxed paper
- Paper towels
Instructions:
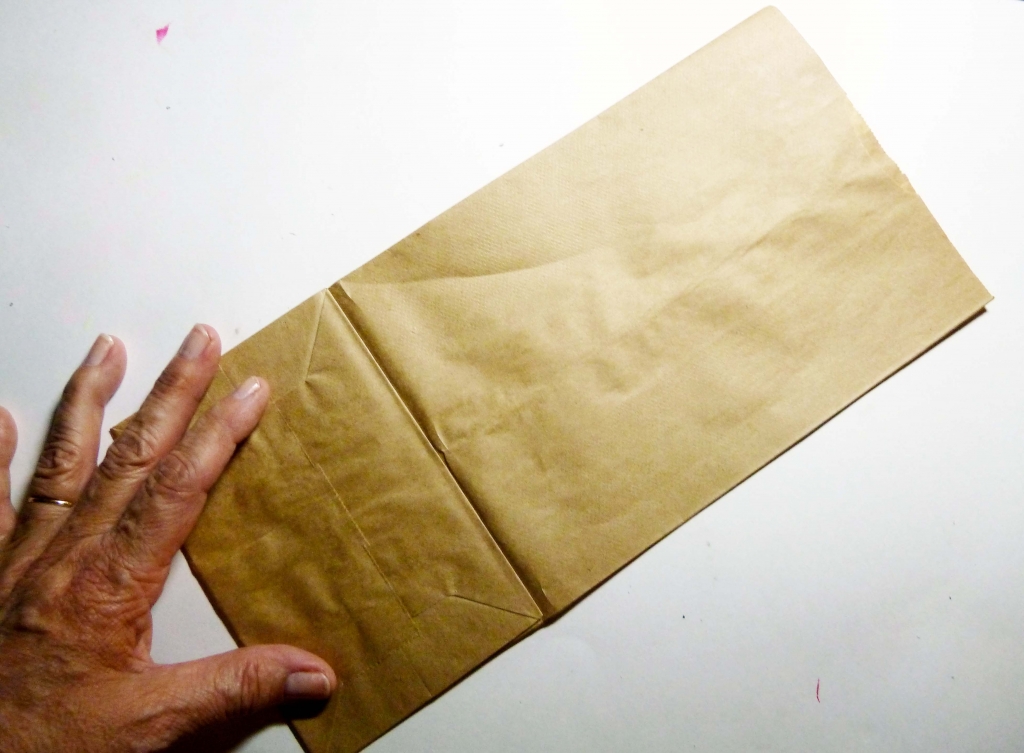
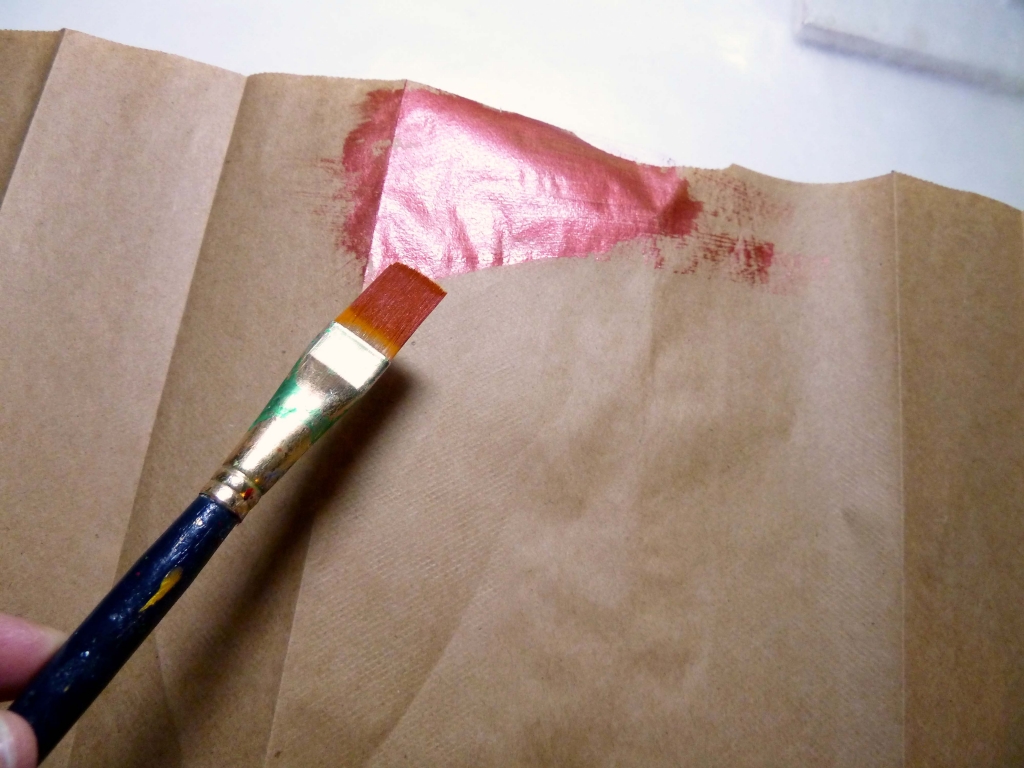
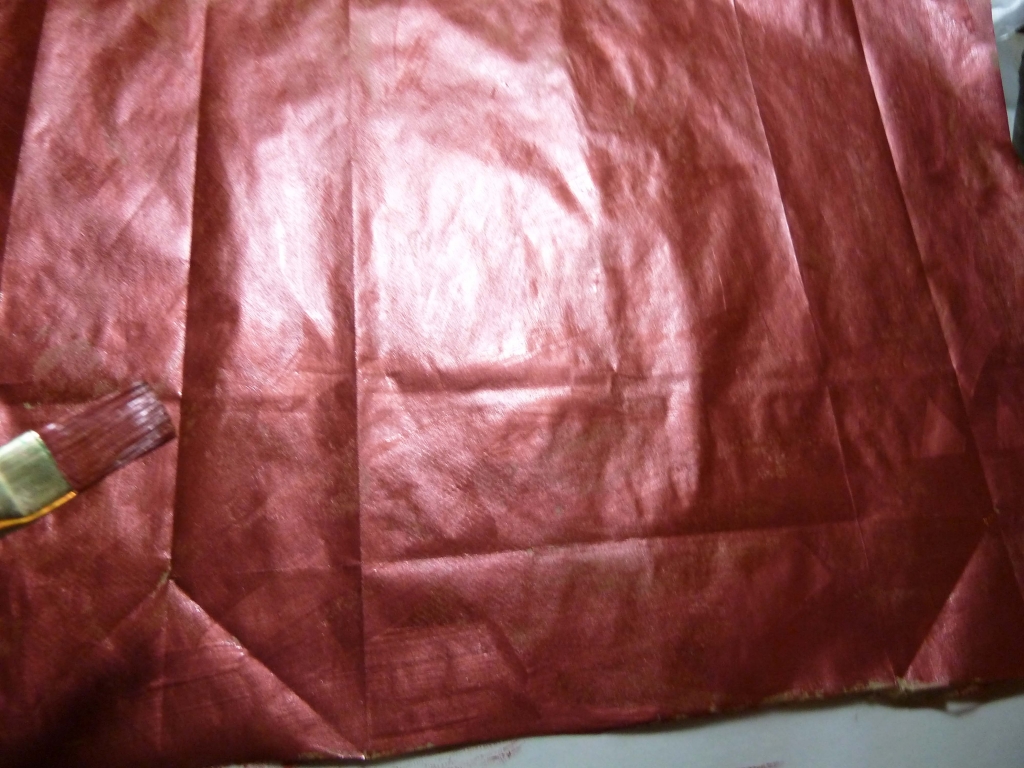
1. Make the ribbon. Cover your work surface with waxed paper. Cut open your brown paper bag with scissors. Lay it flat. Brush a layer of acrylic paint on the bag and let dry. Turn over and paint the other side. Let dry.
2. Scrunch up the painted bag into a ball. You want the wrinkles since they will give dimension to your ribbon. Open it up and lay it flat. Brush a layer of brown acrylic stain over the bag. Wipe off the excess with a paper towel. You will see that the stain stays in the wrinkles. Let dry. You only need to do this to one side. After the stain has dried, brush on a coat of gloss acrylic sealer and let dry completely.
3. Working on the non-stained side measure and cut a strip ¾” wide by the length of the bag piece. Spread some glue all around the rim of the terra cotta pot and apply the strip. Cut any excess off and glue down. Let dry.
Make the Mini Bowdabra Bow:
1. Cut a piece of Bowdabra bow wire 18” in length and place in the Mini Bowdabra bowmaker with ruler.
2. Cut another of ¾” wide strip of paper and insert in the Mini Bowmaker to the 3 inch line.
3. Twist the ribbon to the stained side and make loop at the 1 inch line on the opposite side.
4. Make a matching loop on the other side twisting to the stained side of the ribbon.
5. Bring the end piece and place in the bowmaker ending at the 3-inch line and cut. Scrunch down with the wand.
6. Tie the bow wire tight and remove from the Bowmaker. Tie a knot in the back and cut short.
7. Arrange the loops. Fold the ends in half and cut to make points.
8. Cut a ¼” strip of paper and fold and glue around the center of the bow. Fold the ends lengthwise and cut into two points.
9. Add a generous dab of tacky glue to the trim around the rim and apply the bow. Let the glue dry completely.
Add a plant or if you are putting floral pens add some aquarium gravel to the pot.


