I know sometimes it is hard to think of Christmas in July. However, I really enjoy making my own gifts, gifts tags, and adding  personal handmade touches to gift wrapping. If I don’t start in July I will never be done in time for Christmas.
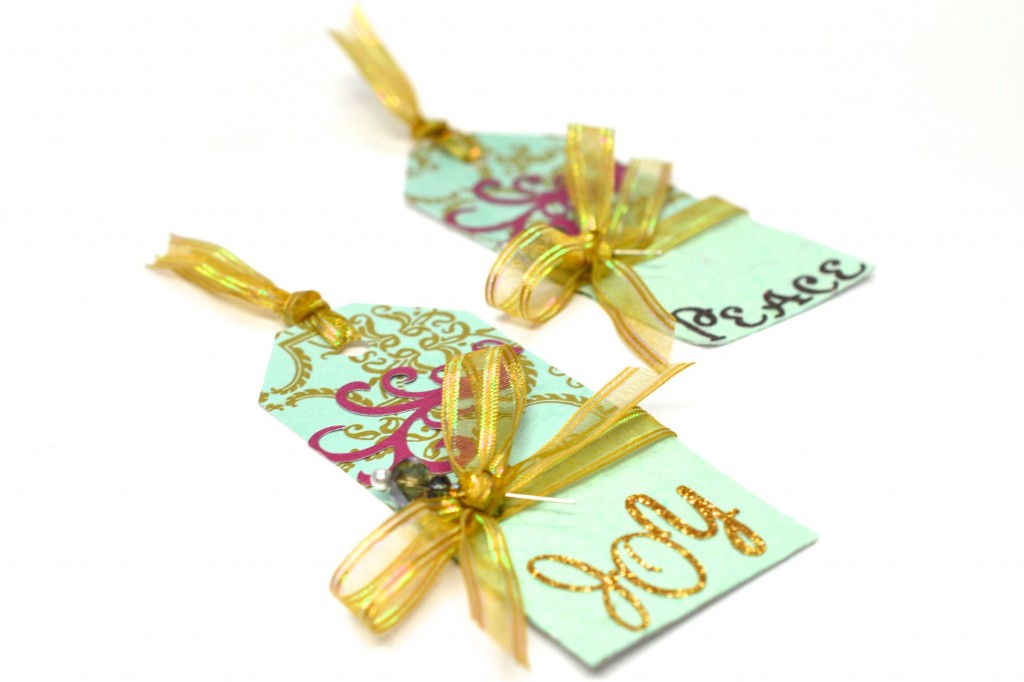
Handmade Christmas gift tags are a creative way to share your personal style and make the gift recipient feel extra special. Here are a few of the tags I have worked on. I still have several more to make. Luckily, I still have plenty of time to make each one extra special.
Materials Needed:
Instructions:
1. Begin by gathering all the materials you will need to make the gift tags.
2. Using a glue stick assemble the tag.
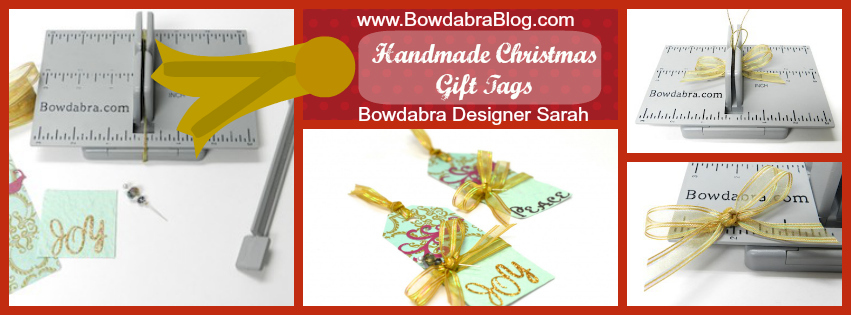
3. To make the bow for each tag begin with the Hair Bow Tool & Ruler on the Mini Bowdabra. Cut 18″ of Bowdabra Bow Wire fold the wire in half and place it into the Mini Bowdabra. Cut the ribbon end at an angle. Place the ribbon into the Mini Bowdabra at the 2″ mark.
4. Fold the first loop at the 1.5″ mark.
5. Make a matching loop on the other side.
6. Trim the ribbon at the 2″ mark for the other bow tail.
7. Scrunch down with the Mini Bowdabra Wand.
8. Thread the two Bowdabra Bow Wire tails through the loop.
9. Pull the wire tightly.
10. Bring the wire around to the back of the bow and knot.
11. Add a finishing knot to the center of the bow. To get a full knot layer two ribbon strands of sheer iridescent. Knot the cent
er.
12. Hot glue the finishing knot to the center of the bow. Trim away excess ribbon.
13. Add some beads to a quilter’s pin. Push the pin through the center of the knot. (Optional: I used wire cutters to remove the sharp point of the pin.)
14. Follow the instructions to make additional gift tags.


Save