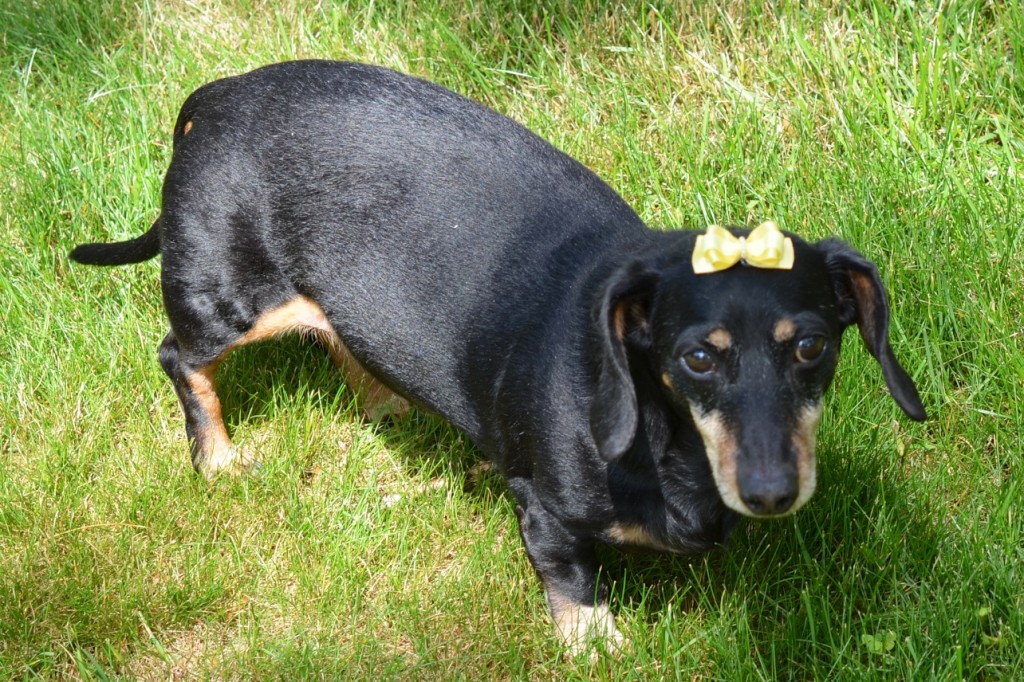
Follow our step-by-step tutorial for making a layered ribbon top knot bow with coordinating seed bead center. Using the Mini Bowdabra and the Hair Bow Tool & Ruler design several small dog bows.
Handmade bows look adorable on dogs and 
Attach the layered top knot bow to tiny elastic bands, french clips, or use Girlie Glue to glue the bow right to your dog’s head. To learn more about Girlie Glue and be entered in our giveaway visit our Girlie Glue post.
Materials Needed:
- Mini Bowdabra
- Hair Bow Tool & Ruler
- Twine or Bowdabra Bow Wire
- 6″ of 5/8″ wide satin ribbon
- 6″ of 3/8″ wide grosgrain ribbon
- Seed Beads
- Seamstress Tape
- Girlie Glue
Instructions:
1. Begin by gathering all the materials you need to make a layered ribbon top knot bow.
2. Cut 18″ of twine or Bowdabra Bow Wire. Fold the twine in half and place it into the Mini Bowdabra – tuck the ends underneath.
3. Cut 2″ of 5/8″ wide ribbon and make a straight cut on each side. Seal the ends.
4. Cut 4″ of each of the ribbons. Stack the 3/8″ wide ribbon onto the 5/8″ ribbon.
5. Fold the ribbon in the center so that the loop is 1.5″ long.
6. Press the ribbon loop into the Mini Bowdabra.
7. Scrunch down with the Mini Bowdabra Wand.
8. Thread the two ends through the loop.
9. Pull the twine tightly.
10. Remove the bow from the Mini Bowdabra and bring the twine around to the back and knot it. Fluff the bow.
11. Thread seed beads onto the twine and knot the back.
12. Follow the instructions to make several more dog bows.
13. These cute little bows are perfect for small dogs.
14. Use Girlie Glue to attach the bows to your dog’s head.