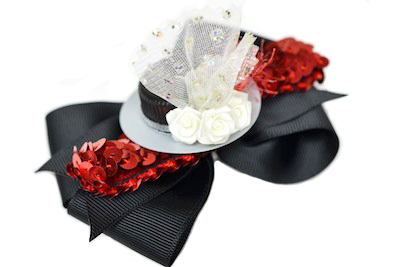
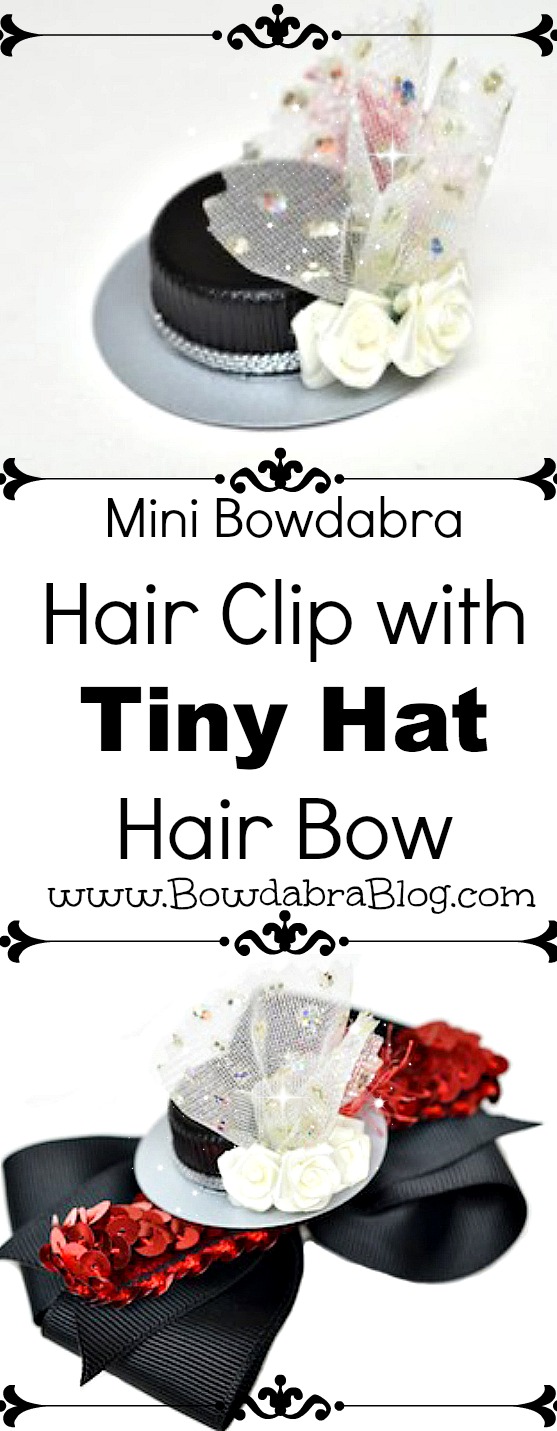
This week on the Bowdabra Blog it is all about recycling. We have used zippers and bottle caps for hair bow centers. Well,  why not bottle lids? Right! Paint the bottle lids, add a cardstock rim, and then some embellishments and wallah – a tiny hat!
I was inspired to make tiny hats for hair bow centers when visiting Mark Montano’s blog. We invite you to head on over to Mark’s blog and view the video tutorial for making tiny hats! Then come on back here to the Bowdabra Blog and learn how to make a bow for those tiny hats.
Materials Needed:
Instructions:
1. Start by making a tiny hat here is the tutorial.
2. To make the hair bow begin by placing the Hair Bow Tool & Ruler onto the Mini Bowdabra. Cut 18″ of Bowdabra Bow Wire and fold it in half. Place the wire into the Mini Bowdabra.
3. Cut 24″ of 1.5″ wide grosgrain ribbon. Fold the ribbon in half to create a crease. At the crease mark press the ribbon into the Mini Bowdabra.
4. Fold and press the ribbon at the 2″ mark to make your first loop.
5. Fold a matching loop on the other side.
6. Fold another 2″ loop.
7. Fold a final loop.
8. Cut 10.5″ of sequin elastic. Place the end of the elastic face down into the Mini Bowdabra.
9. Place the other end of the elastic into the Mini Bowdabra.
10. Form two loops and scrunch down with the Mini Bowdabra Bow Wand.
11. Place the two wire tails through the loop.
12. Pull the wire tightly.
13. Remove the bow and tie the wire in the back of the bow. Add dovetails to the ribbon ends and seal the ribbon.
14. Attach a hair clip and trim away excess wire.
15. Fluff the bow and hot glue the tiny hat to the bow center.
16. Your Mini Bowdabra hair bow with tiny hat center is complete.
For more about the designer of this tutorial click here…
