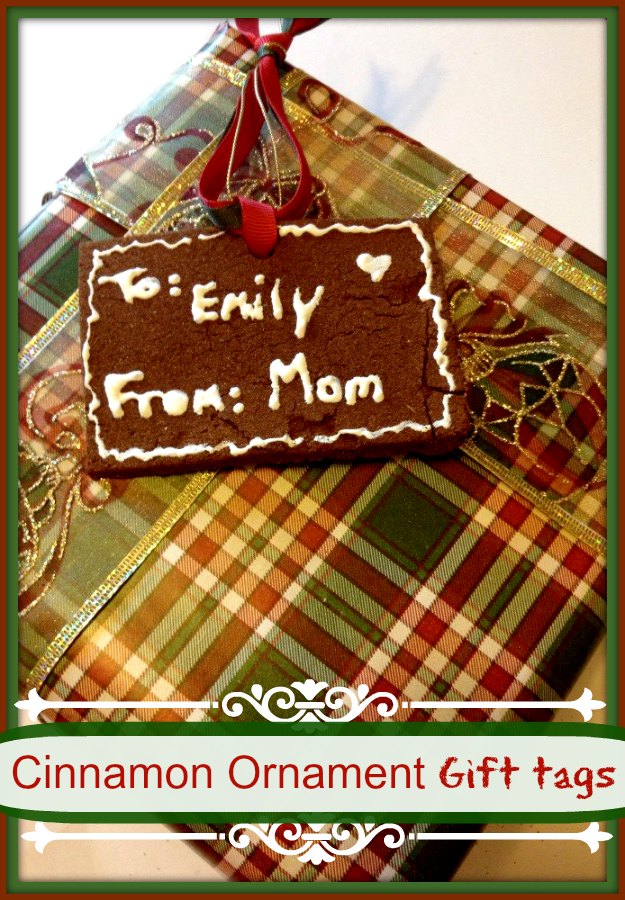
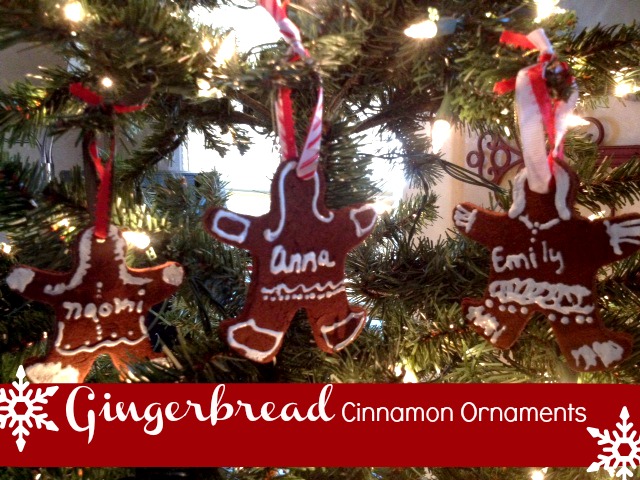
 This week we have been sharing Holiday Food and Treats but I hope you won’t mind a not-so-edible kitchen goodie today. I remember 19 years ago making these for our first Christmas after being a bride for 2 months. On and off over the years I have made more to keep and to give as gifts. The cinnamon smell seems to last forever and is a wonderful reminder of Christmas past.
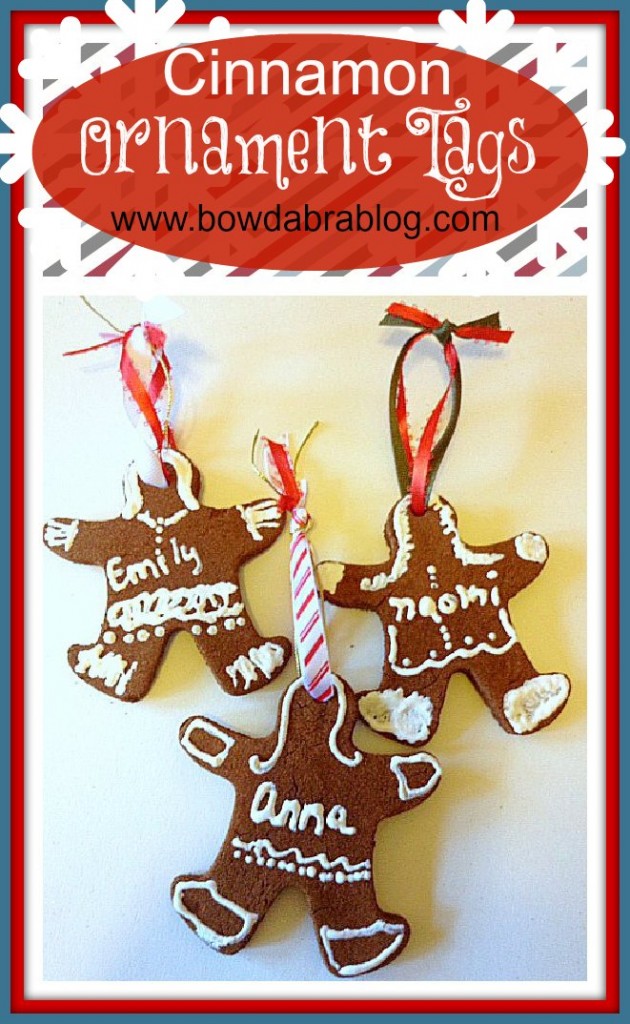
Besides as an ornament, these work great as package tags. It is a tag to go on the tree! Have you made these?
This is a project that your kids can help you with from the beginning to the end! You can even trace their hand and make a yearly hand ornament.
Cinnamon Ornament and Tags
Ingredients:
1 cup applesauce
1 1/2 cups cinnamon
1 teaspoon of nutmeg, ginger, allspice, cloves or pumpkin pie spice (optional item)
Preaheat oven to 200 degrees F.
Directions:
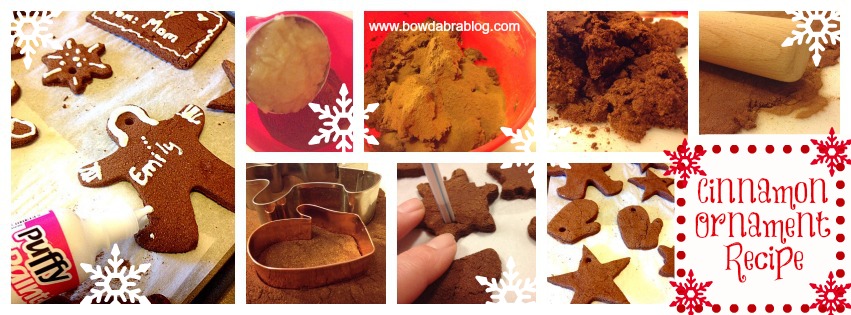
1. In a small bowl, add in applesauce and 1 cup of cinnamon. Mix well with a wooden spoon or your hands.
2. Once mixed, add in final 1/2 cup of cinnamon and extra spice if needed. Mix well. The dough will be slightly moist and slightly dry. If it looks too shiny and moist, add in small amounts of cinnamon.
3. Dump out on a hard surface and flatten with hands and use a rolling pin to get an even 1/4″ thickness. If the dough is too moist it will stick to the rolling pin. Fix that by adding in more cinnamon.
4. Use your favorite cookie cutters or cut tag shapes out of the dough.
5. Place shapes on a parchment lined cookie sheet and poke a hole in the ornaments with a toothpick or a straw. Bec careful to not break the ornament. If you do pinch it back together.
6. Let bake for 1 hour and then quickly flip the over. Let make for 30-60 minutes. The ornaments are done when they are no longer squishy.
7. Let cool in the over for a few hours. Once cooled, if they are soft then put them back into the 200 oven for 30 minutes or so.
8. Once cooled, get out all of your fun ribbons and add them to the ornaments. If you want to make them even more fancy then use white puffy paint to add decorations to the ornaments. I also use this to write the date on the back of each ornament or to write the name of the person on the tag. The paint will take a few hours to dry. Once dry, add on the ribbons.
Materials Needed:
Instructions:
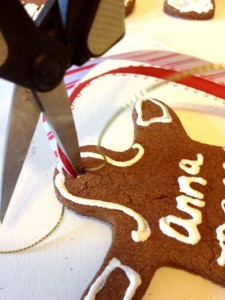
1. Take various sizes of ribbon and Bowdabra Bow Wire and add it to the ornaments. Use a small pair of scissors to help feed the ribbon through the hole. Don’t be too forceful or you will crack the ornament.
Kitchen Goodies Cinnamon Ornament Tags
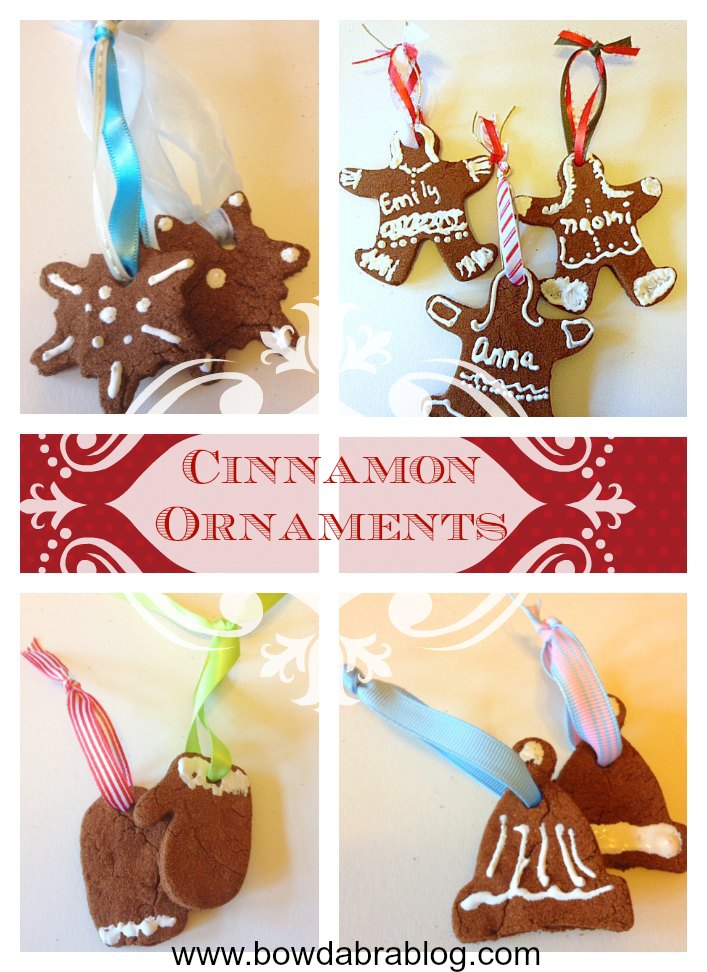
2. Keep on adding ribbons. Think about who it is for and pick their favorite colors. Use light pink and blues to make baby 1st Christmas ornaments.
3. To make a gift tag, just attach one to a package. Use the puffy paint to add on the To and From.
Kitchen Goodies Cinnamon Ornament Tags
Kitchen Goodies Cinnamon Ornament Tags
Kitchen Goodies Cinnamon Ornament Tags