Owls have been a huge trend in the crafting world, for the last several years. And, this year is no expectation! When 
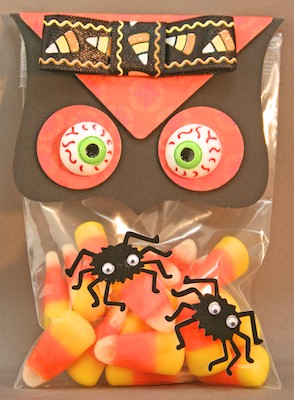
Learn how to make handmade owl treat bags and party favors perfect for Halloween or a fall event.
Materials Needed:
- Rectangular Frame Frilly #4 Die Cut
- Circle Die Cut
- Square Die Cut
- Grosgrain One-Side Ribbon Halloween Themed
- Cardstock
- Scary Eyeball Buttons
- Halloween Embellishments (spiders)
- Double Sided Tape
- Treat Bags
- Candy Corn
- Optional: Mini Bowdabra, Bowdabra Bow Wire
Instructions:
1. Begin by gathering the supplies you will need to create the these fun handmade Halloween owl treat bags and favors.

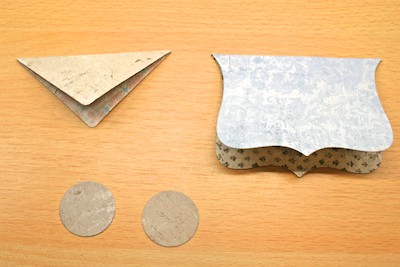
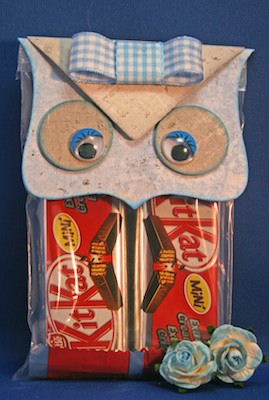
2. Using the die cuts cut out the pieces you will need to assemble the owl. Below is an example of favor that would be perfect for fall or even a baby shower.


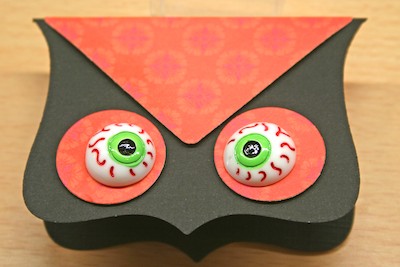
3. Once the cardstock is cut begin to assemble the owl’s face. Use double-sided tape to hold it together.

4. Next, cut the grosgrain to form the bow. Cut the ribbon about 5.5″ long.
5. Fold the ribbon in half to make a crease mark. At the crease mark fold the ends of the ribbon in and hold it in place with double-sided tape. Optional use your Mini Bowdabra Bow Maker to create a bow tie. Here is a tutorial on how to make a simple bow tie.
6. Cut another piece of ribbon for your finishing ribbon. First attach the ribbon to the double-sided tape.
7. Fold the ribbon around and attach the other end to the back side.
8. Use double-sided tape to attach the bow to the owl favor.
9. Fill a treat bag with candy and then attach the owl head.
9. Young and old will enjoy these handmade Halloween Owl treat bags.
10. Make several treat bags to give as party favors or even to hand out to trick-or-treaters!