 Can we ever have too many birthday cards? I know that I’m always trying to play catch up to have a few on hand when a birthday sneaks up on me, besides making birthday cards is fun!
Materials Used:
Instructions:
1. Begin by placing the Hair Bow Tool & Ruler onto the Mini Bowdabra.
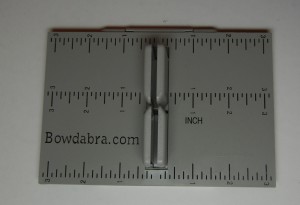
2. Cut an 18″ length of Bowdabra Bow Wire. Fold the wire in half and place it into the Mini Bowdabra and tuck the ends under.
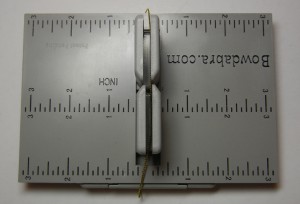
3. Place the gingham ribbon to create a 2”³ tail.
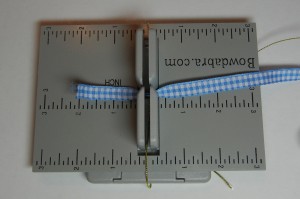
4. Start making your bow by folding the ribbon from the right side over to the left to make a 1 1/4″ loop.
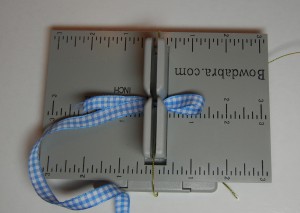
5. Next, fold the ribbon from the left side back over to the right side to make another 1 1/4″ loop on the left.
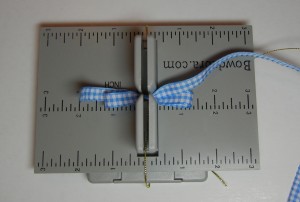
6. I wanted to have three loops on either side, so I continued folding the ribbon back and forth until I had 3 loops on either side.
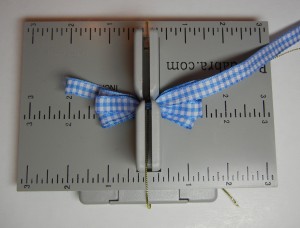
7. Next I used the Mini Bowdabra wand to scrunch down the loops into the Mini Bowdabra.
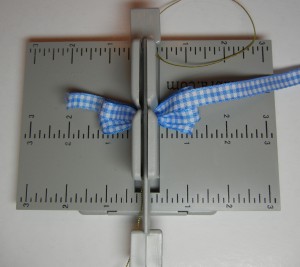
8. Now, remove the wand and gently pull up both ends of the Bowdabra wire to tie a tight knot on the underside of the bow.
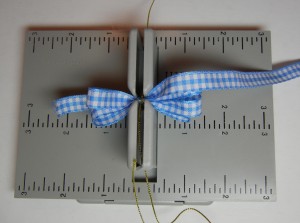
9. Carefully remove the bow from the Mini Bowdabra and trim the Bowdabra Bow Wire to a length of about 1/4 inch.
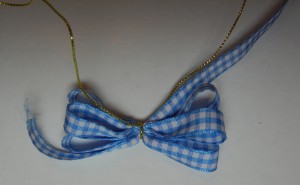
10. Next, put 2 small glue dots over the ends of the Bowdabra Bow Wire.
11. Take another length of gingham ribbon and place one end over the glue dots.
12. Put two more small glue dots on top of the end of the ribbon you just put on the bow and wrap the other end of the ribbon around the bow and adhere it to the other glue dots.
13. Carefully trim the end of the gingham ribbon close to the bow. Place a large glue dot over the cut end of the ribbon on back of the bow so you can adhere it to your card.
14. Place the bow on your card and it’s ready for you to give or mail to someone to brighten up their birthday.