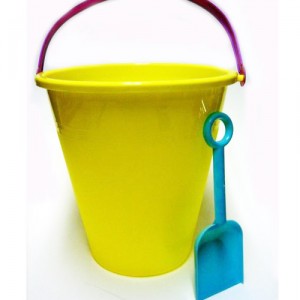
Little plastic beach buckets can be found everywhere during the summertime. I purchased several plastic beach buckets at the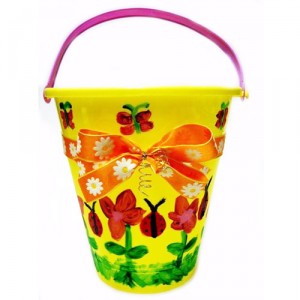
Materials Needed:
”¢Mini Bowdabra ®
”¢Bowdabra ® Bow Wire
ӢPlastic Beach Bucket
ӢOne-Sided Print Ribbon
ӢAcrylic Paints
Instructions:
1. Begin by purchasing inexpensive beach buckets. Choose a light color that paint will show up on.
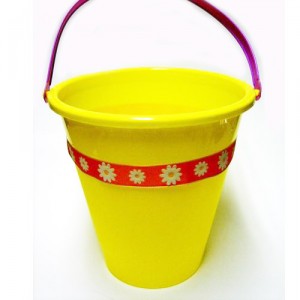
2. Next, wrap a piece of ribbon around the bucket for the trim. Use either glue dots or tacky glue to hold the ribbon in place.
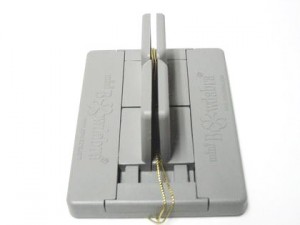
3. Next, create the Mini Bowdabra Bow. Your children may be able to help make the bow, depending on their age and finger dexterity. Cut 18″ of Bowdabra Bow wire fold it in half and place it into the Mini Bowdabra.
4. Cut a length of ribbon for the bows tails. Dovetail the ends of the ribbon by folding them in a half and cutting at an angle.
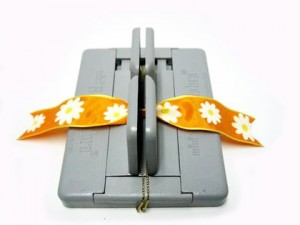
5. Lay your ribbon into the Mini Bowdabra. Decide how big you want your loops. To make your first loop, fold the ribbon and press into the Mini Bowdabra.
6. Continue folding the ribbon back and forth until you have created as many loops as you desire.
7. Scrunch ribbon down with the Mini Bowdabra Wand.
8. While the bow is still in the Mini Bowdabra, thread the two loose ends of the Bowdabra Bow Wire through the loop at the other end. Pull the Bowdabra Bow Wire tightly while the bow is still in the Mini Bowdabra.
9. Gently pull the bow out of the Mini Bowdabra. Separate the two loose ends of the Bowdabra Bow Wire and bring them around to the back of the bow. To tie off the bow, pinch the Bowdabra Bow Wire securely against the bow. Twist the bow 4 to 6 times in a clockwise direction.
10. Fluff the bow and tie it to the ribbon around the pail using the Bowdabra Bow Wire. Spiral the remaining ribbon with a pencil for fun ringlets. Give children the buckets to add designs and images with acrylic paints. Let the paint dry.
Painted Beach Bucket
