Using the Mini Bowdabra and Hair Bow Tool & Ruler create a multi-layered stacked basic hair bow using different width ribbon. 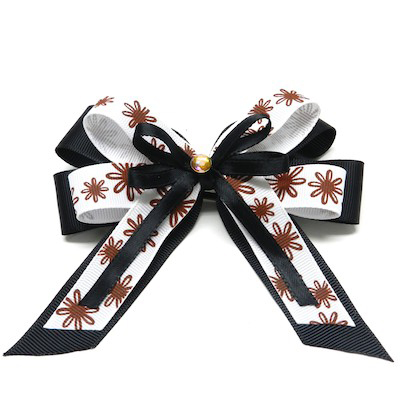 The Hair Bow Tool & Ruler and Mini Bowdabra make it easy to create different layers with all sized ribbon including one-sided printed ribbon and even small width satin ribbon.
Materials Needed:
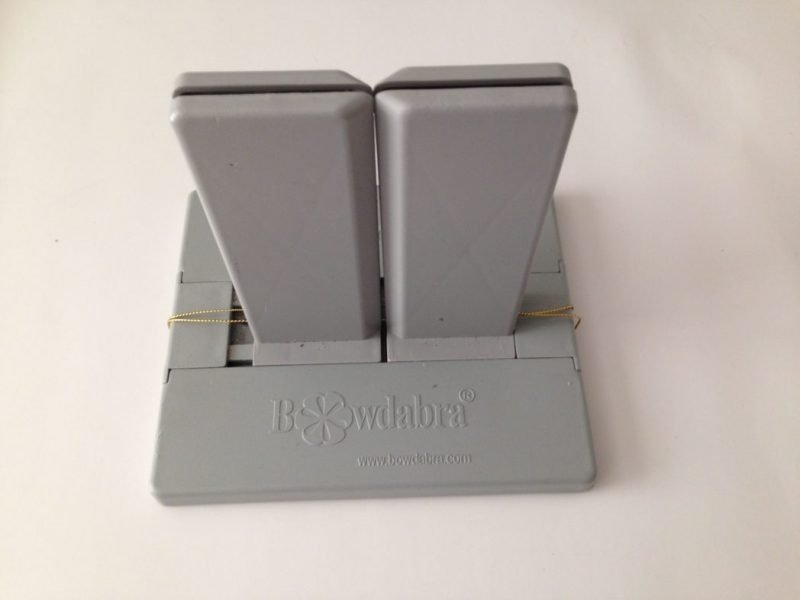
Mini Bowdabra
Bowdabra Bow Wire
Hair Bow Tool and Ruler
7/8” Black Grosgrain 28” long
5/8” One-Sided Printed Grosgrain 23.25” long
¼” Satin Ribbon 15.5” long
¼” Finishing Ribbon and small gem
3/8” Black Grosgrain (to line alligator clip)
Alligator Clip
Clear Nail Polish to seal ends of ribbon
Glue Dots or Hot Glue Gun
Instructions:
1. Begin by gathering your materials. You will need a Mini Bowdabra, Bowdabra Hair Bow Tool and Ruler, and Bowdabra Bow Wire. Place the Bowdabra ® Hair Bow Tool and Ruler onto the Mini Bowdabra. Cut an 18” piece of Bowdabra Bow Wire and fold it in half. Lay it into the Mini Bowdabra. You’ll have a loop at one end and two loose pieces at the opposite end.
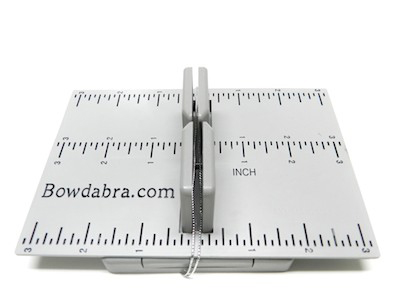
Multi-Layered Hair Bow
2. Cut 28” of 7/8” black grosgrain. Cut the ends of the ribbon at an angle. Both ends should have the angles facing the same way.
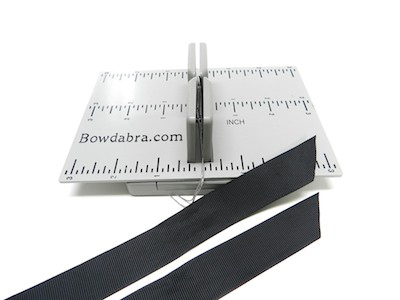
Multi-Layered Hair Bow
3. Fold the ribbon in half at the crease mark place the ribbon into the Mini Bowdabra. Notice how the angles are pointing on the ribbon ends. The tips of the angles should be point up and closest to the Mini Bowdabra.
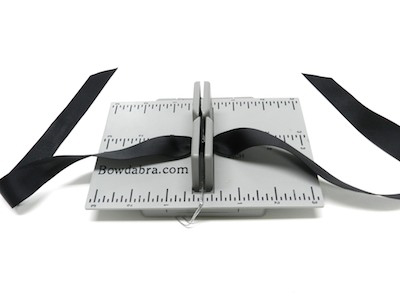
Mulit-Layered Hair Bow
4. Form a loop at the 2” mark and press into the center of the Mini Bowdabra.
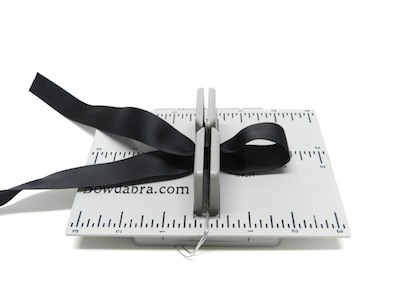
Multi-Layered Hair Bow
5. Next, fold the other side at the same width. Ribbon tails should be right side down above your loops.
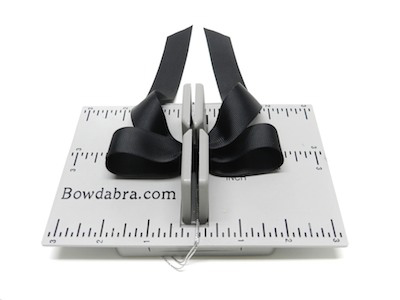
Multi-Layered Hair Bow
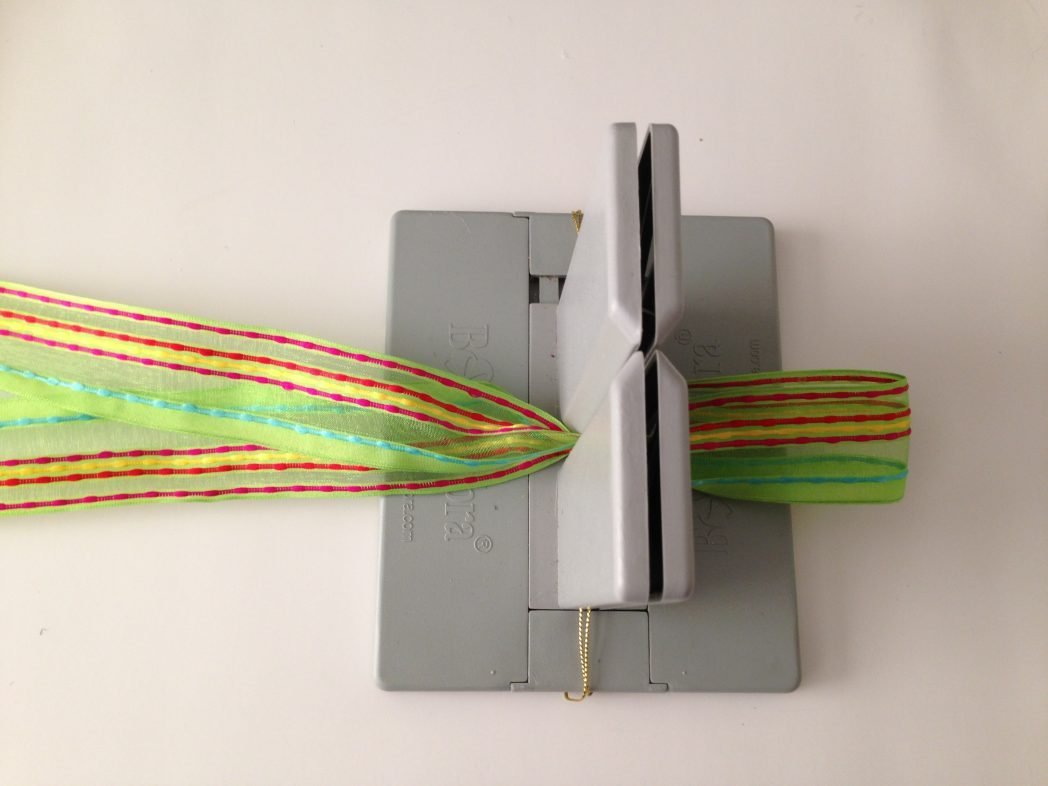
6. Fold ribbon tails one at a time down through the center of the Mini Bowdabra, making creases into each tail. Scrunch down with the Mini Bowdabra wand.
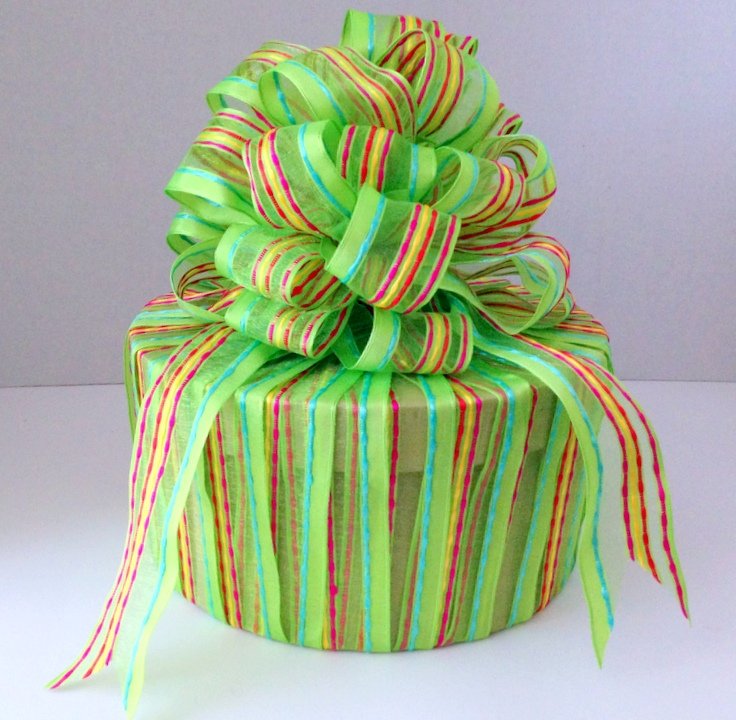
Multi-Layered Hair Bow
7. Cut 23.25” of one-sided ribbon. (We added 1.25” to the ribbon length chart because this is one-side ribbon and the ribbon has to be twisted.) Fold the ribbon in half at the crease mark place the ribbon face down in the Mini Bowdabra. Points of the ribbon should be facing down.
8. Fold and twist the ribbon at the 1.5” mark.
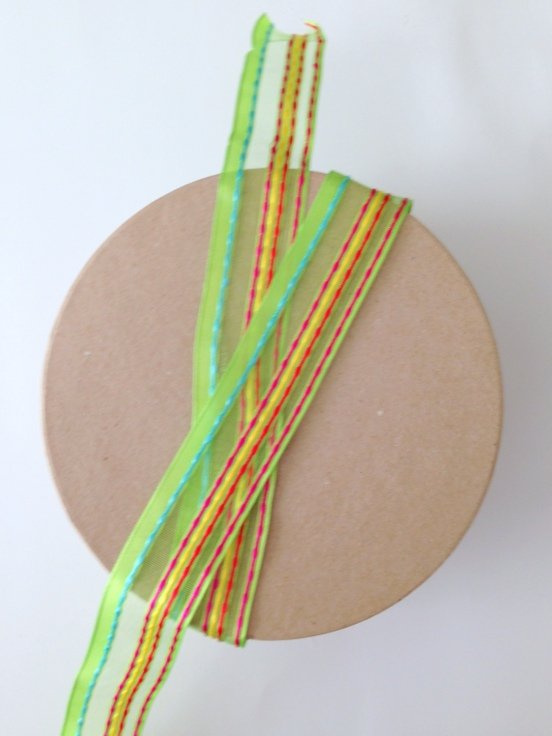
Multi-Layered Hair Bow
9. Fold and twist two loops with ribbon tails facing up.
Multi-Layered Hair Bow
10. Fold the ribbon down on each side (no need to twist the ribbon it will be right side up) to create two more 1.5” loops. Scrunch down with the Mini Bowdabra wand.
Multi-Layered Hair Bow
11. Cut 15.5” inches of ¼” satin ribbon. Dovetail the end. Ribbon points should be facing up. Fold the ribbon in half at the crease mark place it into the Mini Bowdabra.
Multi-Layered Hair Bow
12. Create 1” loops on either side. Use the Mini Bowdabra Wand to help you hold the ribbon in place as you form the loops.
Multi-Layered Hair Bow
13. Helpful Hint: While the bow is still in the Mini Bowdabra and the wand is still in place thread the two loose ends of the Mini Bowdabra Bow Wire through the loop at the other end. Because the satin ribbon is so thin it is best if you leave the wand in place to hold the ribbon down.
14. Pull the Bowdabra Bow Wire tightly while the bow is still in the Mini Bowdabra. Notice how the wand is still in place.
Multi-Layered Hair Bow
15. Remove wand and gently pull the bow out of the Mini Bowdabra. Separate the two loose ends of the Bowdabra Bow Wire and bring them around to the back of the bow and knot.
Multi-Layered Hair Bow
16. Cover a single prong alligator clip with 3/8” grosgrain ribbon. Then using the Bowdabra Bow Wire tie the clip onto the bow. Trim away excess wire.
Multi-Layered Hair Bow
17. Glue ¼” satin ribbon around the center of the bow to hide the Bowdabra Bow Wire. Optional: To keep all the tails in place add a small dab of hot glue to the ends or use glue dots. Finish with a small gem in the center of the bow.
Multi-Layered Hair Bow
18. Your multi-layered stacked basic hair bow is complete.
Multi-Layered Hair Bow