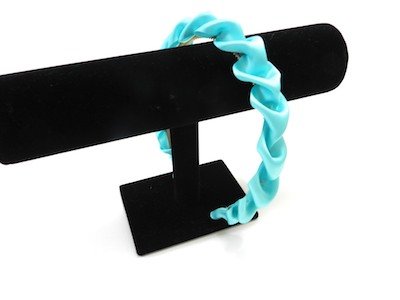

Kenneth King’s tutorial provides step-by-step picture instructions to create the ribbon trim look. I worked with the ribbon lengths and ribbon widths to make it perfect for a thin width headband.
Materials Needed:
- Thin Width Headband
- Sewing Needle
- Upholstery Thread or Embroidery Thread
- 1.5″ Wide Satin Ribbon cut 25″ long
- Fabric Pen
- Hot Glue Gun
Instructions:
1. I used 1.5″ wide satin ribbon. This tutorial is specific to 1.5″ wide ribbon. You can use smaller width ribbon but the ribbon length will vary.
2. Cut 25″ of ribbon. Seal the ends of the ribbon to prevent fraying with clear nail polish. Measure .5″ from the bottom and mark. Next, along the edge mark every 1.5″. You will have a remaining .5″ at the end of the ribbon. In between each 1.5″ mark place a center mark. Please visit Kenneth’s tutorial – these instructions will make sense when you see his markings. Sew the ribbon together following Kenneth’s tutorial. Helpful Hints: When you first begin sewing skip the first marking you made and begin at the second marking. This will give you a 2″ tail. Also, when I whipped stitched each ruffle I also knotted the thread. It seemed to hold together tighter.
3. Once it is complete it will look like this. You will have 2″ tails on either side and 12″ of ruffled ribbon. This is the perfect size to attach to a thin width ribbon.
4. Place the headband onto the ruffled ribbon. Hot glue the end to the ribbon leaving a .5″ tail.
5. Fold the tail over and then the sides. Hot glue it all in place.
6. Hot glue each ruffle onto the headband. Place a small dot of glue where each ruffle meets.
7. Finish gluing all the ruffles onto the headband. Fold the ribbon tail over the other end of the headband and hot glue in place.


