We are delighted to introduce our newest international designer, Kitty Franken of the Netherlands. Kitty writes a daily blog  tutorials at, Kitty’s Crafts (here is the translated English version link). She shares with her readers craft ideas using both the Scor-pal and the Bowdabra. Bowdabra is thrilled that Kitty has agreed to share some of her great paper craft tutorials with our Bowdabra Blog readers.
Are you familiar with Scor-pal? The Scor-pal is a Scoring board. You can use it to make boxes-bags-cards and much, much more. Best of all on the Scor-Pal website you can find lots of ideas-basics and tutorials.
How do you use the Scor-Pal?
Place Scor-Pal on a flat surface with ruler at the top.
Place cardstock on the scoring surface. The sides and the top act as fences to properly align your paper for accurate scoring. In most projects you will place your paper along the left fence and top fence, butted in at the top left corner. If you are right handed you might want to use the right and top fence. Adjust the measurements as needed.
There are notches at the beginning of each score line to show you where the groove begins. With one hand holding the cardstock, hold the scoring tool as you would a pen or pencil (45 degree angle). When working with double sided Designer paper that has a white core, lower the angle of the tool (30 degrees). Carefully draw the scoring tool down the paper, using an even pressure. The first time you use Scor-Pal ® practice on a piece of scrap cardstock to determine the amount of pressure needed for your ”œhand”. To clean your Scor-Pal ®, wipe with a damp cloth. Dry thoroughly before using.
To fold the cardstock, the scoring line is always on the outside of the fold, the bump to the inside.
Source: https://www.scor-pal.com/basics/index.htm
Small Gift Box Tutorial by Kitty Franken
Materials Needed
Instructions:
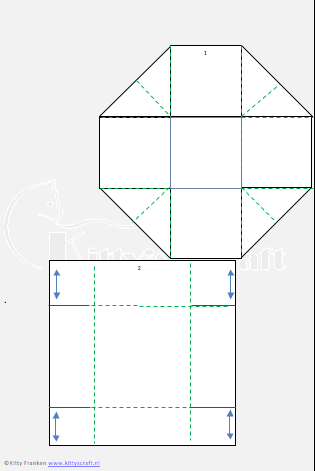
1. To make the base of the box (Template 1) Begin with a 6? x 6? piece of cardstock. With 9 inch edge along the top fence as illustrated, score at 1? and 5?.
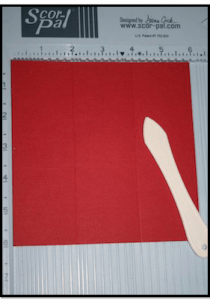
2. Rotate your paper and score again at 1? and 5? (inches)
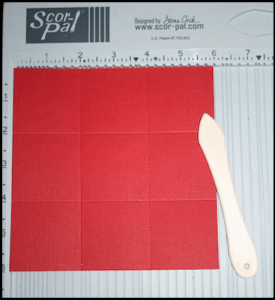
3. Cut away the corners.
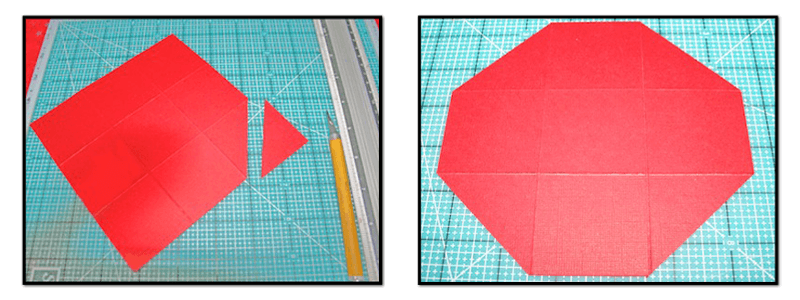
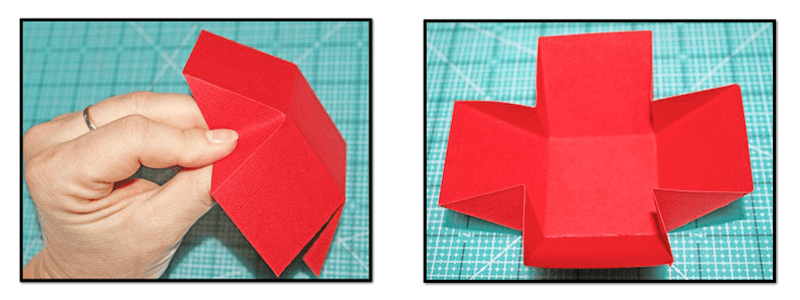
4. Use your fingertips to fold the corners and fold your box.
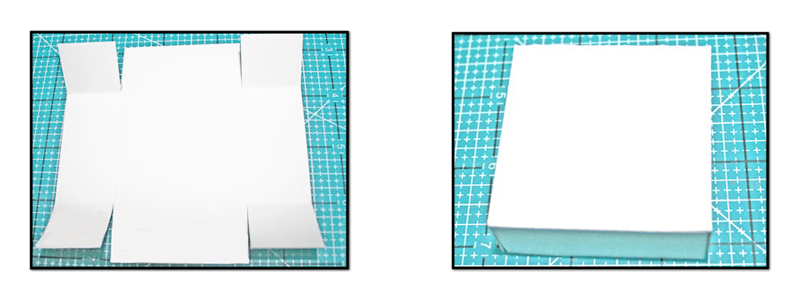
5. To make the Lid of the Box (Template 2): 4 1/8? x 4 1/8 “. Score all sides at 1?. Cut as shown in the photo. Fold in the tabs and glue in place. Decorate the lid to your liking.
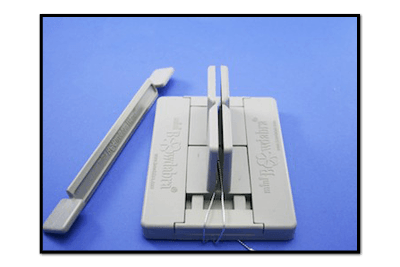
6. Finish the box with a Mini Bowdabra bow. Begin by cutting 18? of Bowdabra Bow Wire. Fold the wire in half and place it into the Mini Bowdabra.
7. Next, dovetail the ends of a satin ribbon and the fold and twist the ribbon into the Mini Bowdabra to form your first loop.
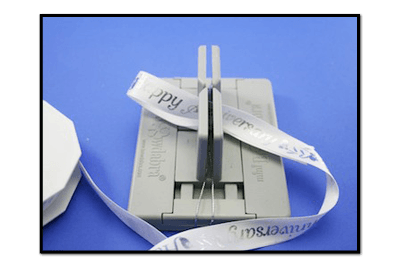
8. Fold and twist a loop on the other side of the Mini Bowdabra. Cut and dovetail the other end of the ribbon.
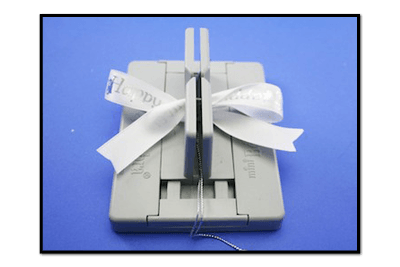 9. Using 3/8? sheer red ribbon fold and twist and create another loop bow with tails on top of the Mini Bowdabra.
10. Scrunch down with the Mini Bowdabra wand. While the bow is still in the Mini Bowdabra, thread the two loose ends of the Mini Bowdabra Bow Wire through the loop at the other end. Pull the Bowdabra Bow Wire tightly while the bow is still in the Mini Bowdabra. Gently pull the bow out of the Mini Bowdabra. Separate the two loose ends of the Bowdabra Bow Wire and bring them around to the back of the bow and knot. Then fluff bow.
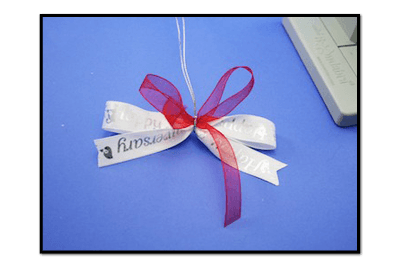
11. Attach the Mini Bowdabra bow onto your small homemade gift box.

12. Your little gift box is complete.

To help you with making the small gift box Kitty has graciously provided a template:
