Have you heard, bow ties are the hot new trend for 2012? According to Snap! bows ties are a 2012 DIY trend that we can expect 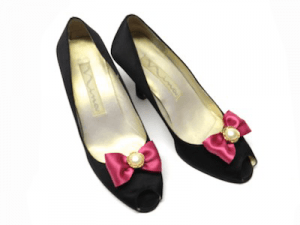
In honor of the bow tie trend, today’s tutorial is how to make bow tie shoe clips. I am using clip on earring hardware to make the shoe clips. I had found some clip on earring hardware on clearance and I thought they would be perfect for shoe clips. I have never come across shoe clip hardware at my local craft store but with a quick search on the Internet I was able to find lots of places to order them. If you would prefer shoe clips instead of clip on earrings the hardware is out there it is just not what I had on hand.
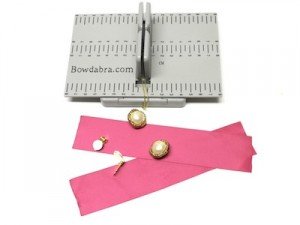
Materials Needed:
- Mini Bowdabra
- Bowdabra Bow Wire
- Hair Bow Tool & Ruler (metric side)
- 1.5? Satin Ribbon
- Buttons (optional covers the wire)
- Clip on earrings hardware
- Clear Nail Polish
Instructions:
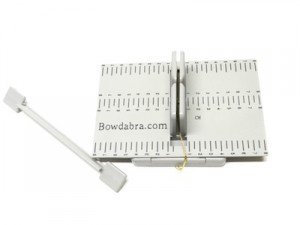
1. Begin by placing the Hair Bow Tool & Ruler onto the Mini Bowdabra. Cut a piece of Bowdabra Bow Wire 18? long, fold it in half and place it into the Mini Bowdabra.
3. To make the bow tie place the end of the ribbon into the Mini Bowdabra.
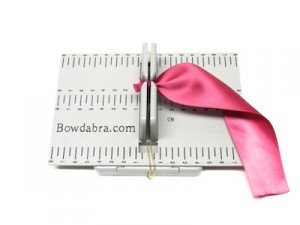
4. Next, place the other end of the ribbon into the Mini Bowdabra. You will have a large loop that is formed over the Mini Bowdabra towers.
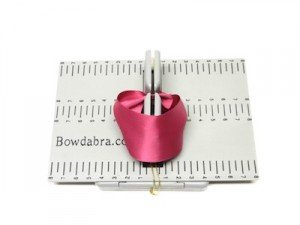
5. Pinch the ribbon to form a crease and press it into the Mini Bowdabra. Slide the ribbon until each loop is at the 3cm mark.
7. While the bow is still in the Mini Bowdabra, thread the two loose ends of the Mini Bowdabra Bow Wire through the loop at the other end.
8. Pull the Bowdabra Bow Wire tightly while the bow is still in the Mini Bowdabra.
9. Gently pull the bow out of the Mini Bowdabra. Separate the two loose ends of the Bowdabra Bow Wire and bring them around to the back of the bow and knot.
10. Turn the bow over and fluff.
11. Using the Bowdabra Bow Wire attach your button and then bring the Bowdabra Bow Wire back around and knot it again.
12. Attach the Bowdabra Wire to the clip on earrings. I chose to attach the clip backwards because I felt like the little foam was more comfortable in my shoes and the wire attached easily to the clip on earrings hardware. I also love that no hot glue was needed so that I don’t have to worry about the bow coming unglued and f
ollowing off. Trim away excess wire.
13. Clip the bow tie to your favorite pair of dress shoes.
14. Use the Mini Bowdabra and Hair Bow Tool & Ruler to make an exact matching bow for the other shoe.