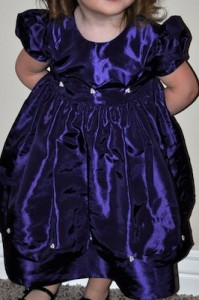
Find a dress with an embellishment (ie. Pearls, buttons, rhinestones, etc.) and put that embellishment in the matching bow. Find the materials that match just right and start the fun. This boutique style bow was inspired by elegant purple Christmas Dress with pearl accents.
To make this bow you will need:
· Mini Bowdabra
· Hair Bow Tool and Ruler
· Bowdabra Bow Wire
· 2”œ wire edge ribbon
· 1.5” decorative wire-edge ribbon
· pearl string (can be found in craft stores)
· Alligator Clip (NOTE: For more active girls, you can use a clip that locks in place)
· Hot Glue
Instructions:
1. Start by finding the ribbon and embellishments that match the outfit perfectly. This particular dress has pearl accents so I chose to put pearls in the bow.
2. Next, place the Hair Bow Tool & Ruler on top of the Mini Bowdabra. Cut a piece of 18”³ Bowdabra Bow Wire, fold it in half and place it into the Bowdabra.
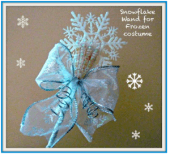
3. Next, following the instructions on the Interactive CD, that comes with the Hair Bow Tool & Ruler, make 4” wide double loop boutique bow using 2” Wire Edge Ribbon. Leave tails. Scrunch with Bowdabra Wand.
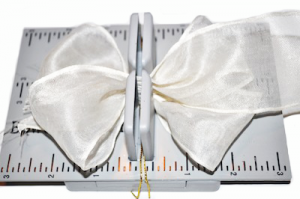
4. Next, following the instructions on the Interactive CD, that comes with the Hair Bow Tool & Ruler, make 3” wide triple loop boutique bow using 1.5” decorative wire-edge ribbon. Leave tails. Scrunch with Bowdabra Wand.
5. Using the pearl string, put in Mini Bowdabra making 3 loops on each side. Leave tails on both sides and trim excess. Scrunch with Bowdabra Wand.
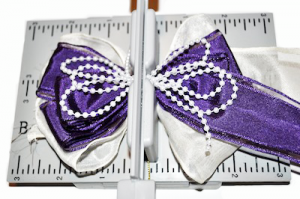
6. While the bow is still in the Mini Bowdabra, thread the two loose ends of the Bowdabra Bow Wire through the loop at the other end. Pull the Bowdabra Bow Wire tightly while the bow is still in the Mini Bowdabra. Gently pull the bow out of the Mini Bowdabra. Separate the two loose ends of the Bowdabra Bow Wire and bring them around to the back of the bow. To tie off the bow, pinch the Bowdabra Bow Wire securely against the bow and double knot. Trim off extra wire.

7. Trim all tails of the extra ribbon.
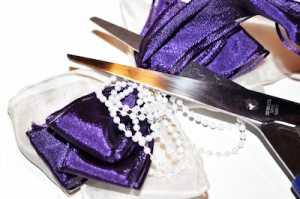
8. Place 1.5” decorative wire-edge ribbon over 2”œ wire edge ribbon.

9. Tie a loose knot, keeping checkered ribbon on the outside. Set aside.
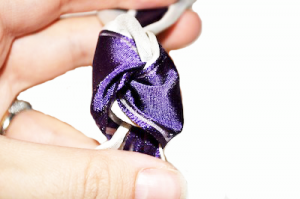
10. Prepare bow to have knot glued on by positioning ribbon exactly where you want it and hold it with one hand. With the other hand do a glue dab on the top and both sides of the bow. Place prepared knot over middle and side of bow and press.
11. Next, trim one side of knot and glue to back of bow. Glue the other side to back of bow and trim extra ribbon.
12. Hold alligator clip open (to ensure clip not getting glue on the inside) and glue top of it. Then press to back of bow. (Please note: You can line the clip with ribbon, but I prefer not to. The clip stays in hair better without being lined and the clip does not show in this particular bow)
13. Your bow is ready to wear!

You can make two for a pig tails look. These matching bows with embellishments will finish her outfit!

