Learn how to wrap a gift like a professional. Our Bowdabra blog tutorial will teach you how to wrap gift boxes quickly and easily with little waste of paper. This tutorial is perfect for all skill levels and our simple steps along with pictures should have you wrapping a gift like a pro in no time! Wrap presents and finish with a Bowdabra Bow for an exquisite gift package.
SUPPLIES:
· Wrapping Paper
· Gift Box
· Scissors
· Clear Tape
· Double Sided Clear Tape
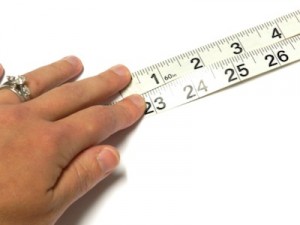
· Seamstress Tape Measure
Instructions:
1. Begin by gathering all the materials you will need for this project. I would recommend buying a good quality wrapping paper. If it is real thin it tends to tear and is hard to work with. Remember to take all the tags off of your gift before placing the item into your gift box. Use a white gift box, if you are using light colored paper. If the box has print on it, it can show through the lightly colored wrapping paper.
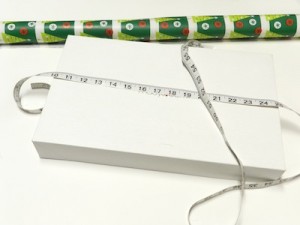
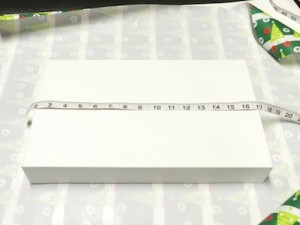
2. To begin wrap the tape measure around the entire width of the package, and add an inch.
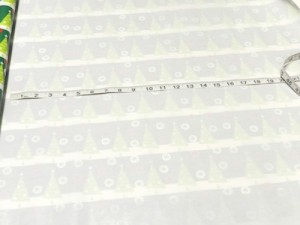
3. Unroll your wrapping paper, printed side down. Use the measurement from Step 2 to measure out the desire length.
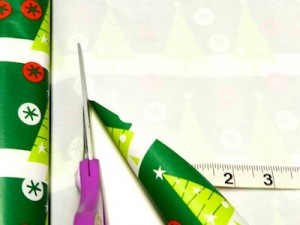
4. Use the wrapping paper roll as your guide to cut a straight line from bottom to top. Don’t worry it doesn’t not have to be a perfectly straight line.
5. Now measure the length of your box. Fold the measuring tape from the bottom edge of one side, across the top, to the bottom of the edge on the other side.
6. Use the measurement from Step 5, and create a crease in your wrapping paper by using your gift box as a straight edge. Then cut along the crease. *Helpful Hint* Remember to turn your wrapping paper so that you are cutting for the length of your package, not the width.
7. Place your gift box into the center of your cut wrapping paper. Fold the first side in and crease the paper to give it a nice finished edge. Hold it in place with a piece of double sided tape.
8. Fold the other side in tightly. Make a crease along the edge of the paper to give it a nice finish. Remove the backing of the double sided tape and press the edge down.
9. Next, fold down one of the side flaps. Tape the flap to the box with a piece of regular clear tape (when the top flap comes down you will not see the tape).
10. Fold the side corners in and make a sharp crease. Attach double sided tape to each end of the back side of the top flap. Remove the double sided tape backing and press firmly to the package.
11. Repeat steps 9 and 10 for the other side. The sides should look similar to the picture at the left; sharp creases and no tape visible.
12. Finish your gift by adding a ribbon across the front and attaching a bow. I attached a funky loopy bow to complete the gift wrap. For the full step-by-step instructions for making a funky loopy bow click here.
