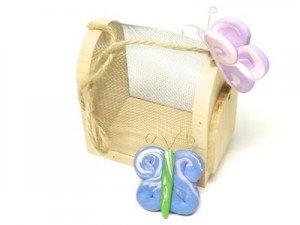
Adding clay centers to hair bows is a great way to personalize your hair clip designs. When working with polymer clay use a 
My inspiration to make the butterfly centerpieces came from Butterfly Candy Blossoms Cardstock.
1. Before you begin working with the clay you must condition it. When you take the clay from the package it is a hard block that can be softened either by working the clay with your hands from a ball, to a snake, back to a ball or by using a pasta machine to roll the clay thinly. I appreciate the ball, to snake, to ball method, it really works to get aggression out too!!
2. Next, to form easy butterfly wings mix several colors together and roll it into two even snakes.
3. Next, fold one end in and the other end out (looks like a backward “S”).
4. Create a matching wing.
5. Press the wings together in the center.
6. Add 24? gauge wire to form the butterfly’s antennas. Press the wire into the center of the wings.
7. Roll two or more colors together to form the butterfly’s body. Press the body on top of the wings.
8. Add a jump ring to the back. Press the jump ring into the body about half way. The jump ring will help you attach the butterfly to a hair bow.
Alternative:
Create a flying butterfly by following the same instructions, however fold the wings inward and place the body on the bottom of the wings.
10. Bake the Sculpey clay at 275 degrees for 15 to 30 minutes depending on the thickness of the clay. Never leave the clay unattended in the oven.
Visit our Bowdabra Blog Tutorial to learn how to attach the clay pieces to the centers of your hair bows!