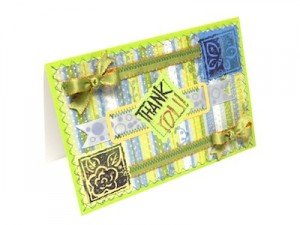
Stitching layers of paper either using hand-stitching or machine stitching can make your thank you card unique, personal, and fun!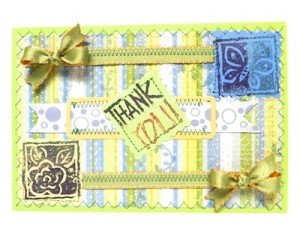 I love to sew and thought why not incorporate some thread into my card making. I used embroidery thread and my sewing machine to assemble my thank you card’s many layers and ribbon accents.
Materials Needed:
Some Supplies Pictured Below: 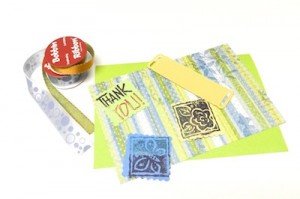
Instructions:
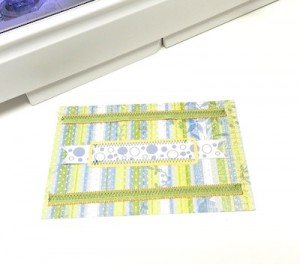
1. I began by cutting the bobbin ribbon to fit across the first layer of my cardstock. I then inserted a cardstock tag onto the ribbon.
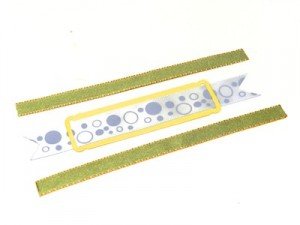
2. Then using a zig-zag stitch I assembled the bobbin ribbon to the cardstock. A hand-stitch using embroidery thread and an embroidery needle is also an option.
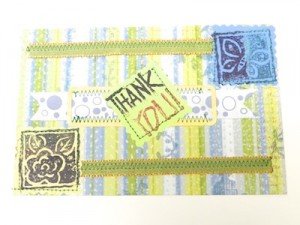
3. I then stitched square cardstock tags that were stamped with “Thank You”, a butterfly, and a flower. (Sidenote: My daughter who is 8yrs old was crafting with me in my studio and was the one who designed the stamped tags. I promised I would give her credit for her great stamping ability.)
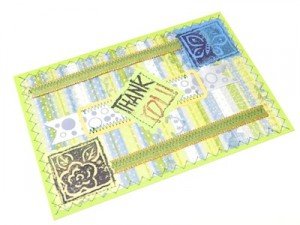
4. Next, using a large zig-zag stitch I sewed the cardstock outline to the card.
5. To finish my card I used the Mini Bowdabra and Hair Bow Tool & Ruler (metric side) to design small little bows for the card.
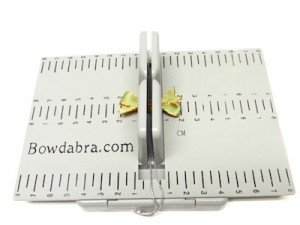
6. I created two exact bows.
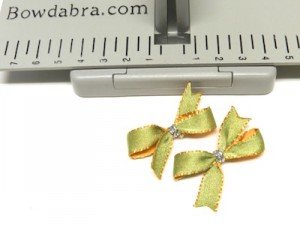
7. I added a finishing ribbon to cover the Bowdabra Bow Wire using hot glue to attach the knotted bobbin ribbon.
8. Lastly, I attached each bow to the card using hot glue.
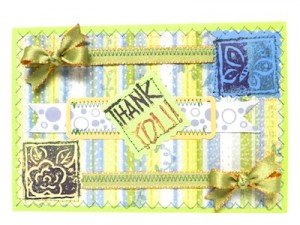
9. The Sewn & Stitched Thank You Card is complete.
